Slivers in Flutter - Part (3)
What is SliverAnimatedList? How to animate List using SliverAnimatedList?
- In the previous part i.e. Part(2), we saw SliverPersistentHeader, SliverFixedExtentList, SliverPrototypeExtentList, SliverFillViewport, SliverToBoxAdapter, SliverFillRemaining, SliverPadding
- Let's see what is
SliverAnimatedListwidget, and how to use it.

SliverAnimatedList
- Removing the list widget without any transition effect, will confuse the user with what just happened, from where the list item was inserted or deleted, etc.
- To animate the sliver list we can use SliverAnimatedList. This widget's SliverAnimatedListState can be used to dynamically insert or remove items.
- Example - Taken from doc.
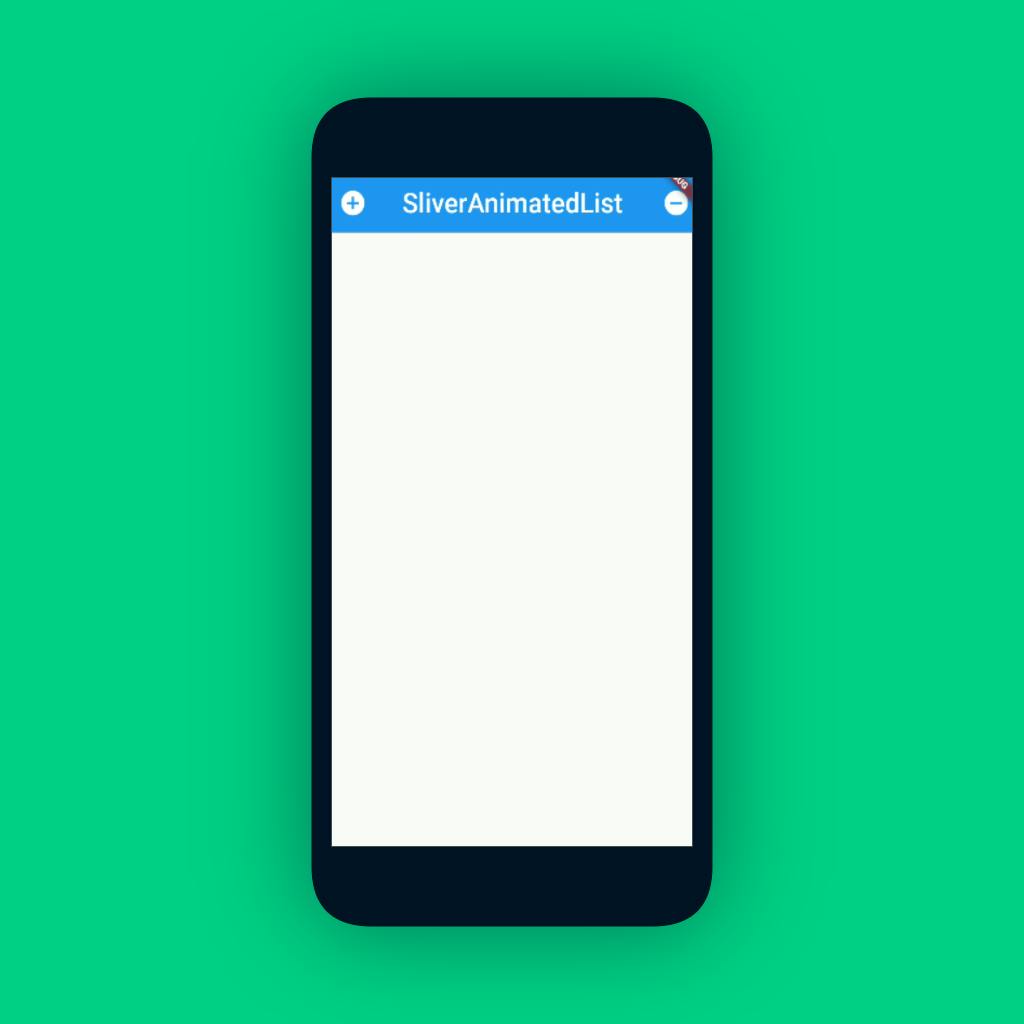
- First, let's create a SliverAppBar that has two buttons
addandremovefor inserting and removing the list item. CustomScrollView( slivers: <Widget>[ SliverAppBar( title: const Text( 'SliverAnimatedList', style: TextStyle(fontSize: 30), ), expandedHeight: 60, centerTitle: true, backgroundColor: Colors.amber[900], leading: IconButton( icon: const Icon(Icons.add_circle), onPressed: _insert, tooltip: 'Insert a new item.', iconSize: 32, ), actions: <Widget>[ IconButton( icon: const Icon(Icons.remove_circle), onPressed: _remove, tooltip: 'Remove the selected item.', iconSize: 32, ), ], ), ], )
Now let's add SliverAnimatedList below the SliverAppBar
SliverAnimatedList( key: _listKey, initialItemCount: _list.length, itemBuilder: _buildItem, ),key- Here the
_listKeyis aGlobalKeyof type SliverAnimatedListState. This key is helpful for inserting and deleting the list item. - To insert the item into the list we can use
SliverAnimatedListState.insertItem(), and to remove the item useSliverAnimatedListState.removeItem() final GlobalKey<SliverAnimatedListState> _listKey = GlobalKey<SliverAnimatedListState>();initialItemCount- The
initialItemCountdefines how many numbers of items the list will start with. So let's initialize it ininitState @override void initState() { super.initState(); _nextItem = 3; }itemBuilder- This builds the item on the screen as needed lazily.
- List items are only built when they're scrolled into view.
- This function has 3 parameters :
- The
context, which is the context of the sliver. - The
indexparameter indicates the item's position in the list. The value of theindexparameter will be between0andinitialItemCountplus the total number of items that have been inserted withSliverAnimatedListState.insertItemand less the total number of items that have been removed withSliverAnimatedListState.removeItem. - The
animationgives the animation value of typedoublebetween0and1. - Let's implement the
_buildItemfunction which is passed inside theitemBuilder: Widget _buildItem( BuildContext context, int index, Animation<double> animation) { return CardItem( animation: animation, item: _list[index], /* Determines if the item is currently selected or not */ selected: _selectedItem == _list[index], /* Called when user wants to delete the card. It is used to update the color of the card. If `tapped` the `_selectedItem` gets index and the card at that index will get `grey` color other wise normal color. */ onTap: () { setState(() { _selectedItem = _selectedItem == _list[index] ? null : _list[index]; }); }, ); }- Let's also define the
_listand_selectedItem /* List of item */ late List<int> _list; /* Used to determine which item is selected in order to perform deletion. */ int? _selectedItem; /* This is used to do define the next item that will be displayed when user presses `+` button */ late int _nextItem; @override void initState() { super.initState(); _list = <int>[0, 1, 2]; _nextItem = 3; }- Let's see what the
CardItemwidget is: It is a simple widget containing aTextin the center displaying theindexof that item in the list. - The card turns gray when
selectedis true. This widget'sopacityis based on theanimationparameter. - It varies as the
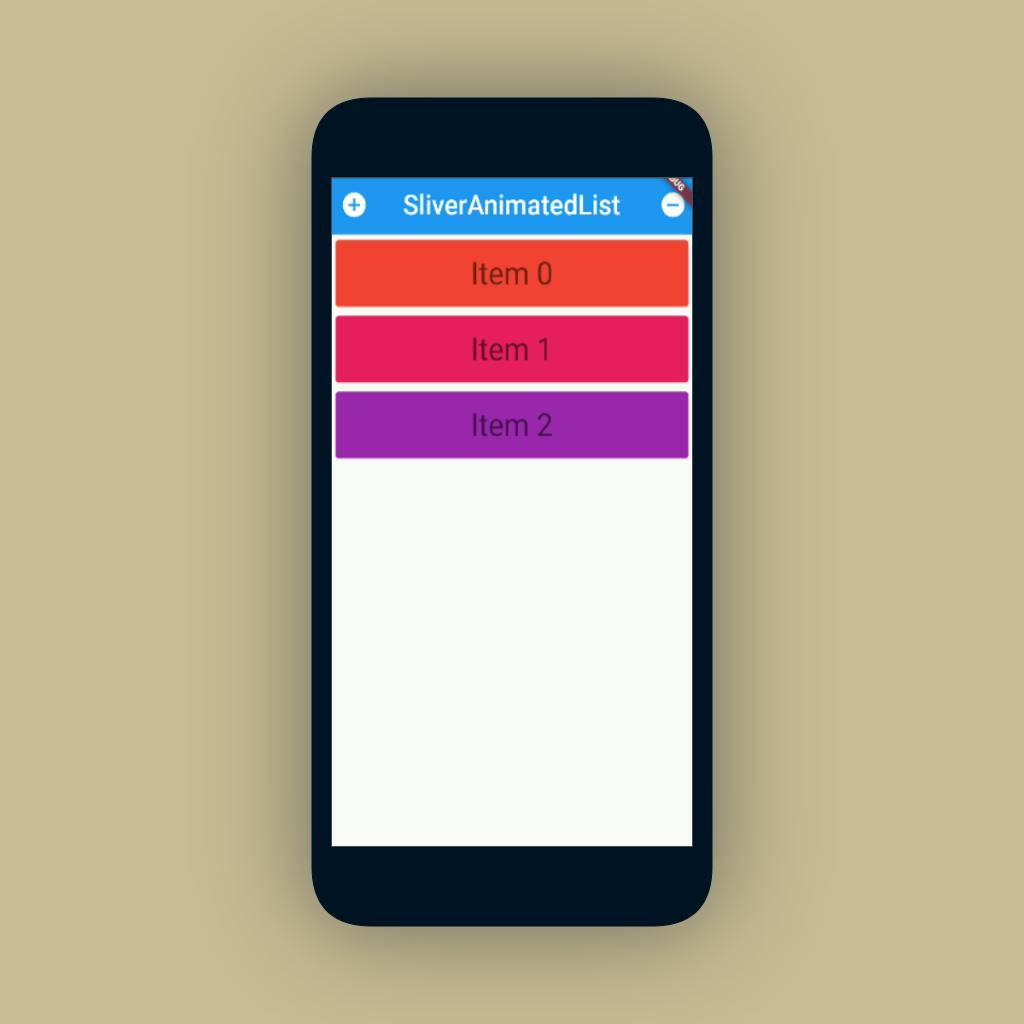
animationvalue transitions from0.0to1.0. class CardItem extends StatelessWidget { const CardItem({ Key? key, this.onTap, this.selected = false, required this.animation, required this.item, }) : assert(item >= 0), super(key: key); final Animation<double> animation; final VoidCallback? onTap; final int item; final bool selected; @override Widget build(BuildContext context) { return Padding( padding: const EdgeInsets.only( left: 2.0, right: 2.0, top: 2.0, bottom: 0.0, ), /* The FadeTransition Animation will be triggered whenever the user add item in list*/ child: FadeTransition( opacity: animation, child: GestureDetector( onTap: onTap, child: SizedBox( height: 80.0, child: Card( color: selected ? Colors.black12 : Colors.primaries[item % Colors.primaries.length], child: Center( child: Text( 'Item $item', style: Theme.of(context).textTheme.headline4, ), ), ), ), ), ), ); } }- The UI will look something like this -

- Now, Let's implement the
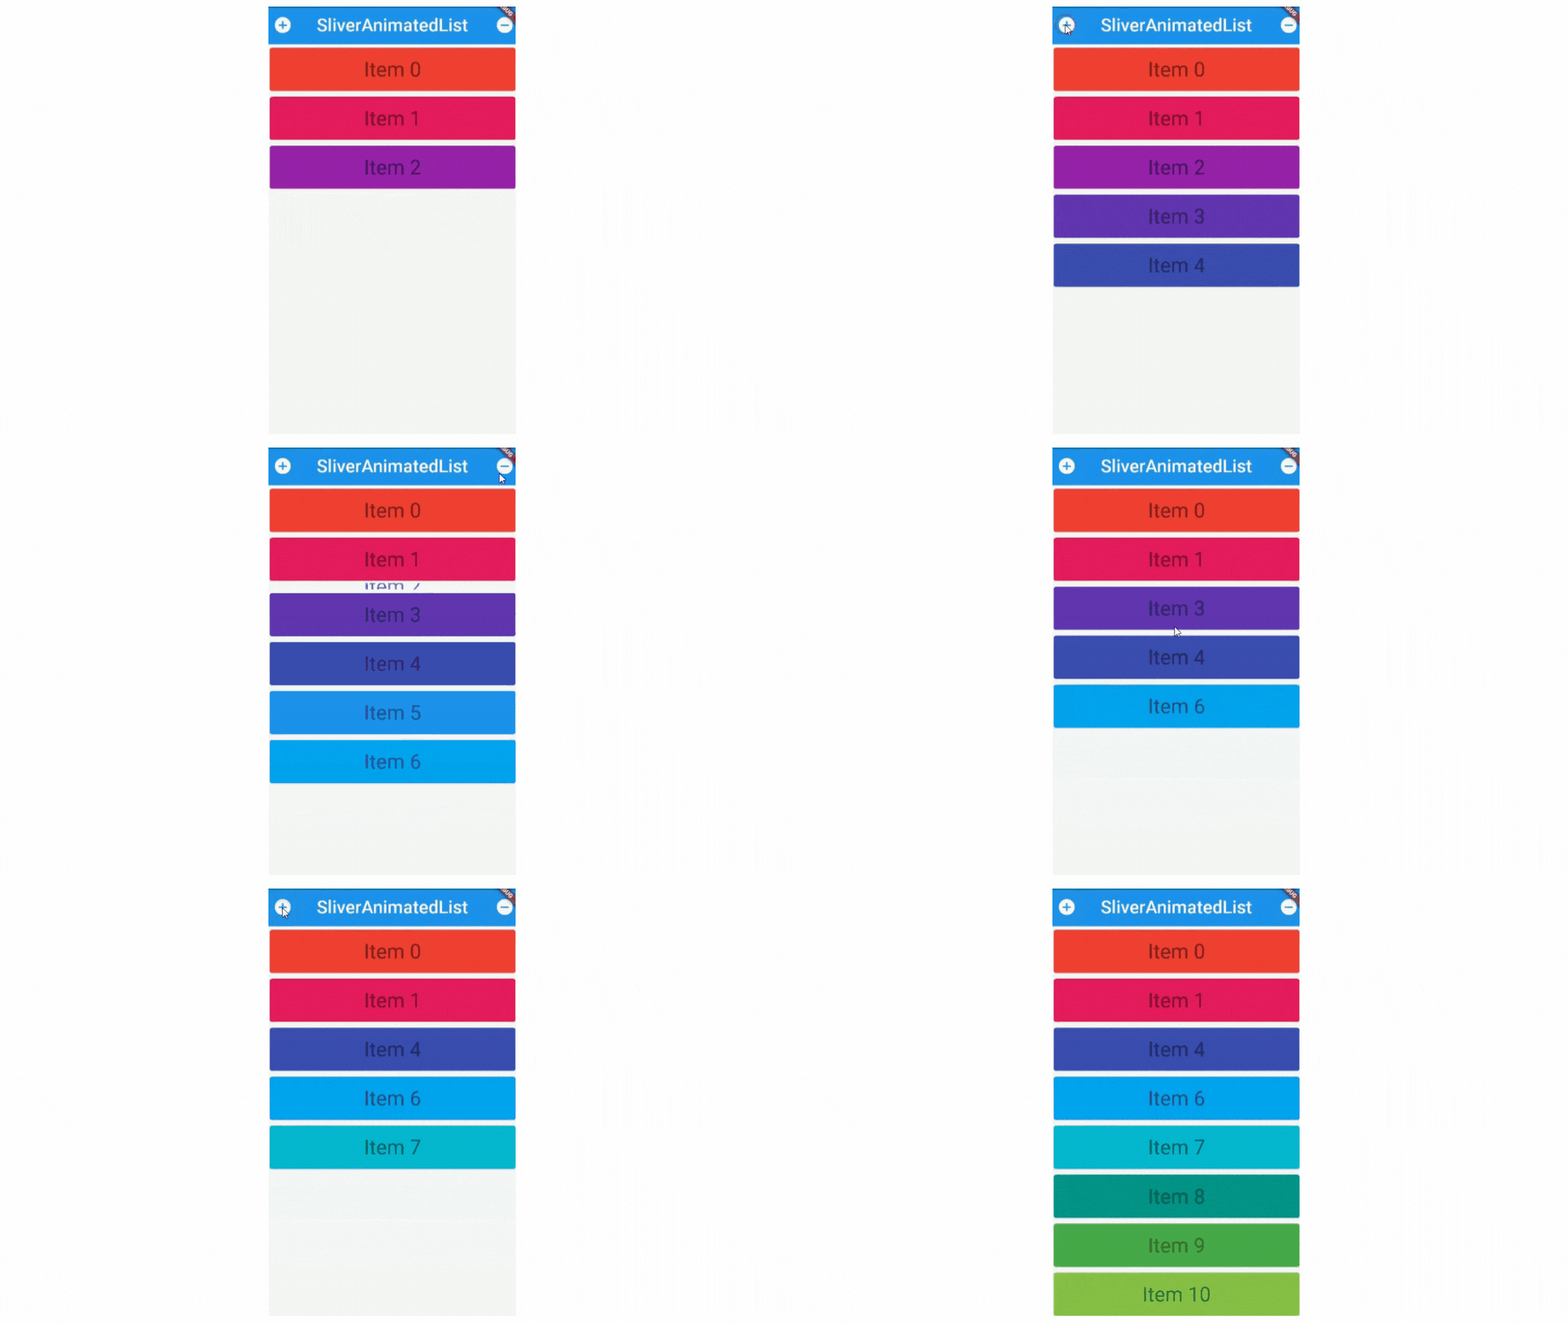
_insertand_removefunctions for Inserting the "next item" into the list. And Removing the selected item from the list void _insert() { final int index = _selectedItem == null ? _list.length : _list.indexOf(_selectedItem!); /* Updating actual list */ _list.insert(index, _nextItem++); /* Updating UI */ _listKey.currentState!.insertItem(index); }void _remove() { final int index = _selectedItem == null ? _list.length : _list.indexOf(_selectedItem!); /* Removing from actual list */ _list.removeAt(index); /* Updating UI */ _listKey.currentState!.removeItem( index, /* 👇 This method is needed because a removed item remains visible until its animation has completed. */ (context, animation) => SizeTransition( sizeFactor: animation, child: Card( child: Center( child: Text( 'Item $index', style: Theme.of(context).textTheme.headline4, ), ), ), ), ); setState(() { _selectedItem = null; }); }- FINAL Output

- Final Code:
Wrapping Up
- This is a 3rd part of the
Flutter's Sliverseries. Check previous articles for more information about Slivers. - Part - 2
- Part - 1
- If you liked this article make sure to give thumbs up 👍. Also share it with your developer friends if you found this helpful💙.
- See you in the next article. Until then..

