
Slivers in Flutter - Part (2)
SliverPersistentHeader, SliverFixedExtentList, SliverPrototypeExtentList, SliverFillViewport, SliverToBoxAdapter, SliverFillRemaining, SliverPadding
- In the previous article we saw, What is Slivers, CustomScrollView, SliverAppBar, SliverList with an example.
- Now let's explore some more Slivers.
⚽ SliverPersistentHeader
- If you want more control over SliverAppBar or you want to make your own custom header, you can use SliverPersistentHeader.
- SliverPersientHeader is the widget that is used under the hood in the SliverAppBar in order to implement shrinking and growing effects.
- SliverPersistentHeader creates
sliverwhosesizevaries when it is scrolled. - It has 3 parameters -
- 1 -
pinned- Stick the Header at the top. - 2 -
floating- Header will immediately grow again if the user scrolls down. - 3 -
delegate- It takes a class which extends SliverPersistentHeaderDelegate. We have to override build method which has 3 arguments -context,shrinkOffset,overlapsContent. - The
contextis the BuildContext of the sliver. - The
overlapsContentargument istrueif subsequent slivers (if any) will be rendered beneath this one, andfalseif the sliver will not have any contents below it. - The
shrinkOffsetis a distance frommaxExtenttowardsminExtentrepresenting the current amount by which the sliver has been shrunk. It is useful when you want to update any widget property with respect to thescrollOffeset. For example, When user starts scrolling theTextdefined in the Header fades away. 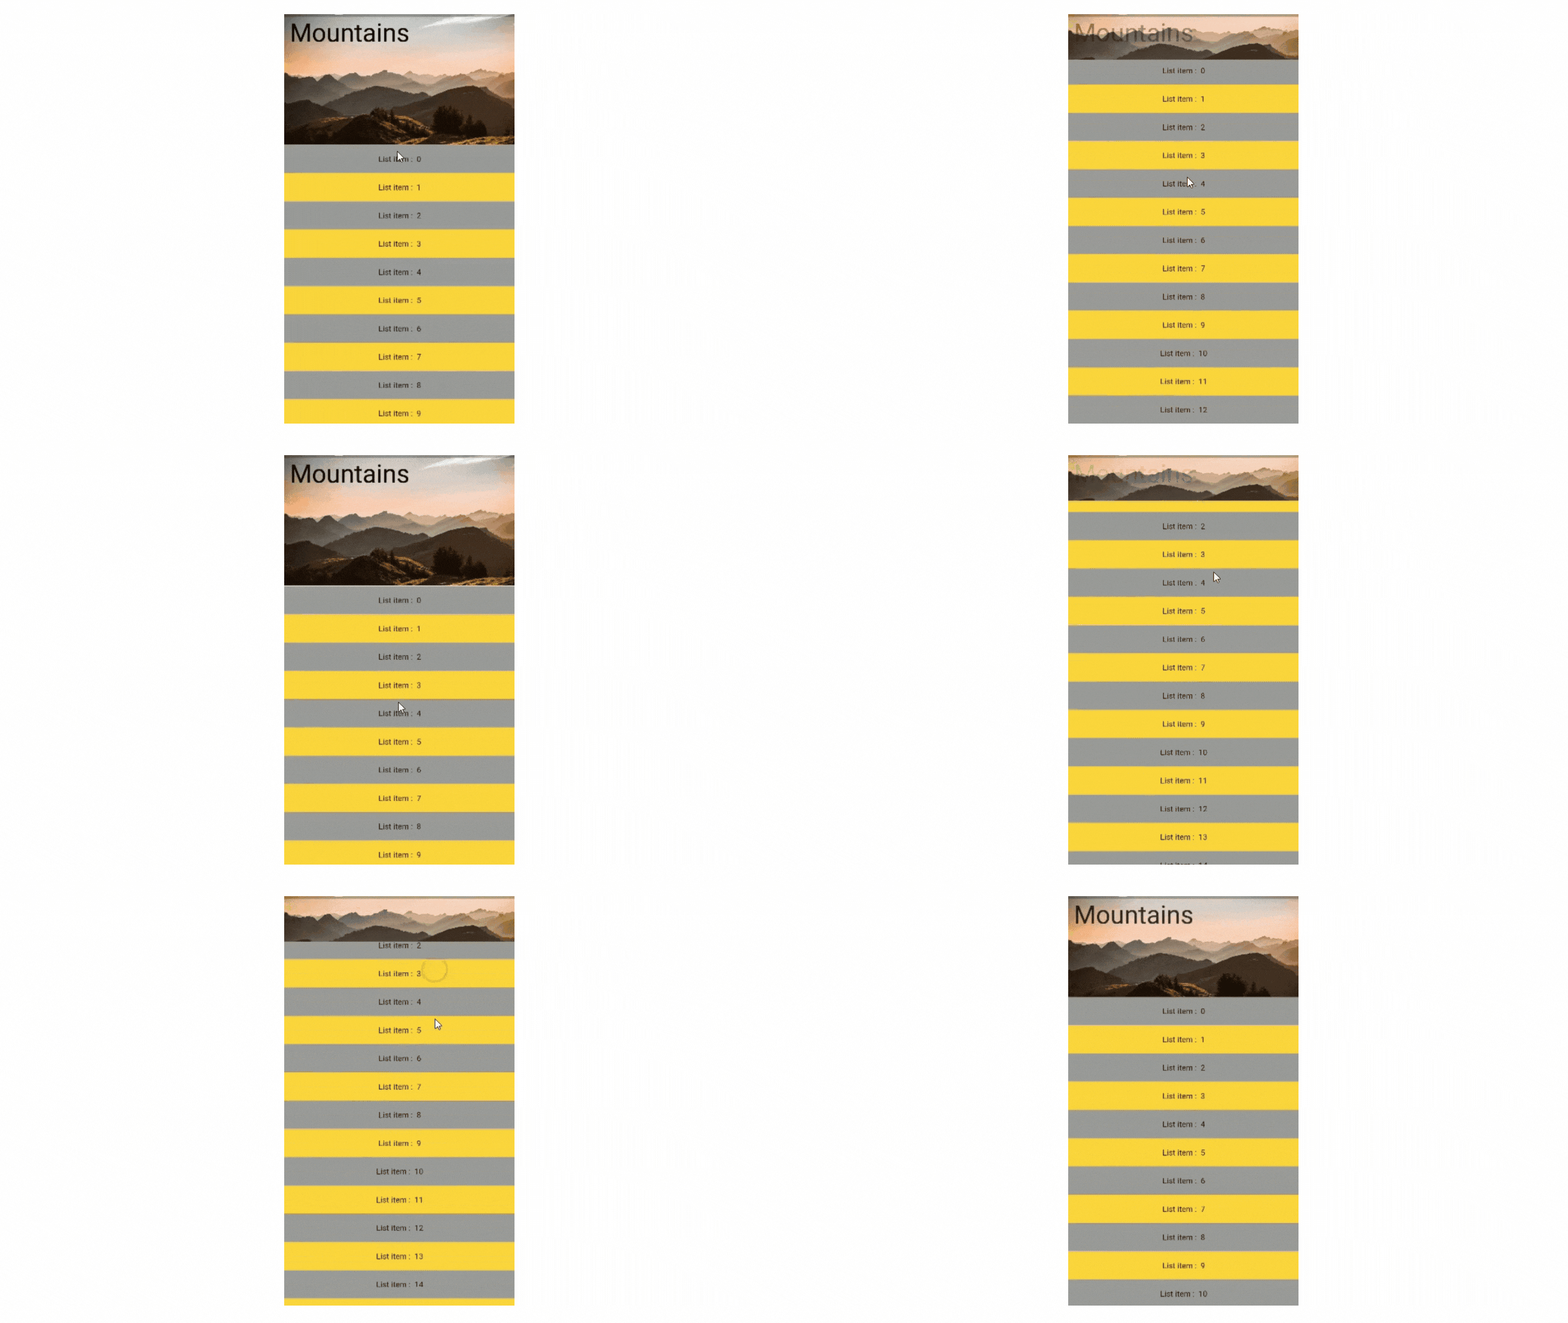
- The implementation of the above SS Is as below -
CustomScrollView(
      slivers: [
        SliverPersistentHeader(
          pinned: true,
          delegate: MySliverHeader(maxExtent: 250.0, minExtent: 100.0),
        ),
        SliverList(
          delegate: SliverChildBuilderDelegate(
            (context, index) {
              return Container(
                height: 50,
                alignment: Alignment.center,
                color: index.isEven ? Colors.grey : Colors.amberAccent,
                child: Text('List item :  $index'),
              );
            },
            childCount: 50,
          ),
        ),
      ],
),
class MySliverHeader extends SliverPersistentHeaderDelegate { MySliverHeader({ required this.minExtent, required this.maxExtent, }); final double minExtent; final double maxExtent; @override Widget build( BuildContext context, double shrinkOffset, bool overlapsContent) { print(shrinkOffset); return Stack( fit: StackFit.expand, children: [ Image.network( "url", fit: BoxFit.cover, ), Positioned( left: 16, top: 26, right: 16, bottom: 16, child: Opacity( opacity: 1.0 - max(0.0, shrinkOffset) / maxExtent, child: Text( "Mountains", style: Theme.of(context).textTheme.headline3!.copyWith( color: Colors.black, ), ), ), ) ], ); } @override bool shouldRebuild(covariant SliverPersistentHeaderDelegate oldDelegate) { return true; } }
⚾ SliverFixedExtentList
- If you know the exact size of the children of the listview, then you can use SliverFixedExtentList.
- You can specify the size in the
itemExtent. The unit used here ispx. SliverFixedExtentList( delegate: SliverChildListDelegate([ Container( color: Colors.red, ), Container( color: Colors.blue, ), Container( color: Colors.green, ), ]), itemExtent: 50, ),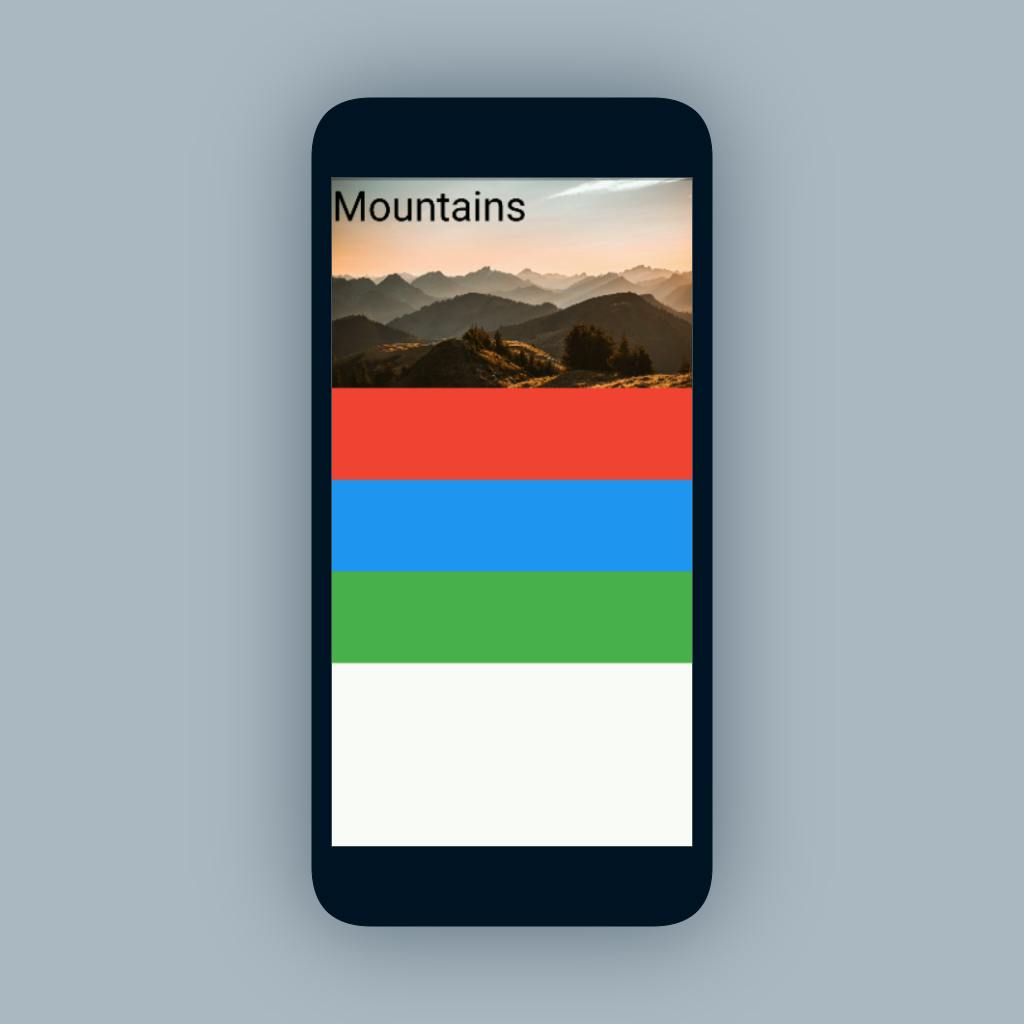
🥎 SliverPrototypeExtentList
- It's the same as SliverFixedExtentList, the only difference is it uses a prototype list item instead of a pixel value to define the main axis extent of each item.
- SliverPrototypeExtentList is more efficient than SliverList because SliverPrototypeExtentList does not need to lay out its children to obtain their extent along the main axis. It's a little more flexible than SliverFixedExtentList because there's no need to determine the appropriate item extent in pixels.
        SliverPrototypeExtentList(
          delegate: SliverChildListDelegate([
            Container(
              color: Colors.red,
            ),
            Container(
              color: Colors.blue,
            ),
            Container(
              color: Colors.green,
            ),
          ]),
          prototypeItem: SizedBox(
            height: 150,
          ),
        ),
// all the Container will get 150px of height as defined in the prototype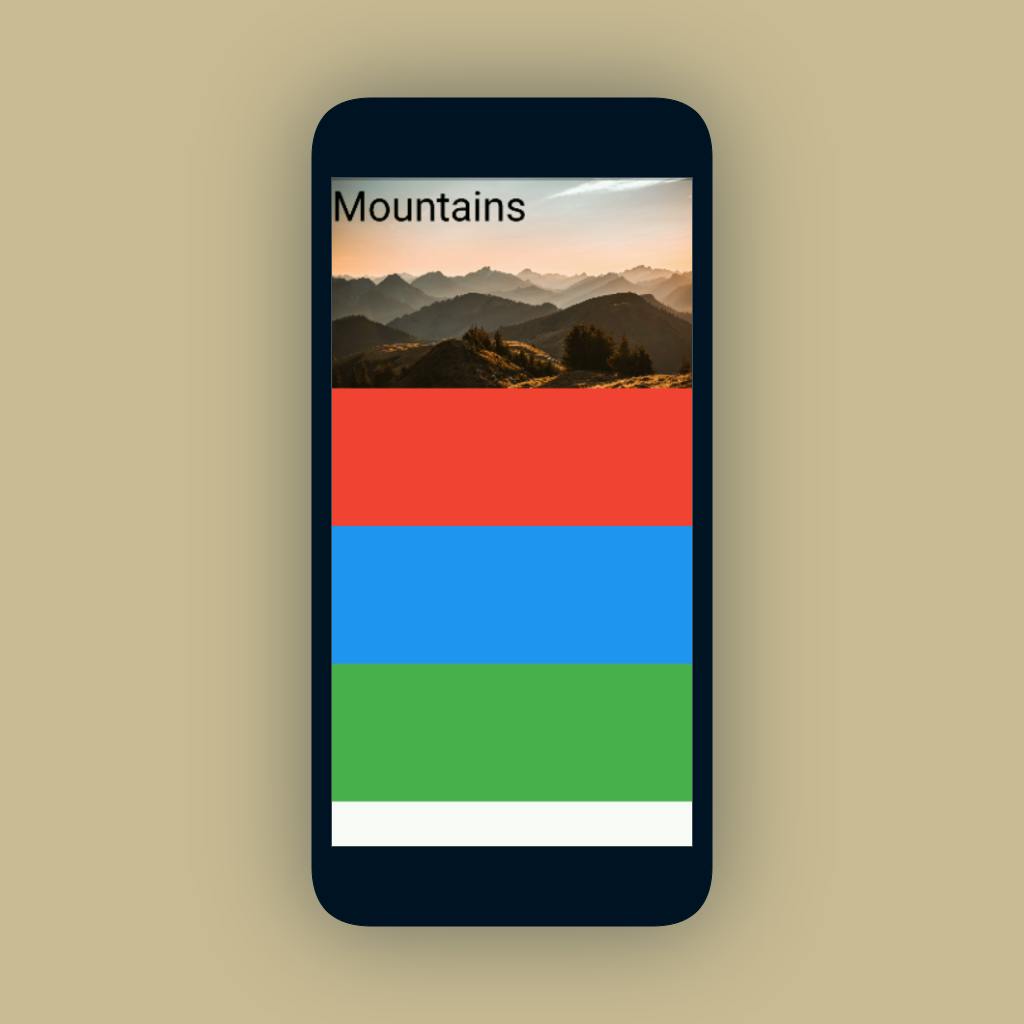
🏀 SliverFillViewport
- Children defined in this widget takes full viewport height.
- SliverFillViewport places its children in a linear array along the main axis. Each child is sized to fill the viewport, both in the main and cross axis.
CustomScrollView(
      slivers: [
        SliverFillViewport(
          delegate: SliverChildListDelegate([
            Container(
              color: Colors.red,
            ),
            Container(
              color: Colors.blue,
            ),
            Container(
              color: Colors.green,
            ),
          ]),
        ),
      ],
),
🏐 SliverToBoxAdapter
- If you want to display a single widget inside sliver then you can use this.
- This will adapt the size according to its child.
- If you want to use more than one widget then consider using SliverList, SliverFixedExtentList, SliverPrototypeExtentList, or SliverGrid, which are more efficient because they instantiate only those children that are actually visible through the scroll view's viewport.
CustomScrollView(
      slivers: [
        SliverPersistentHeader(
          pinned: true,
          delegate: MySliverHeader(maxExtent: 250.0, minExtent: 100.0),
        ),
        SliverToBoxAdapter(
            child: Text(
          "long long text.....",
          style: TextStyle(fontSize: 18),
        )),

      ],
    ),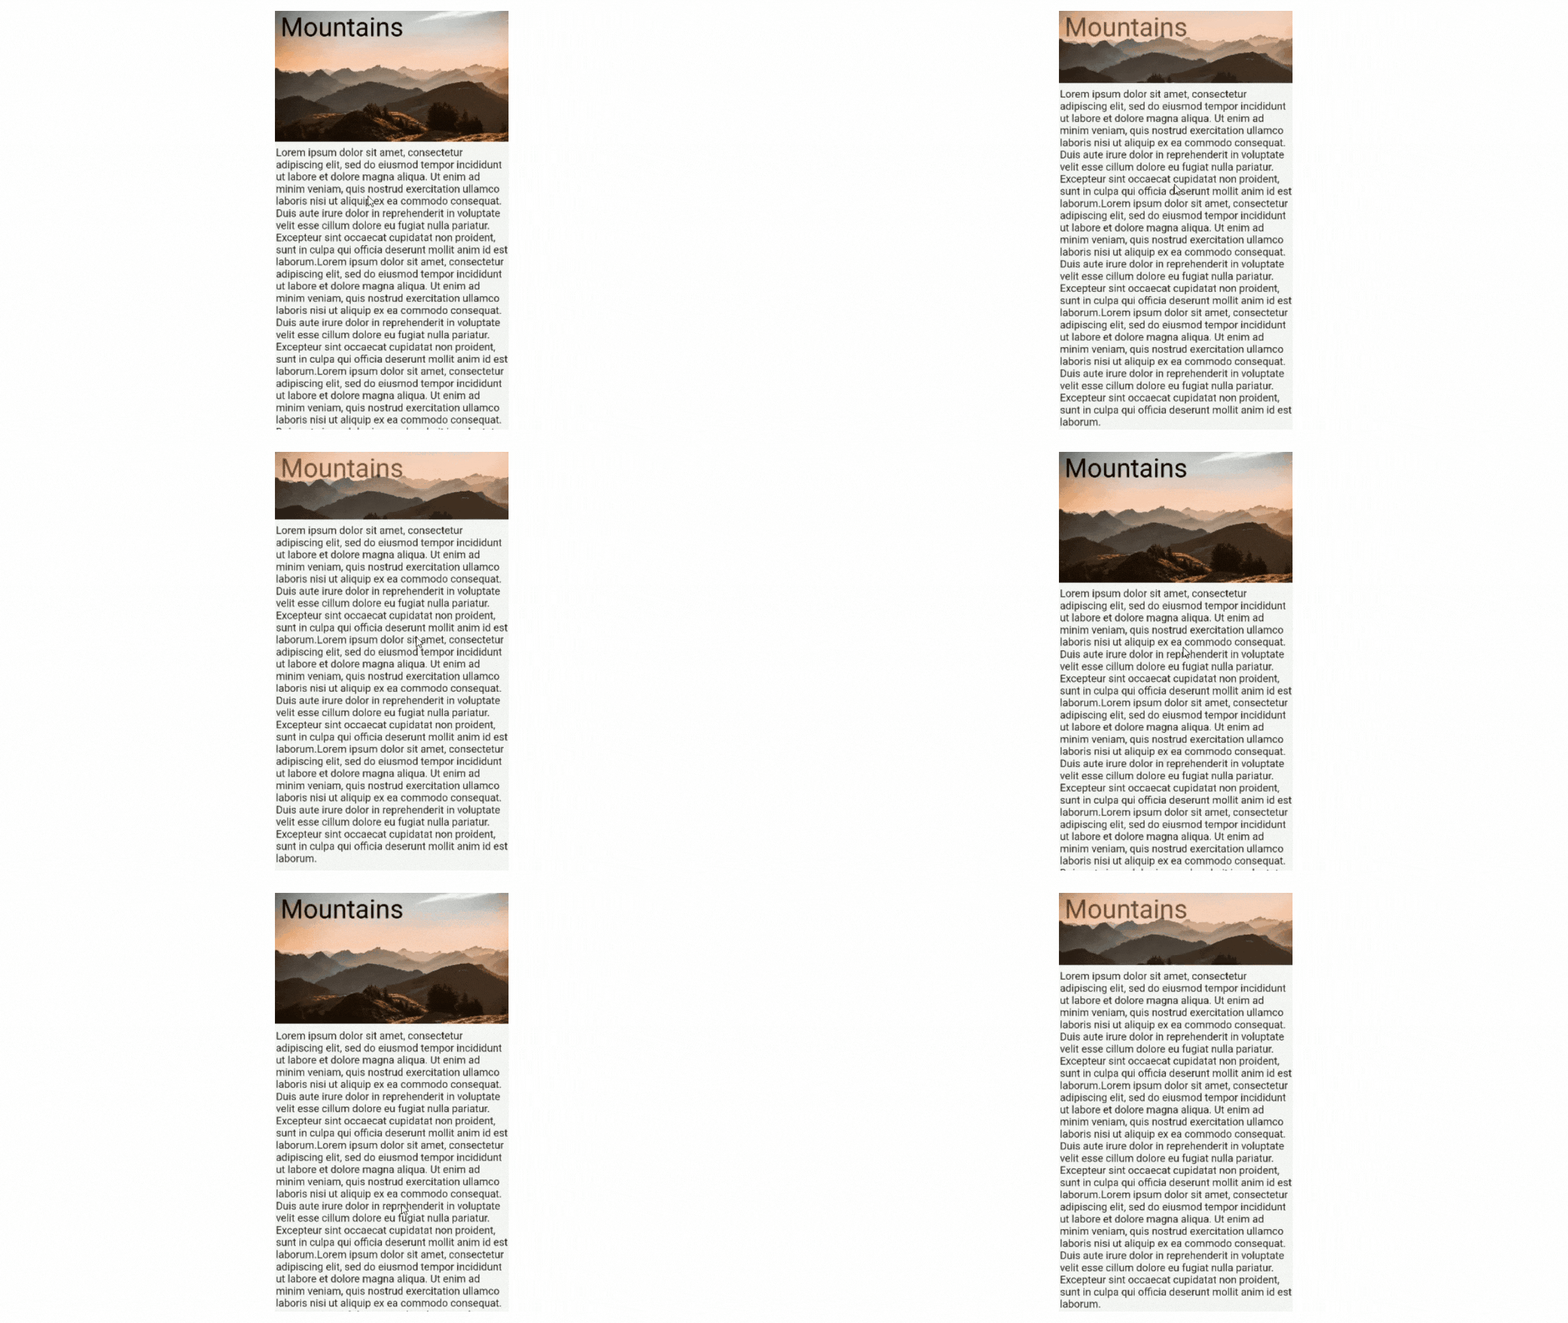
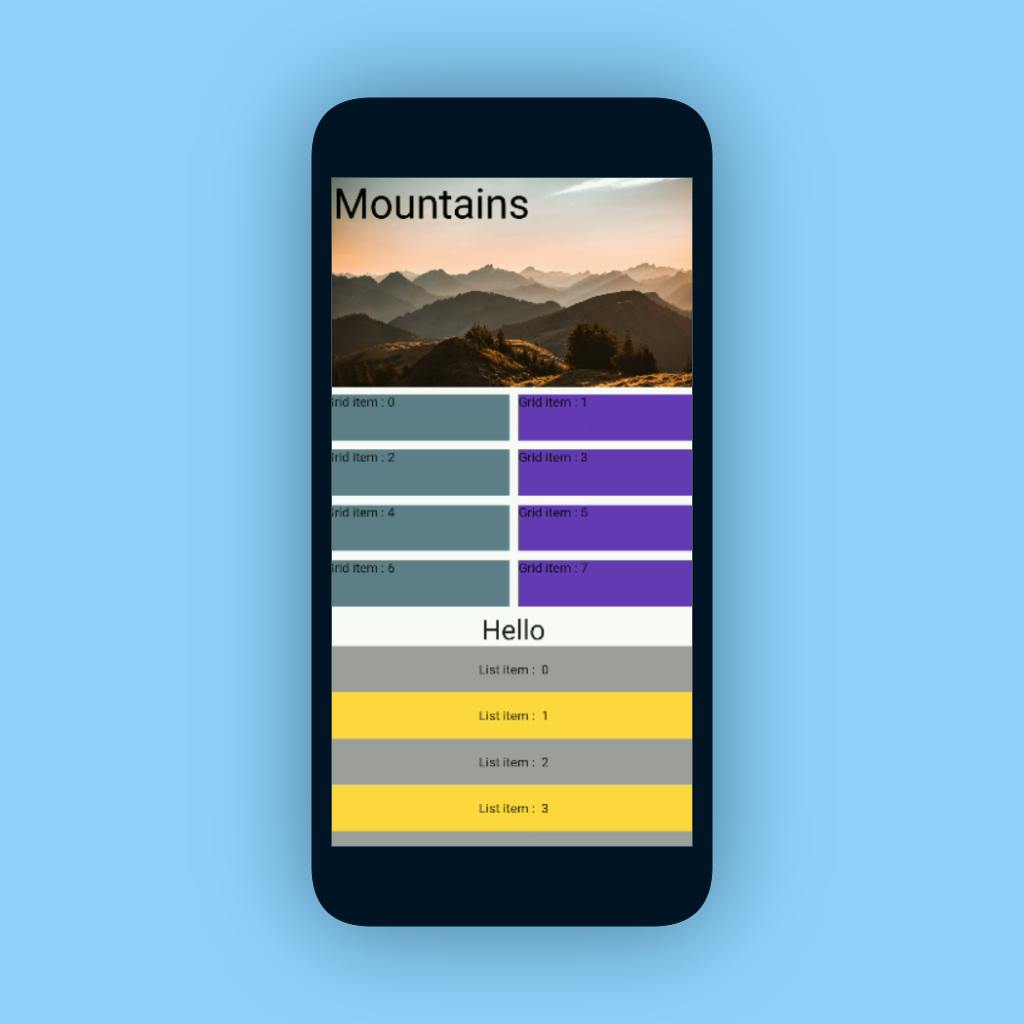
- As you can see the SliverToBoxAdapter fits the child with the space it needed.
- Sometimes we want to display a single sliver widget between scrollable areas like ListView and GridView. In that case, we can use SliverToBoxAdapter widget.
🏈 SliverFillRemaining
- If you want to fill the remaining space of the viewport with a widget then we can use the SliverFillRemaining widget.
- It will fill up the remaining space available in the viewport.
- Typically this will be the last sliver in a viewport, since (by definition) there is never any room for anything beyond this sliver. For example,
Footer CustomScrollView( slivers: <Widget>[ SliverToBoxAdapter( child: Container( color: Colors.grey, height: 550.0, child: Center( child: Text( "Content", style: TextStyle(fontSize: 28), ), ), ), ), SliverFillRemaining( hasScrollBody: false, child: Container( color: Colors.blue[100], child: Center( child: Text( "Footer", style: TextStyle(fontSize: 28), ), )), ), ], );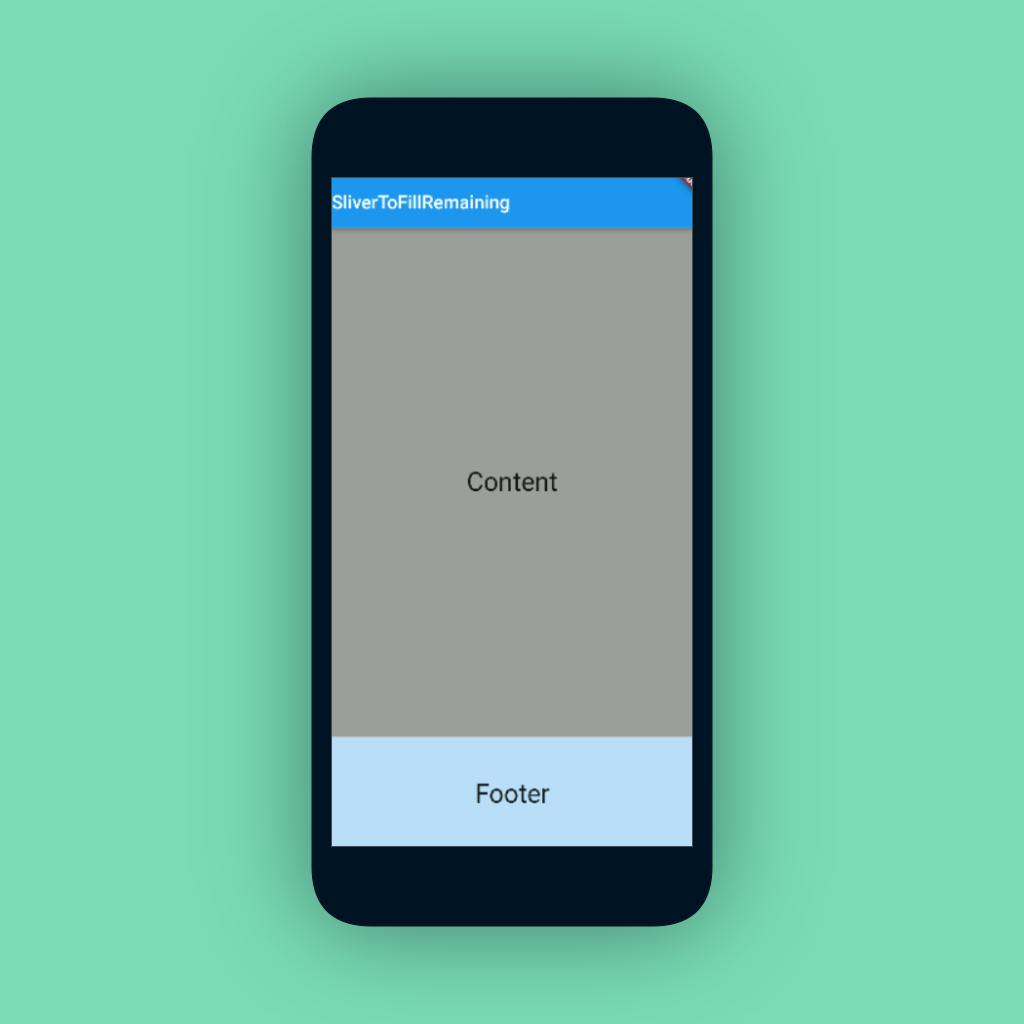
- In the above example, the SliverFillRemaining scales up/down its child to fill the remaining extent of the viewport in both axes.
- The
hasScrollBodyflag indicates whether the sliver's child has a scrollable body. This value is nevernull, and defaults to true. - SliverFillRemaining scales up/down its child to fill the viewport in the main axis if that space is larger than the child's extent, and the amount of space that has been scrolled beforehand has not exceeded the main axis extent of the viewport.
- The
fillOverScrollis used when we want to fill the empty space when the user scrolls towards the AppBar. SliverFillRemaining( fillOverscroll: true, hasScrollBody: false, child: Container( color: Colors.blueGrey, child: Center( child: Text( "Footer", style: TextStyle(fontSize: 22), ), ), ), )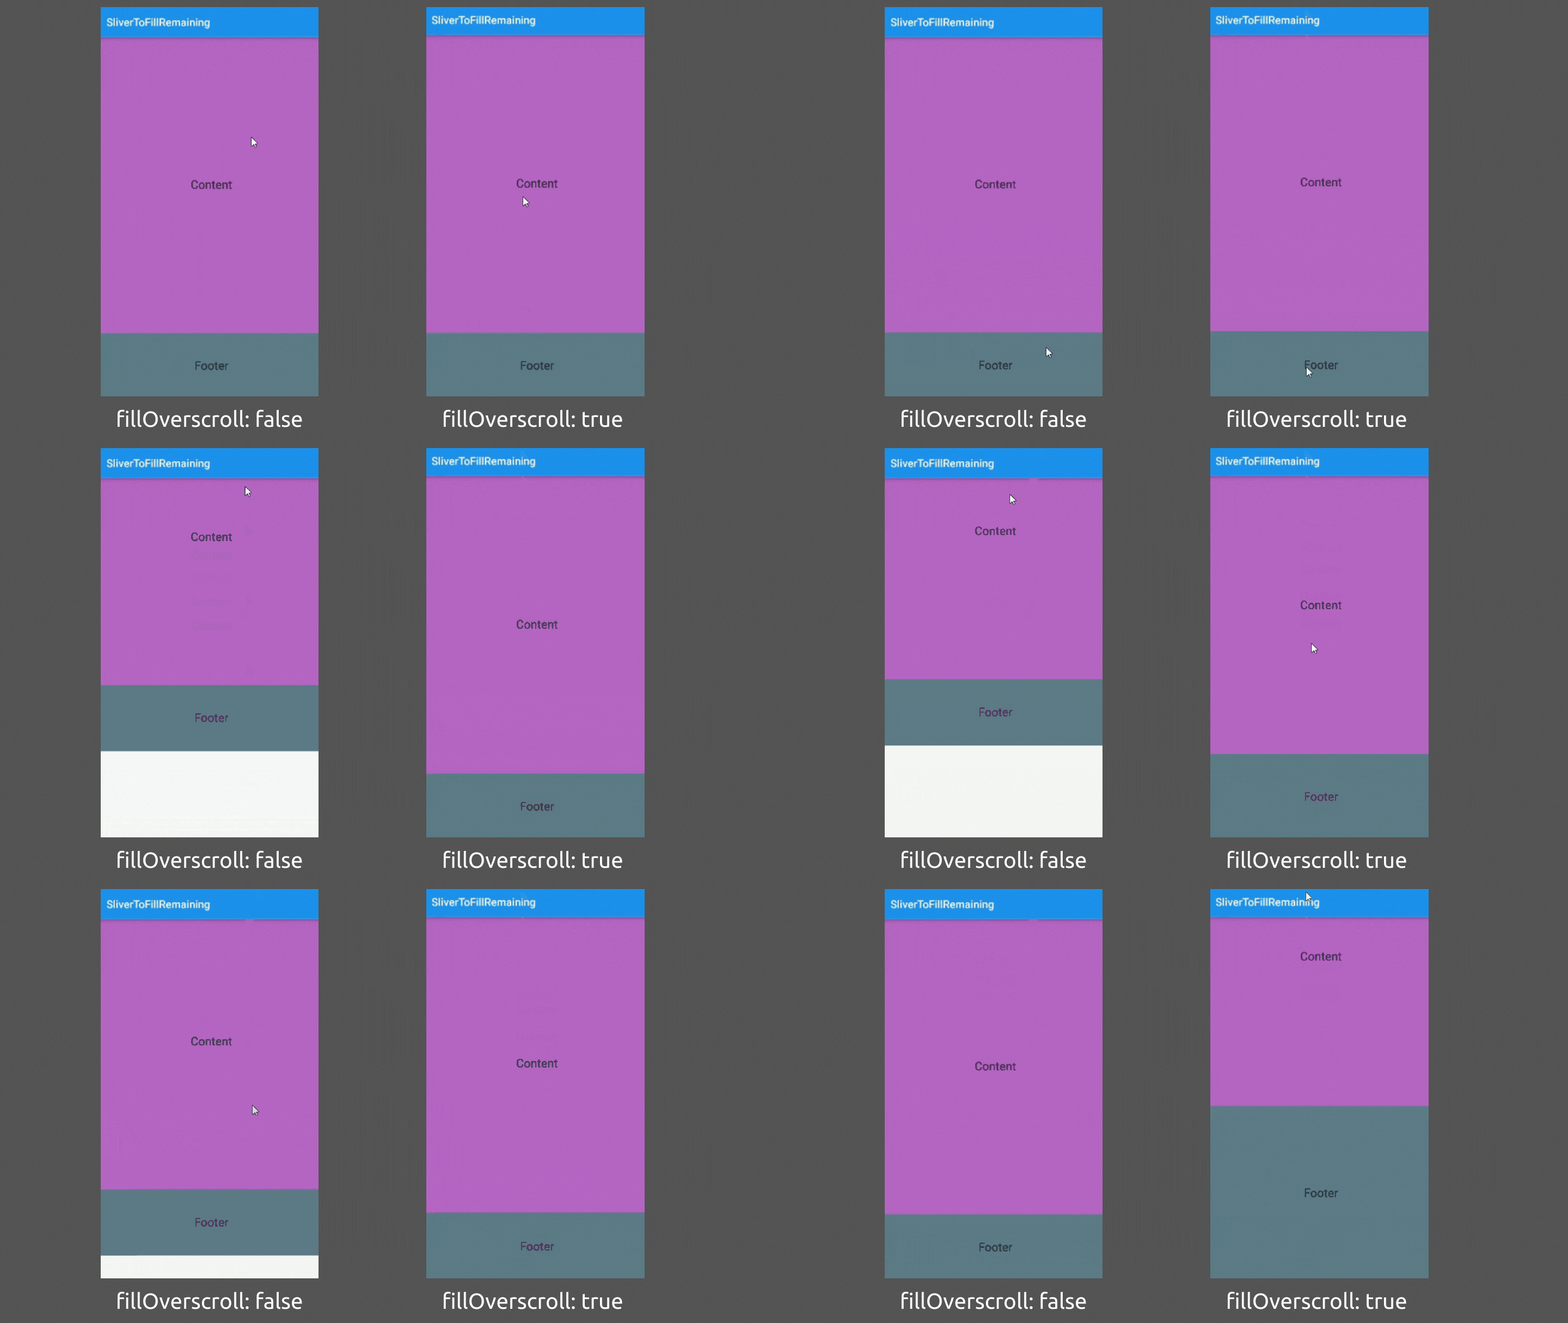
🏉 SliverPadding
- It works the same as the normal
Paddingwidget works. The only difference is it takessliverinstead ofchild. - You can give padding to any
sliverwidget by wrapping it inside theSliverPaddingwidget. SliverPadding( padding: EdgeInsets.all(12), sliver: SliverList( delegate: SliverChildBuilderDelegate( (context, index) { return Container( height: 50, alignment: Alignment.center, color: index.isEven ? Colors.grey : Colors.amberAccent, child: Text('List item : $index'), ); }, childCount: 10, ), ), ),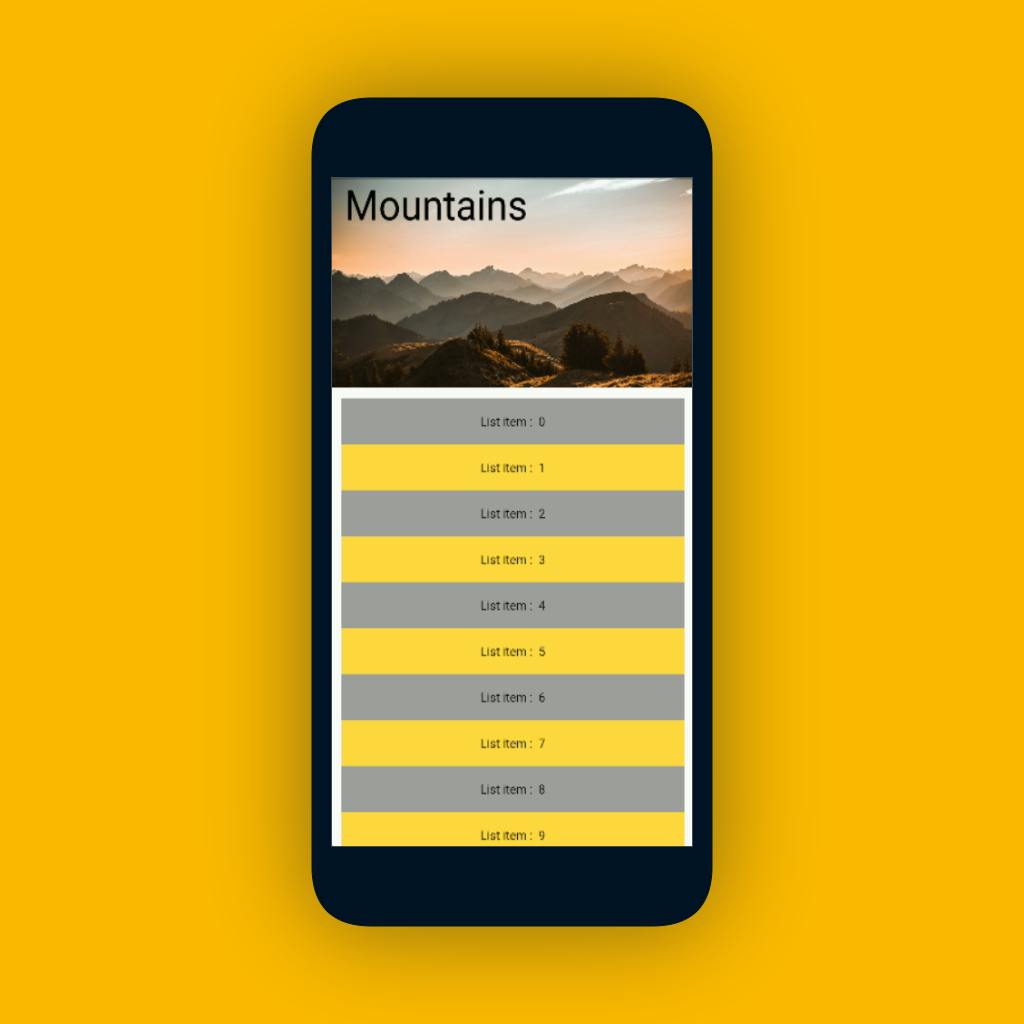
➰ Wrapping Up
- SliverPersistentHeader - Used to create custom sliver header.
- SliverFixedExtentList - Used to create a list when size is known.
- SliverPrototypeExtentList - Used to give the prototype size, to all the widgets defined in the list,
- SliverFillViewport - Widget defined in this widget will fill the viewport.
- SliverToBoxAdapter - Used to define a single box widget between scrollable widgets or at the top (ex:header).
- SliverFillRemaining - Widget defined in this, will fill all the remaining space.
- SliverPadding - Used to give padding around the Sliver widgets.
Previous Article:
- If you liked this article 💙, make sure to share it with your friends 👨💻.
- If I've missed something then let me know in the comment. I'd love to improve it ✍️.
- See you in the next article.👋 Until then...

