Introduction
- Learning to code does not have to be a time-consuming and difficult task. I'm here to help you learn the basics and become familiar with Flutter/Dart so you'll have all you need to start making mobile apps.
- There is no requirement for prior app development expertise. Only a little time and a genuine willingness to learn are required.
- In this article, I'll take you through the entire process, from learning about Flutter to installing it and creating a simple app with some widgets.
- By the end of this article, we'll have Android, iOS, Web, and Desktop apps available.
- Without further ado, let's get this party started.
Flutter
- Flutter is a Google open-source framework for creating attractive, natively built, cross-platform apps with a single codebase.
- Thanks to its fantastic development experience and ability to create high-quality apps on numerous platforms, Flutter is fast becoming the world's most popular cross-platform framework.
- To become proficient in Flutter, you must quit watching lessons on YouTube and begin producing something.
- I've developed a series of articles that will be read in order to help you become a more effective full-stack flutter developer.
Getting Started
- To get started head over to Flutter.dev and follow the installation instruction for your system.
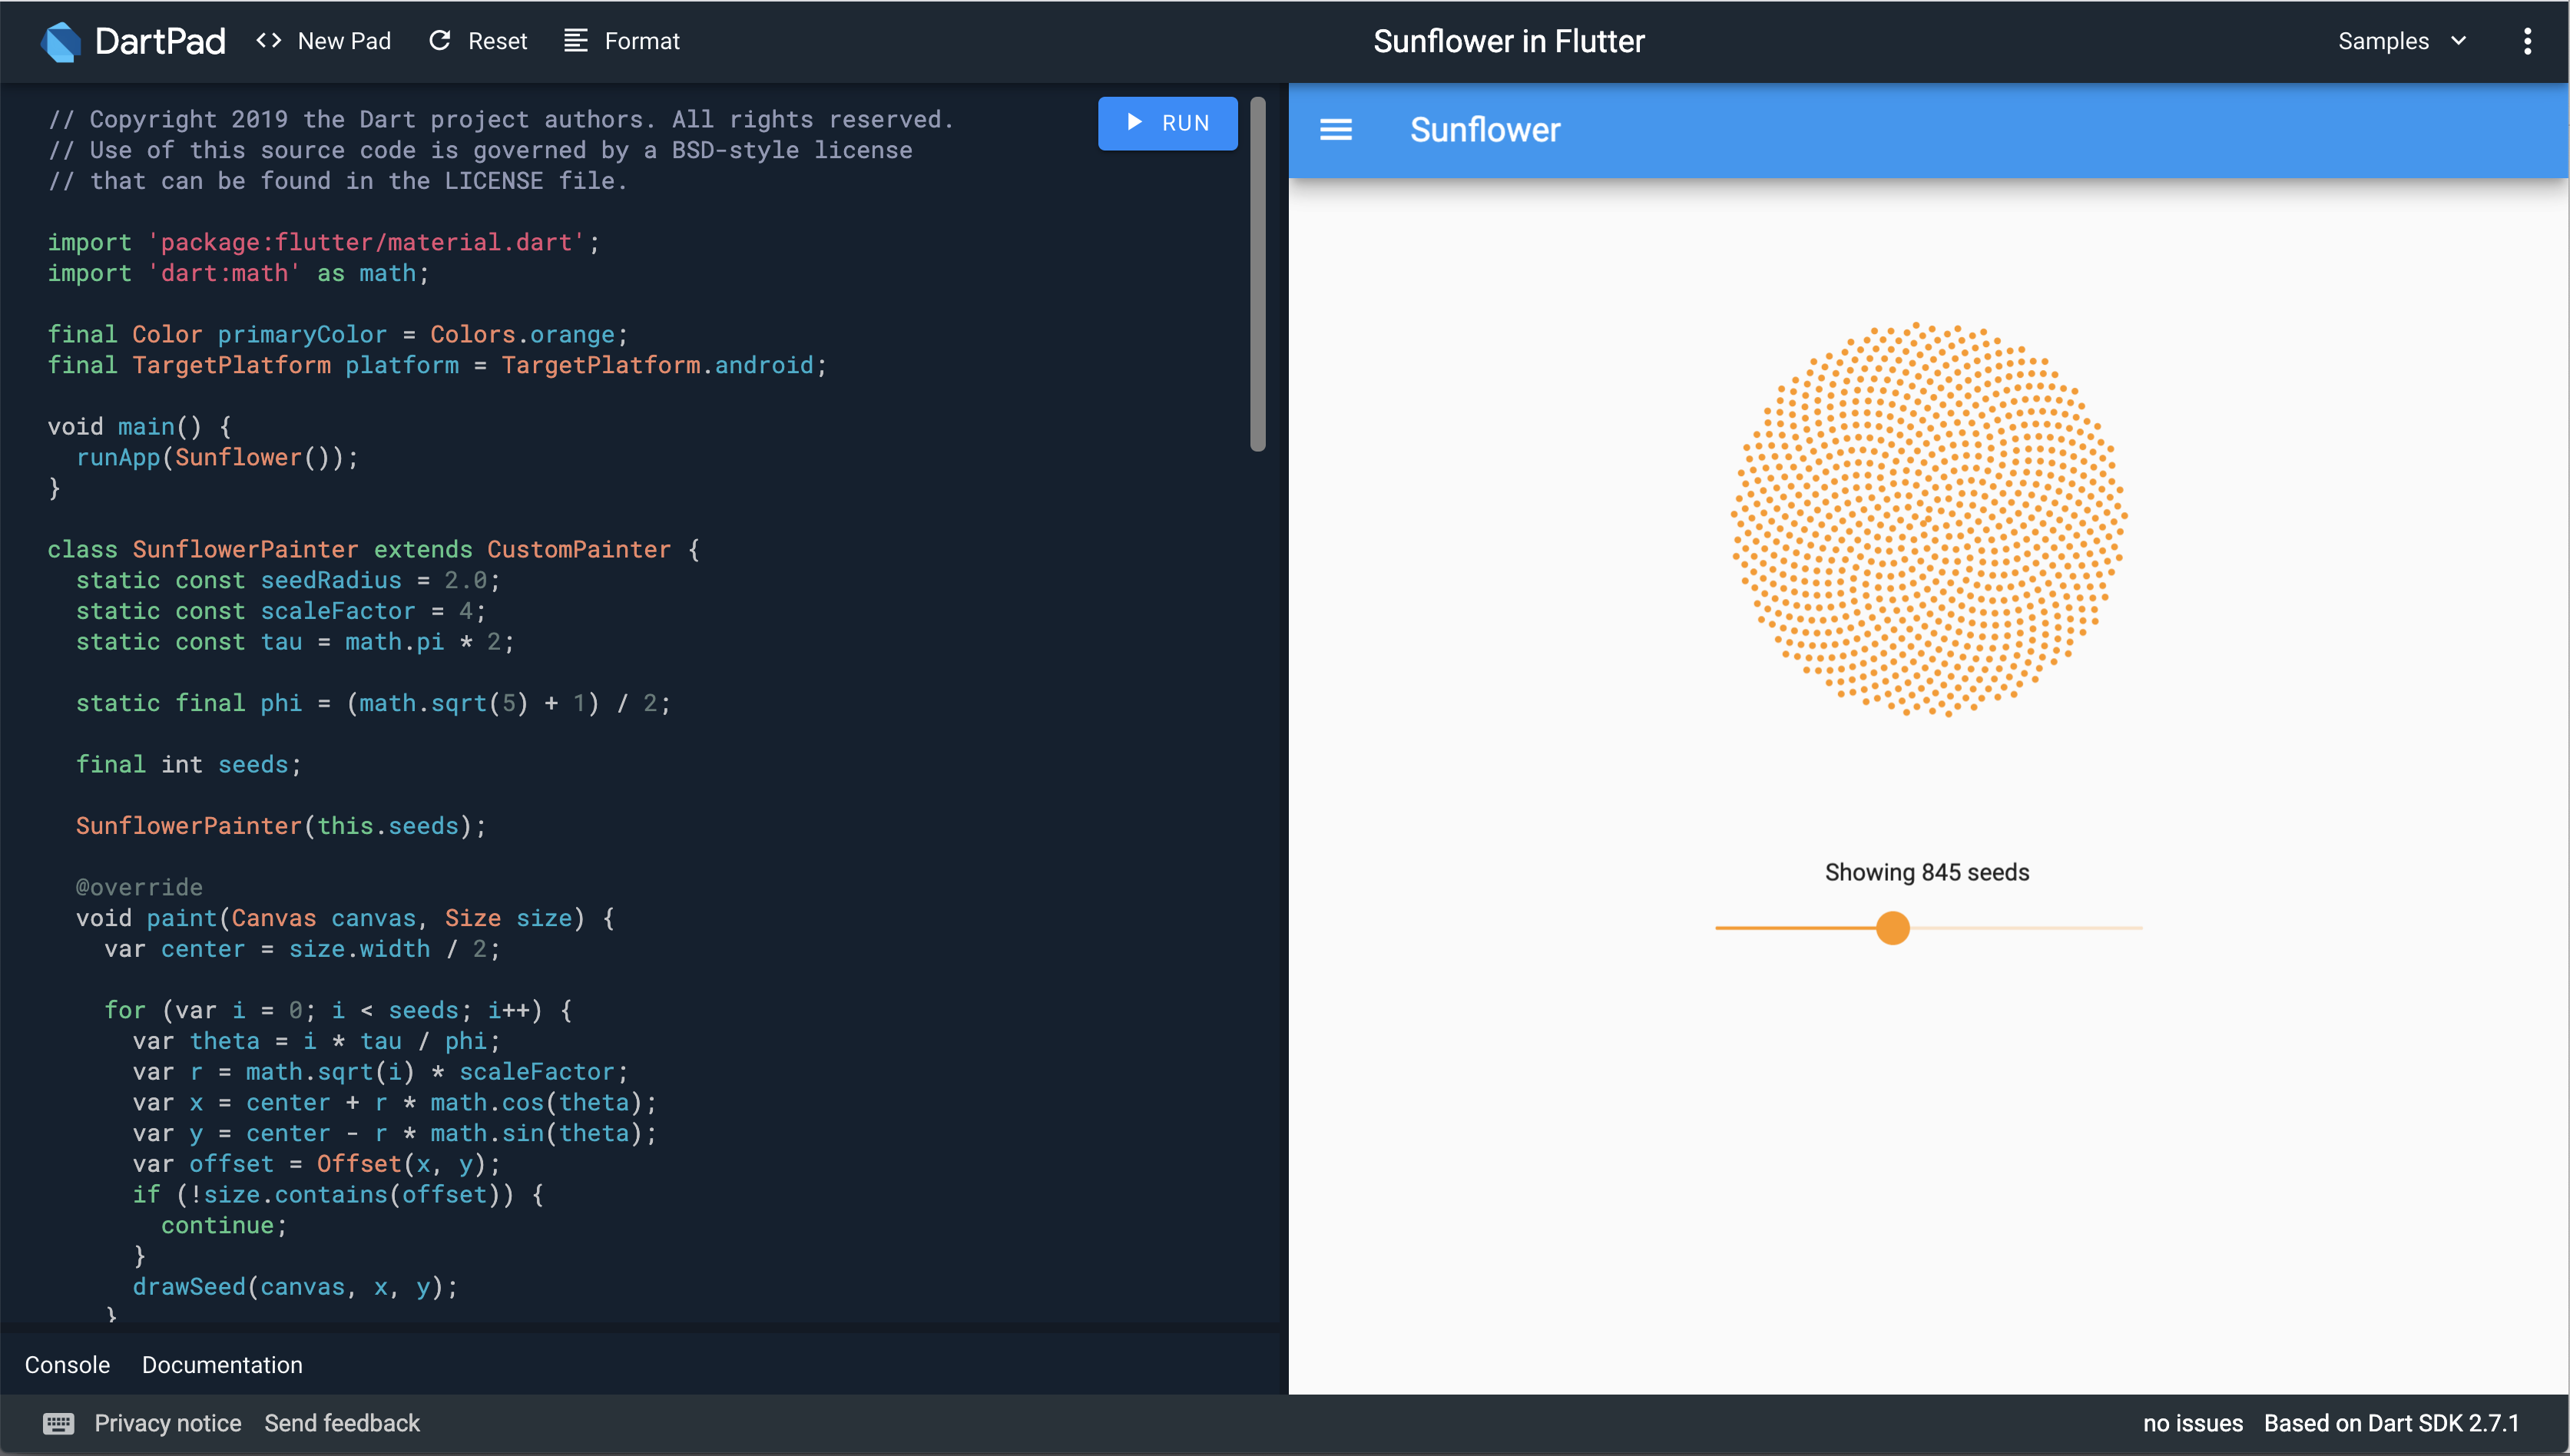
- If you want an easier way to get started Dartpad allows you to edit and run flutter code in the browser
Creating First App
- After the installation, head over to your terminal and run the below command.
flutter create firstapp
- The above command will create a new flutter project in your destined folder.
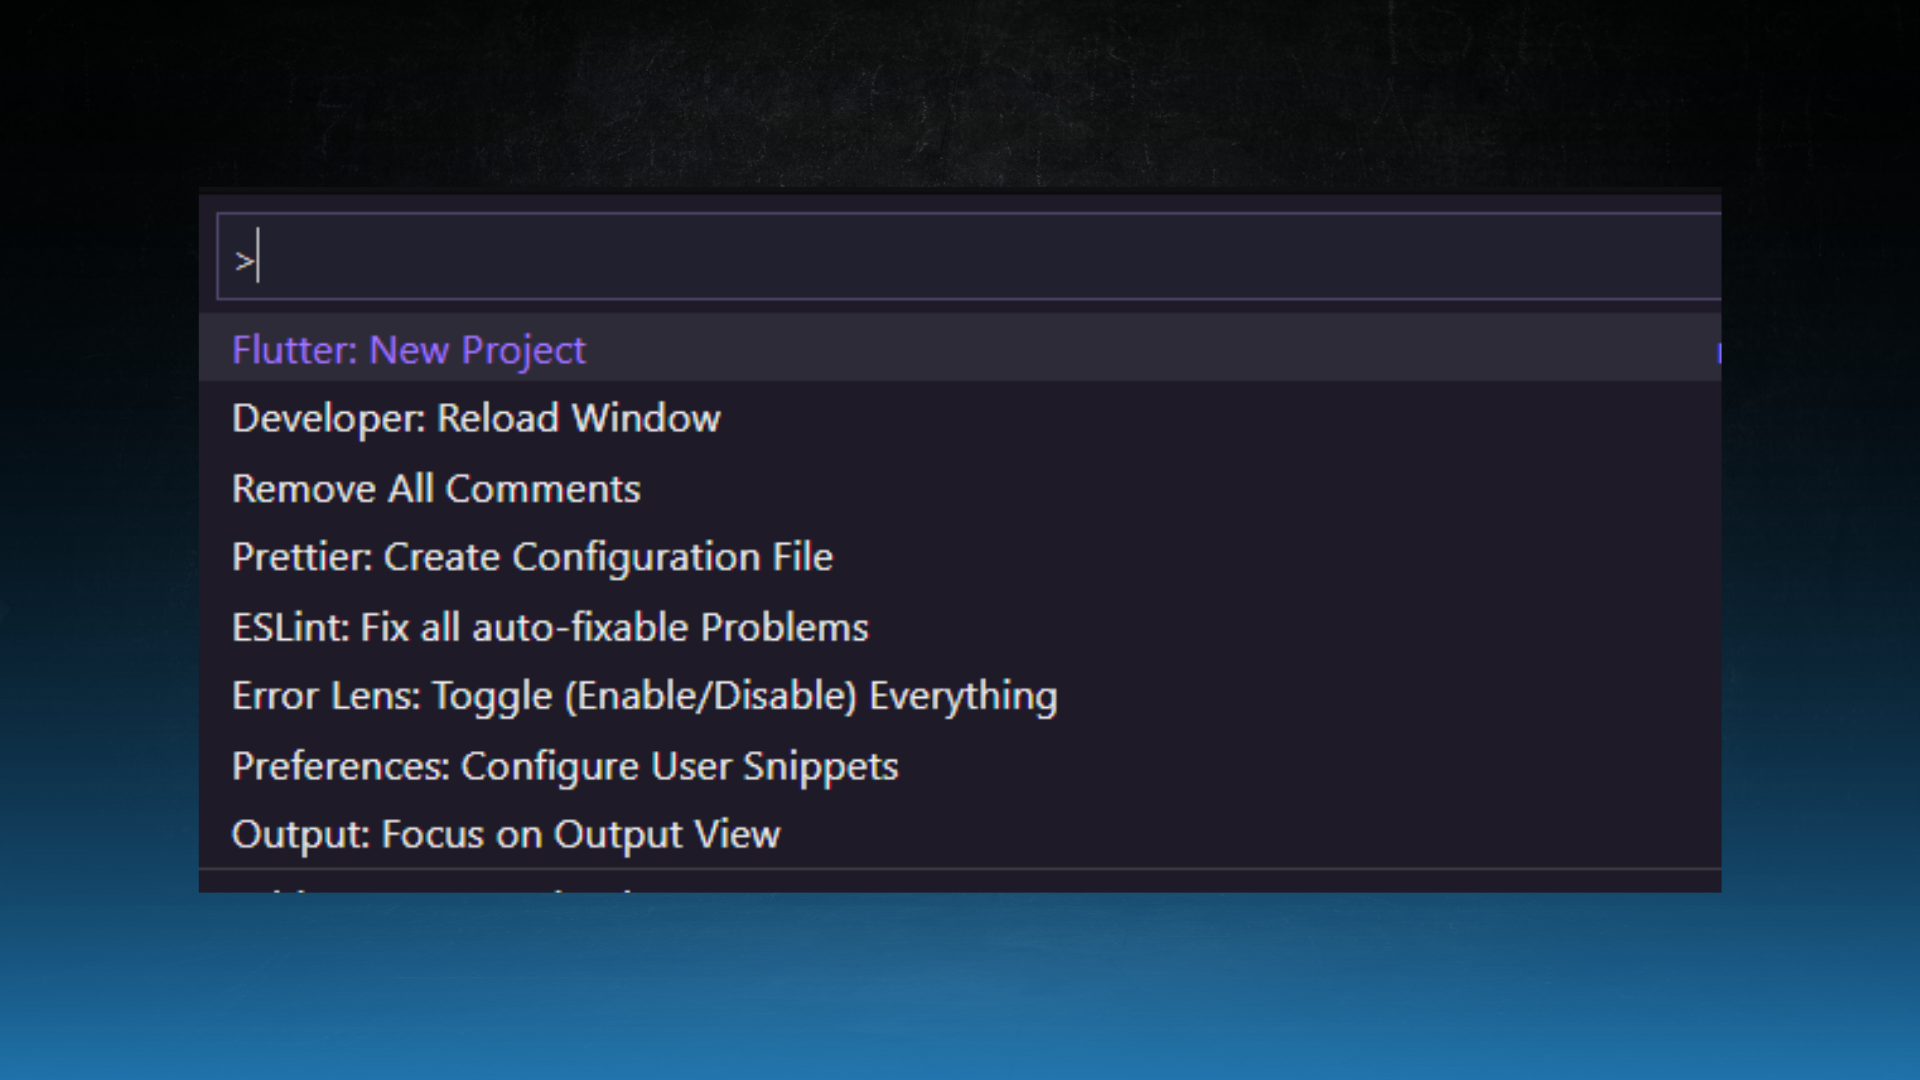
- If you are using VS Code, then hit
Ctrl + Shift + p and write Flutter: New Project. This will create a new Flutter project for you.
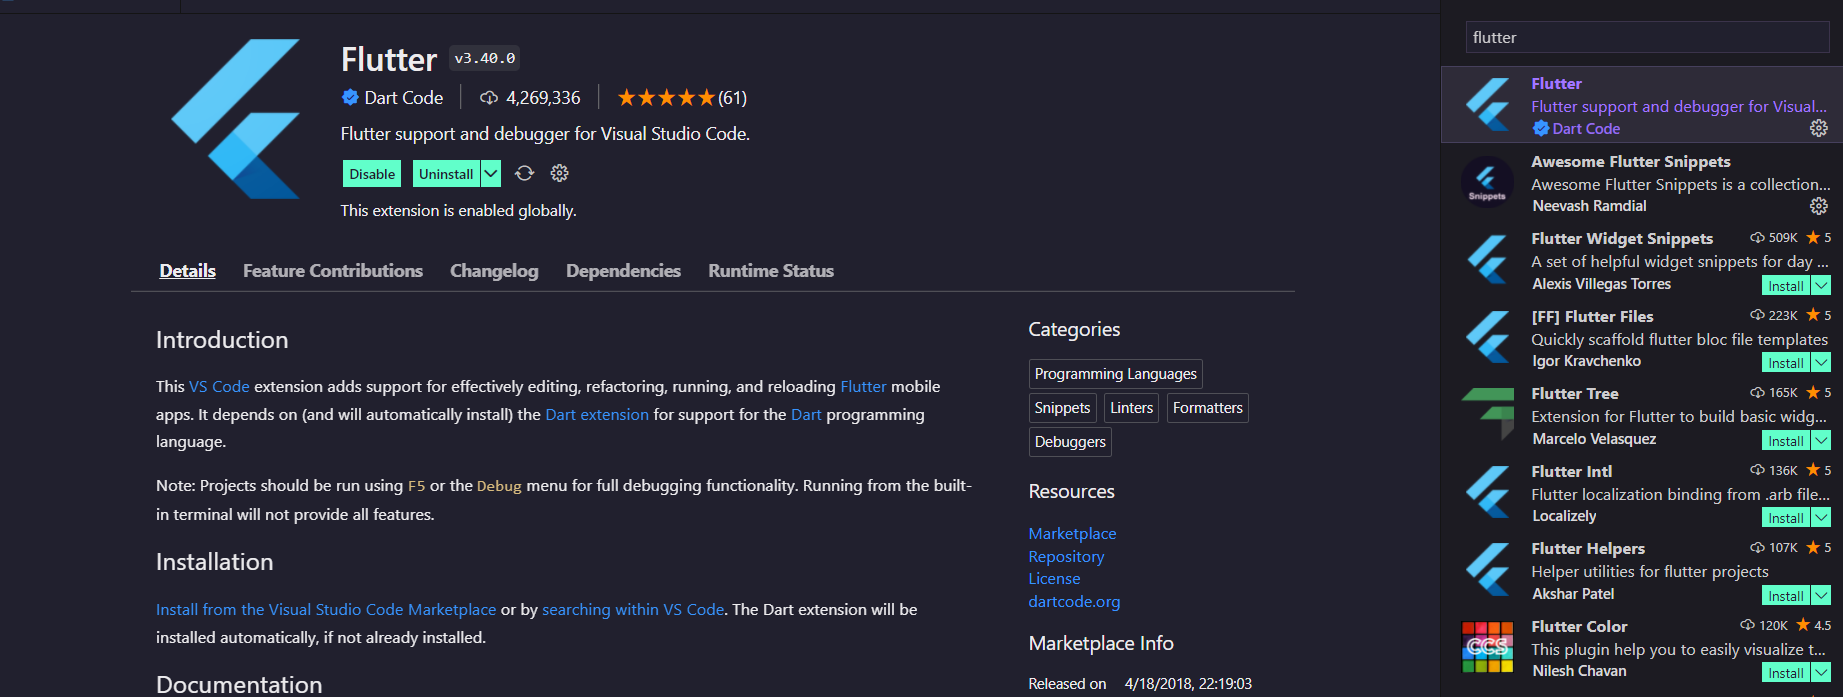
- Now, open this project in your favorite IDE, and install the plugin for Flutter.
Running the App
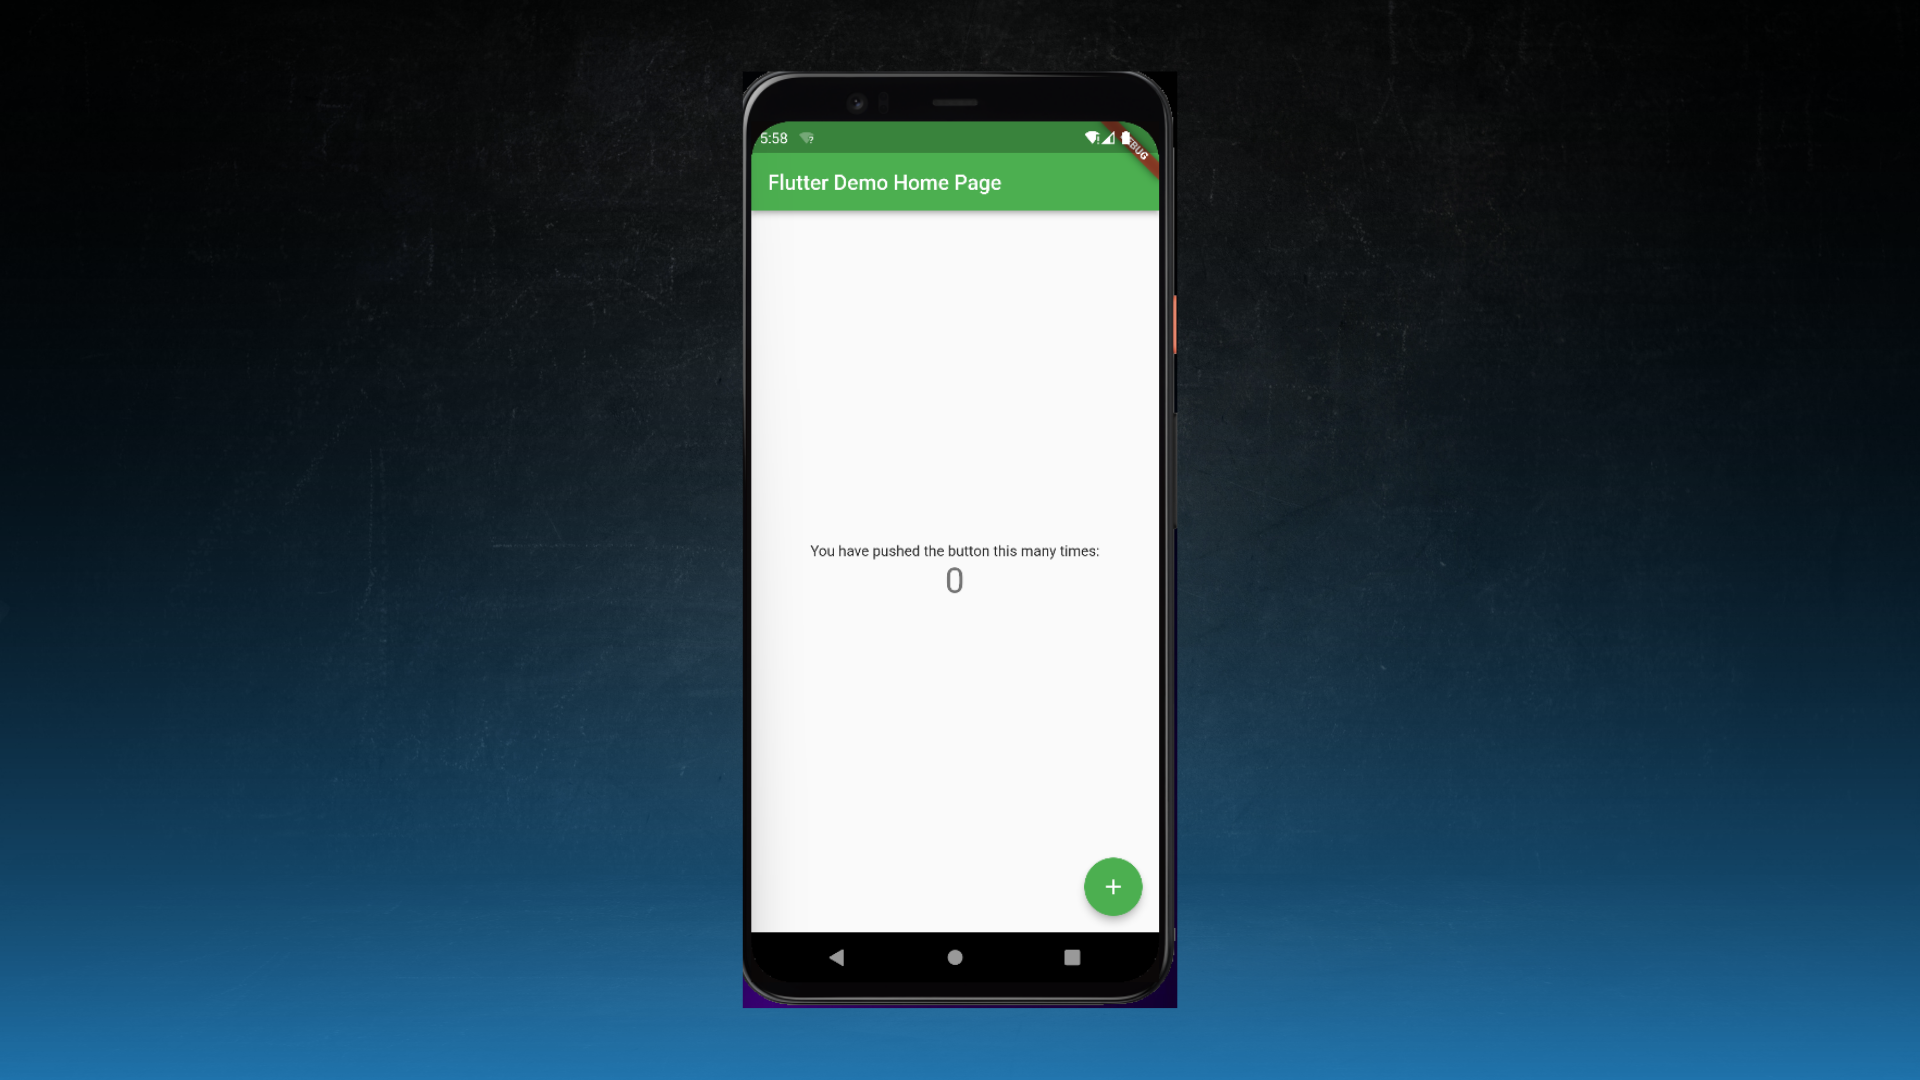
- Flutter comes with a basic counter app by default. This app works on a variety of platforms, including Windows, Android, iOS, Web, Desktop, Linux, and more.
- By clicking on the bottom-right corner of the VS Code, you can view all of the available devices.
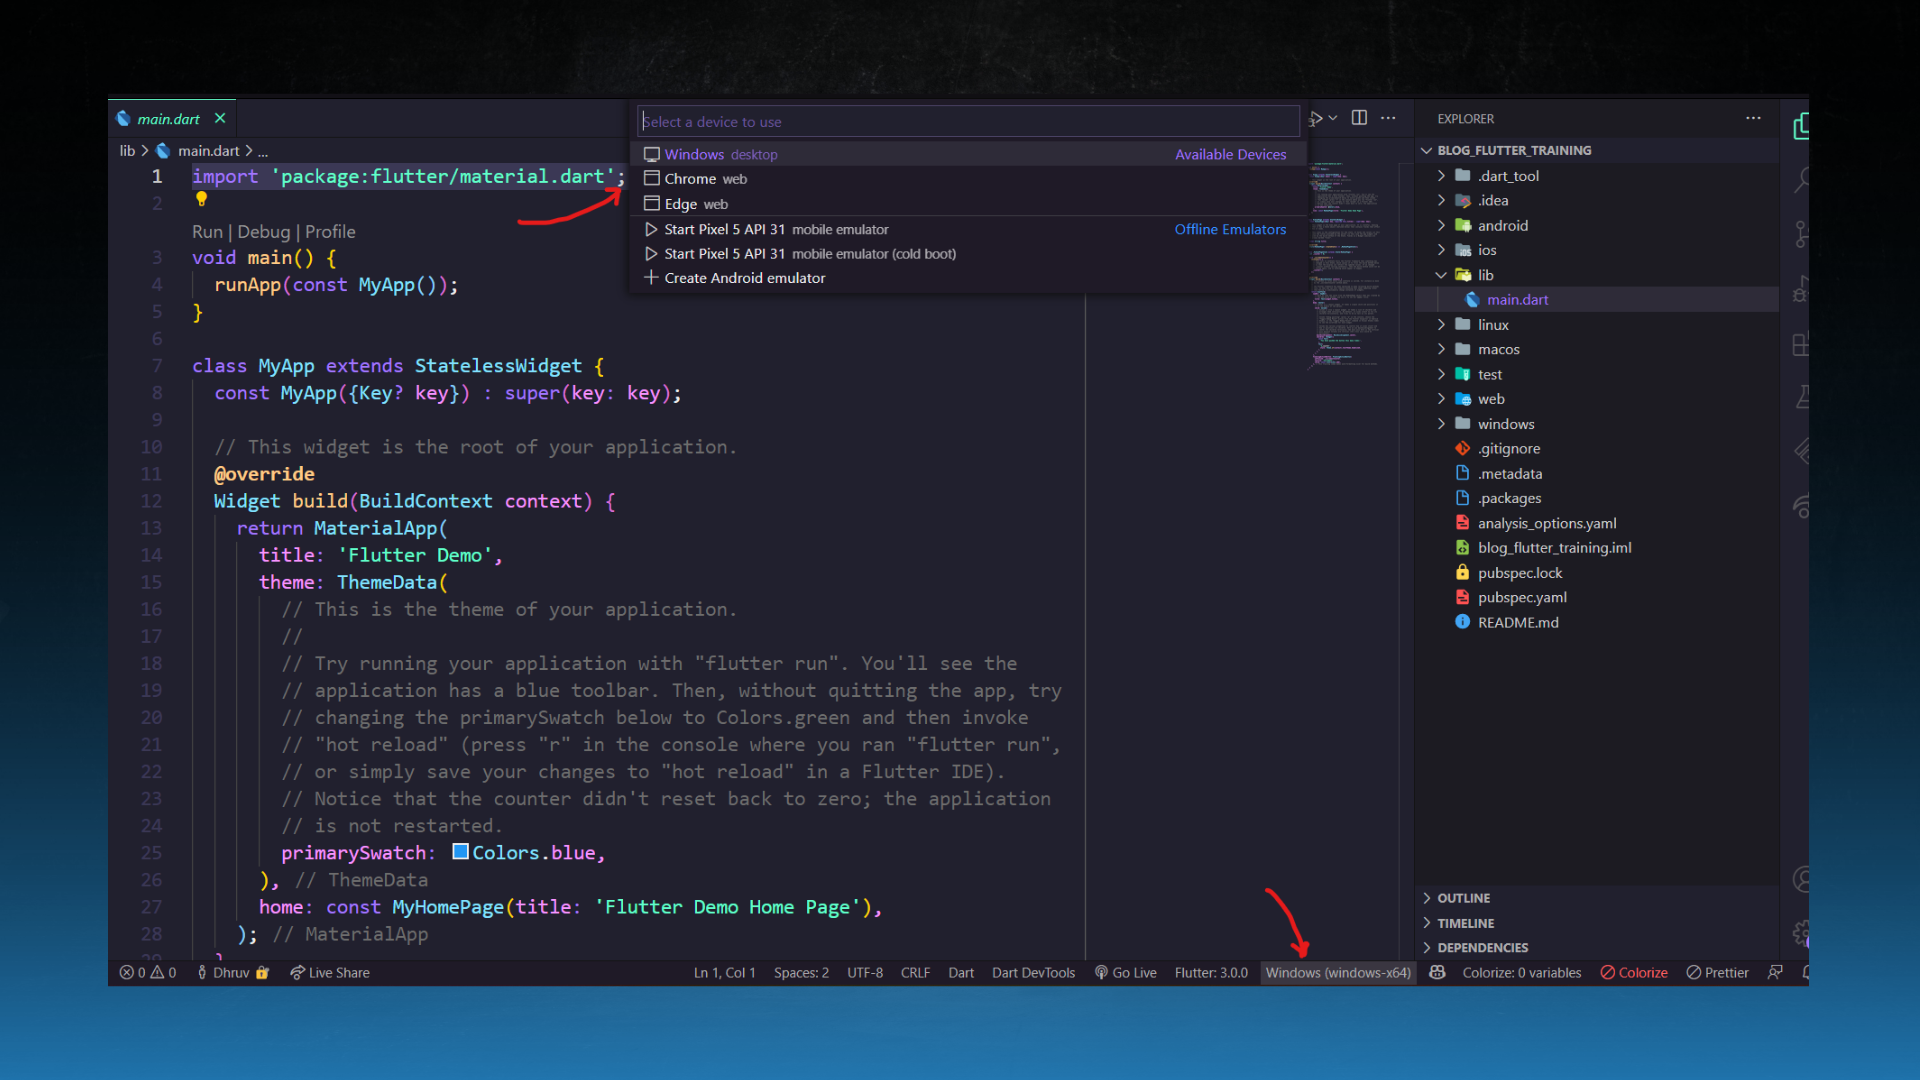
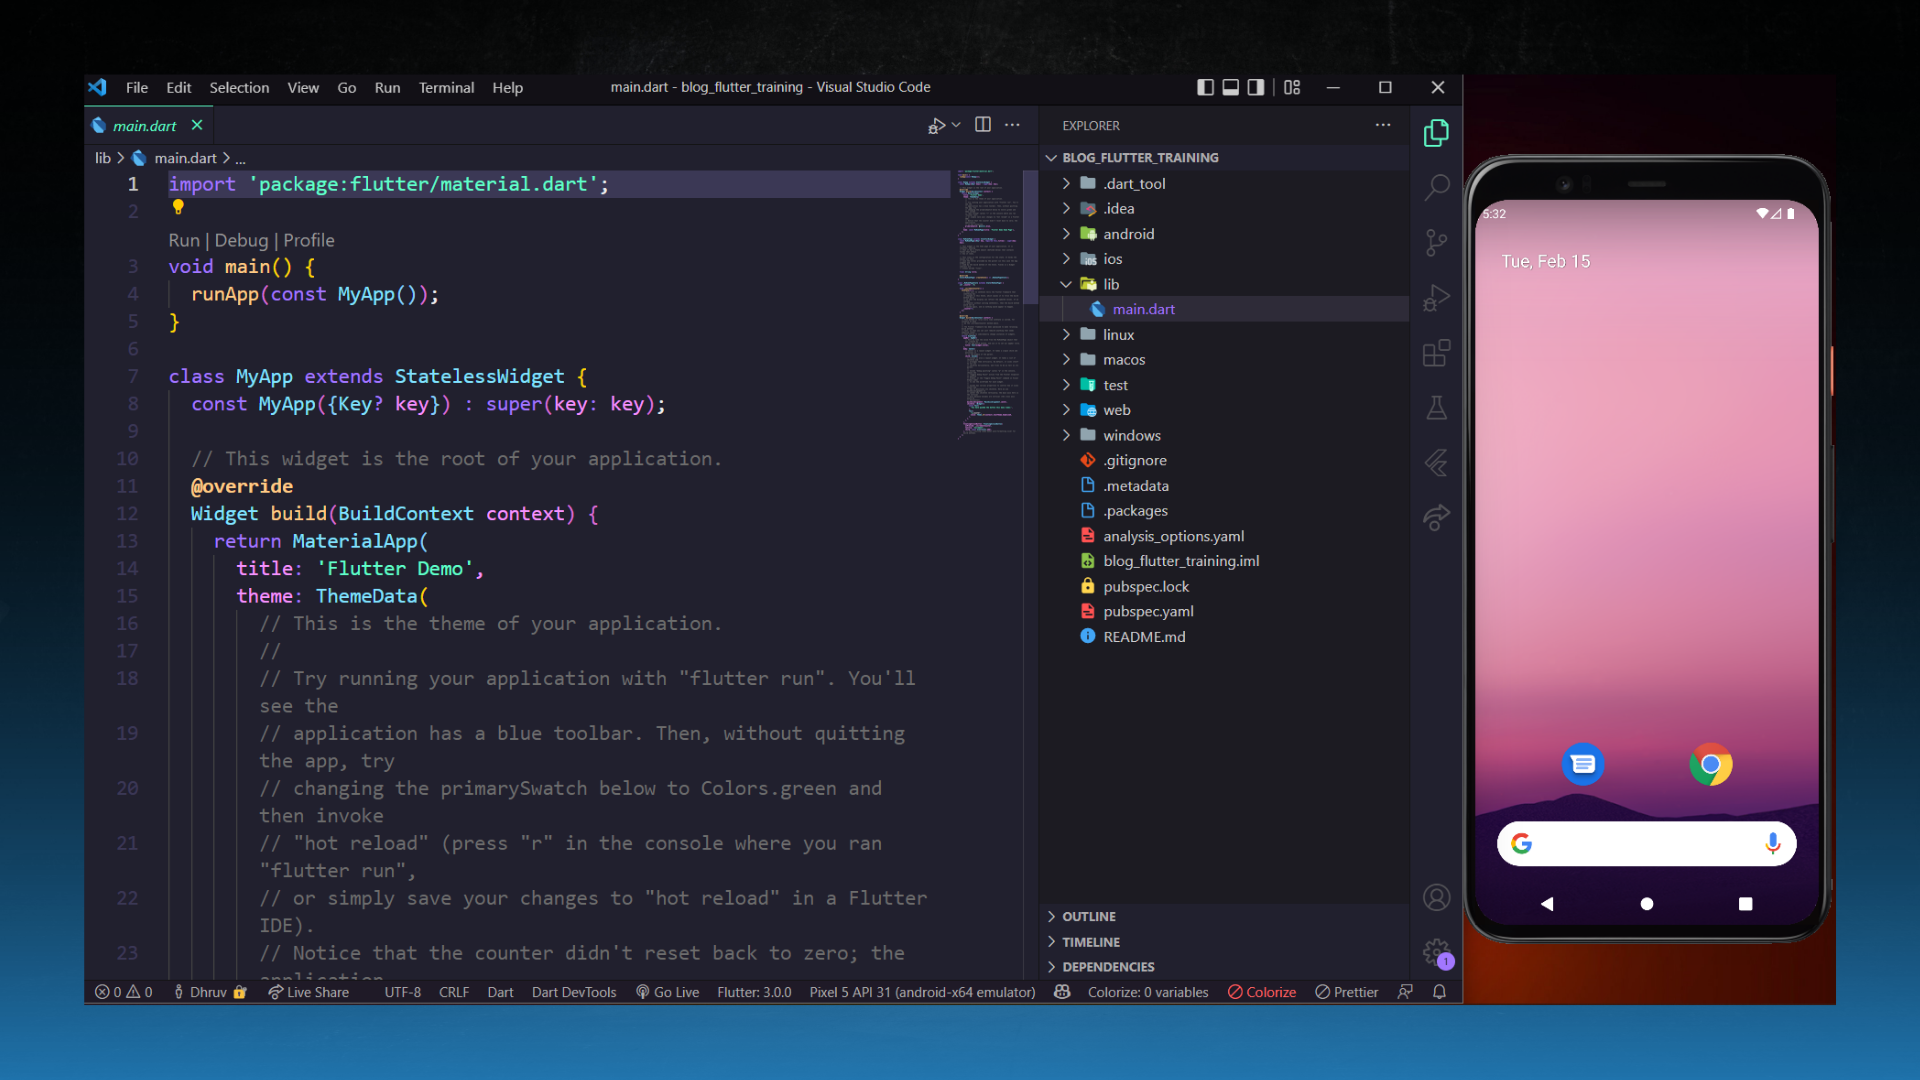
- I'm going to run my application on Android Emulator.
- After that run the below command in your VS Code terminal to run the application on the device :
flutter run
- Or you can simply press F5 to run the application. After the successful building, you will the Counter app running on your device
Hot Reload and Hot Restart
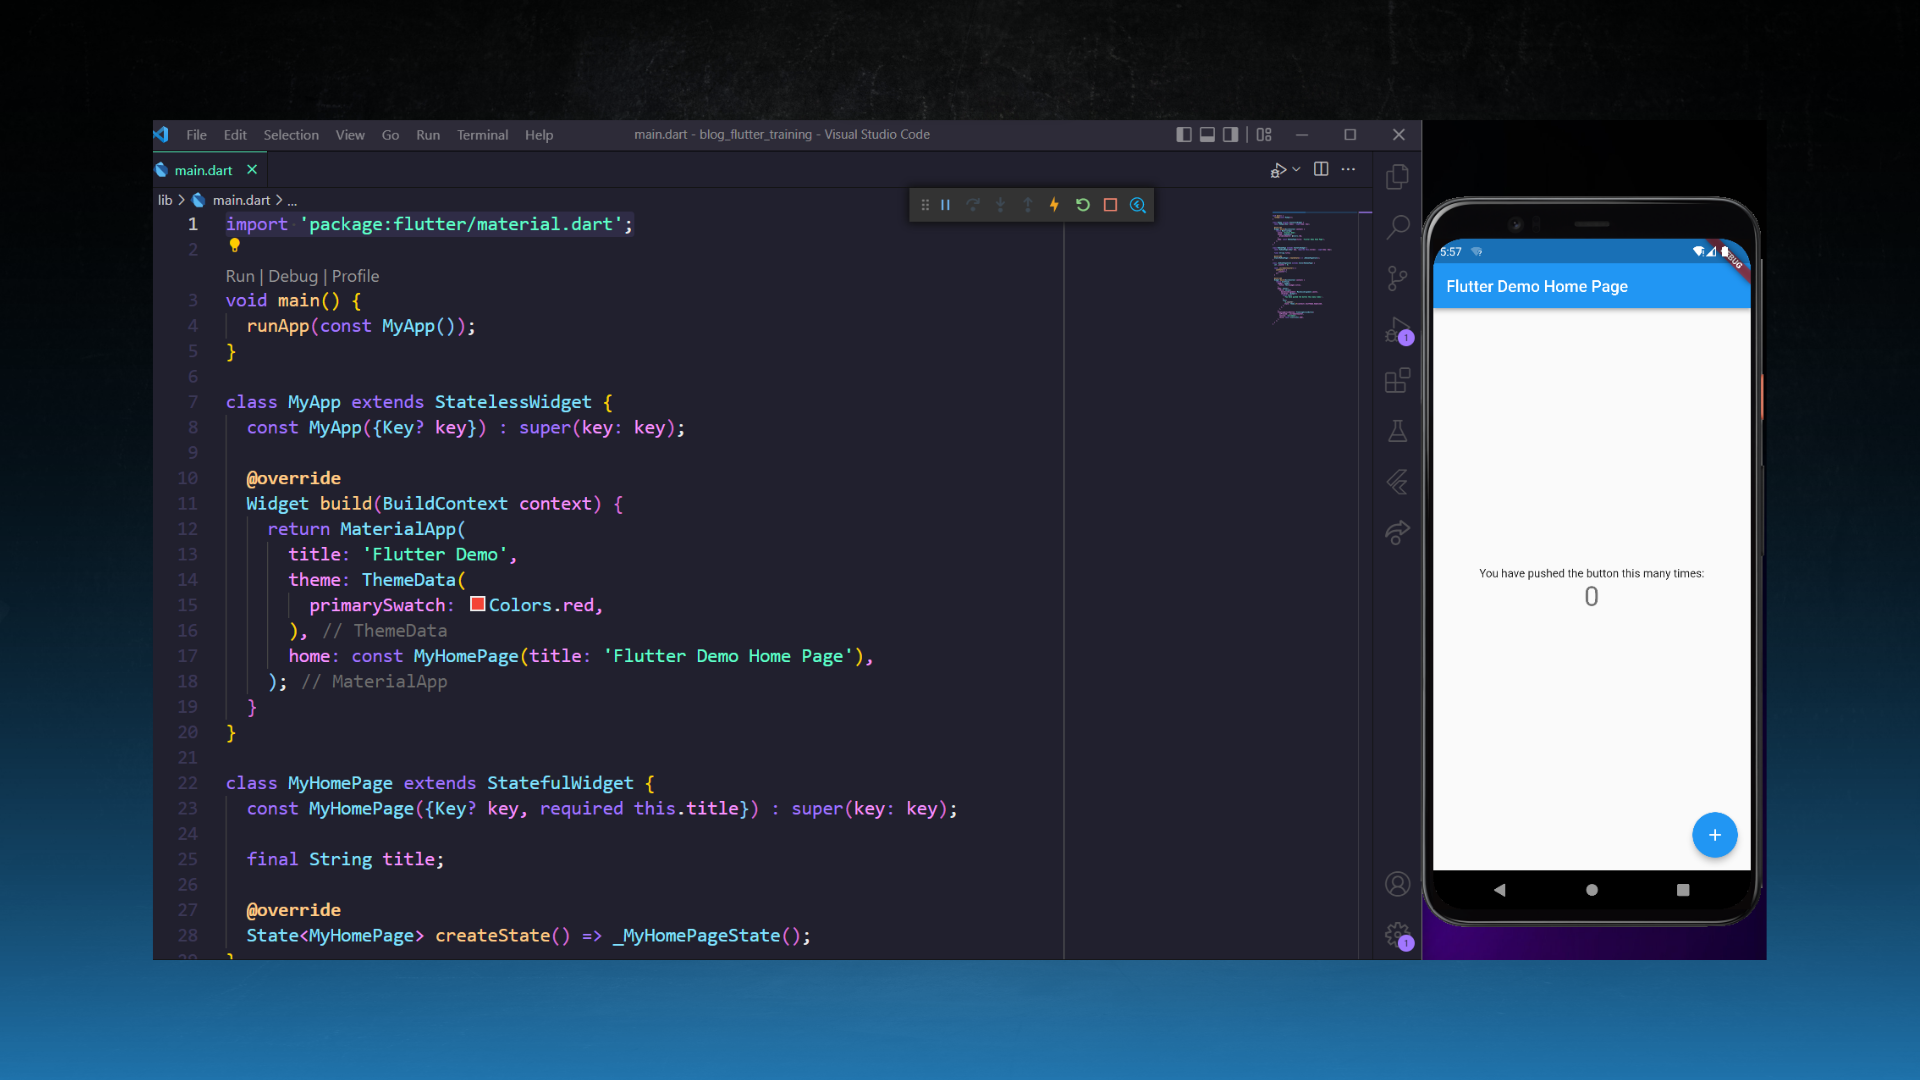
Find and change the color of primarySwatch inside MyApp class
class MyApp extends StatelessWidget {
const MyApp({Key? key}) : super(key: key);
@override
Widget build(BuildContext context) {
return MaterialApp(
title: 'Flutter Demo',
theme: ThemeData(
primarySwatch: Colors.blue,
),
home: const MyHomePage(title: 'Flutter Demo Home Page'),
);
}
}
- After changing the color save the file and press the hot-reload button
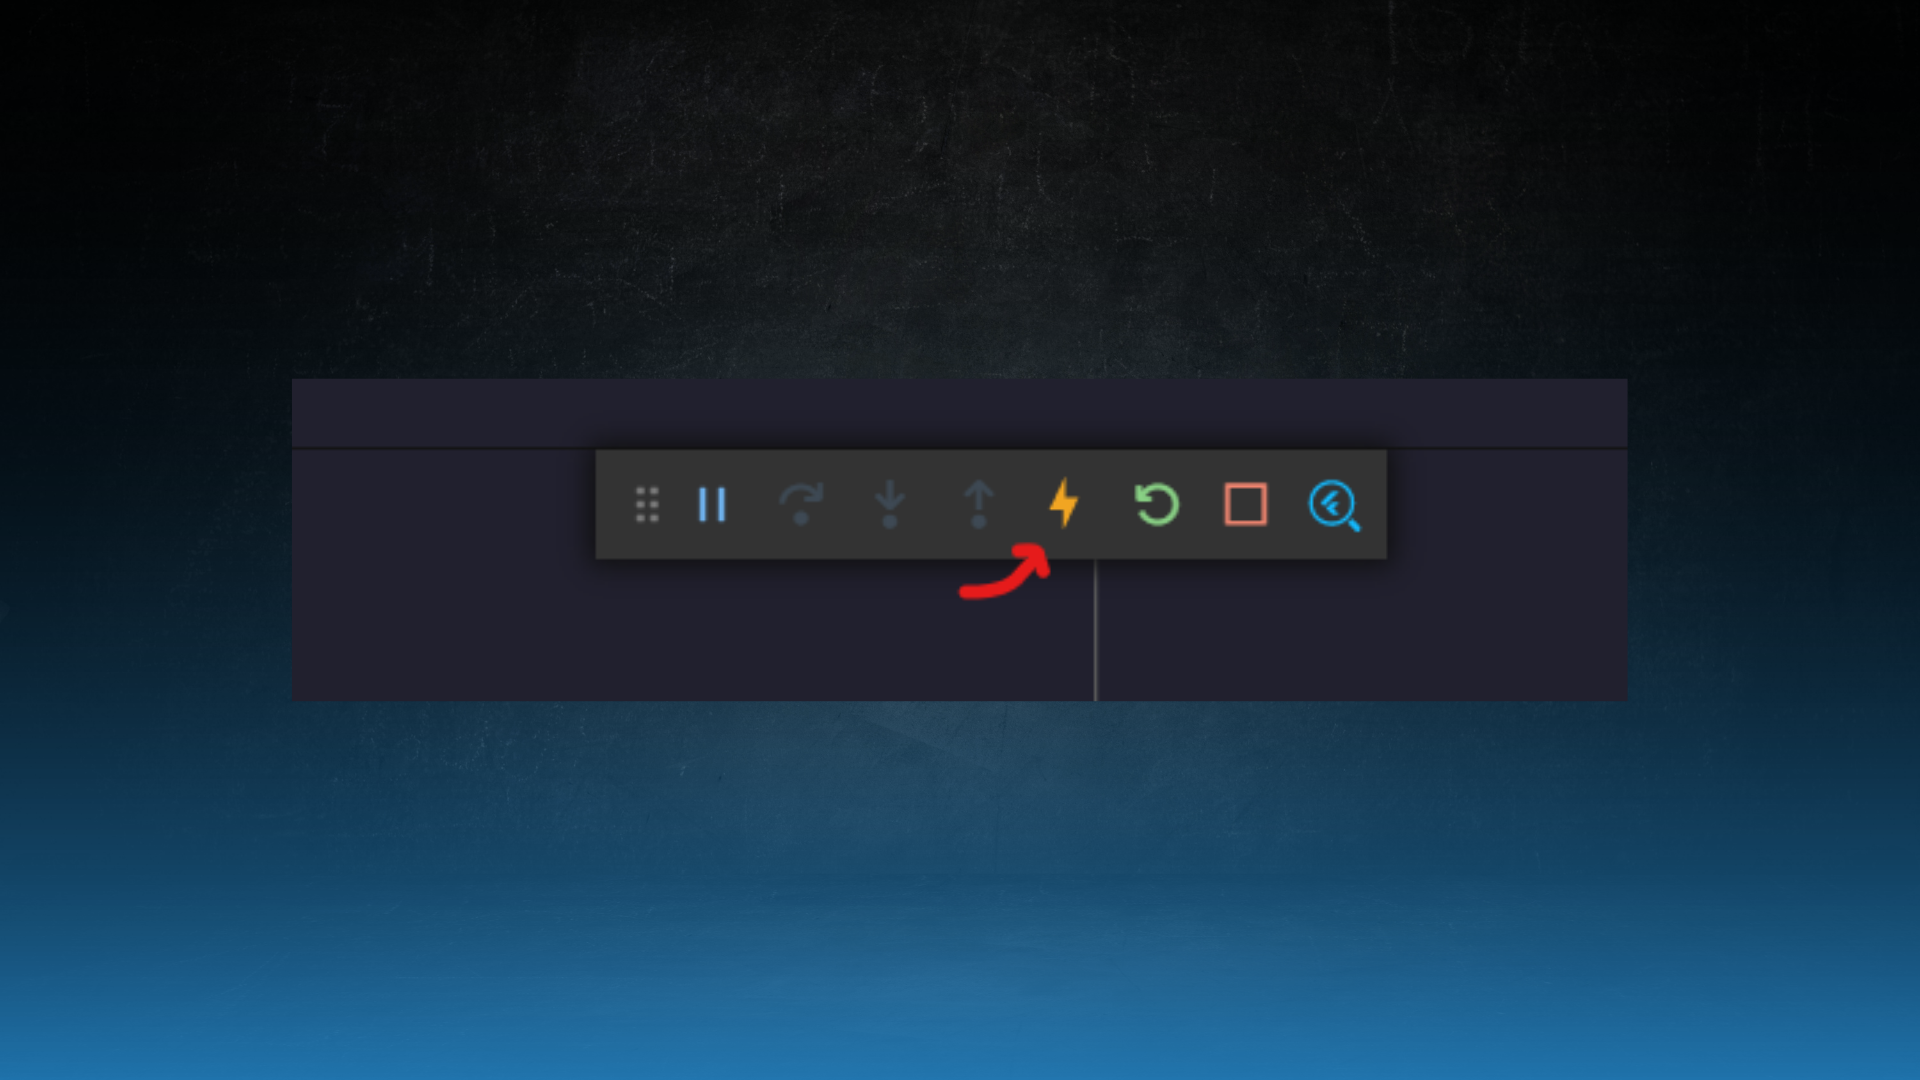
- That will perform the hot reload, allowing you to instantly see the changes in the UI, without having to rebuild the entire app.
- There is also one button right side of the Hot-Reload that allows you to re-run the entire application from the start.
- Hot-reload and Hot-restart are one of the features of the Flutter allowing developers to build the app quickly
Starting from Scratch
- Delete all the code inside the
main.dart file. We're going to write the app from the scratch.
- First of all import the flutter Material package at the top. This gives you access to hundreds of pre-built widgets in your code ranging from low-level building blocks like Text to complex UI elements like a Slivers.
import 'package:flutter/material.dart';
main method
- Each element on a screen of the Flutter app is a widget.
- The view of the screen completely depends upon the choice and sequence of the widgets used to build the app. And the structure of the code of an app is a tree of widgets.
- In order to create a custom widget type
stl, and IDE will give you a snippet suggestion for creating a stateless widget
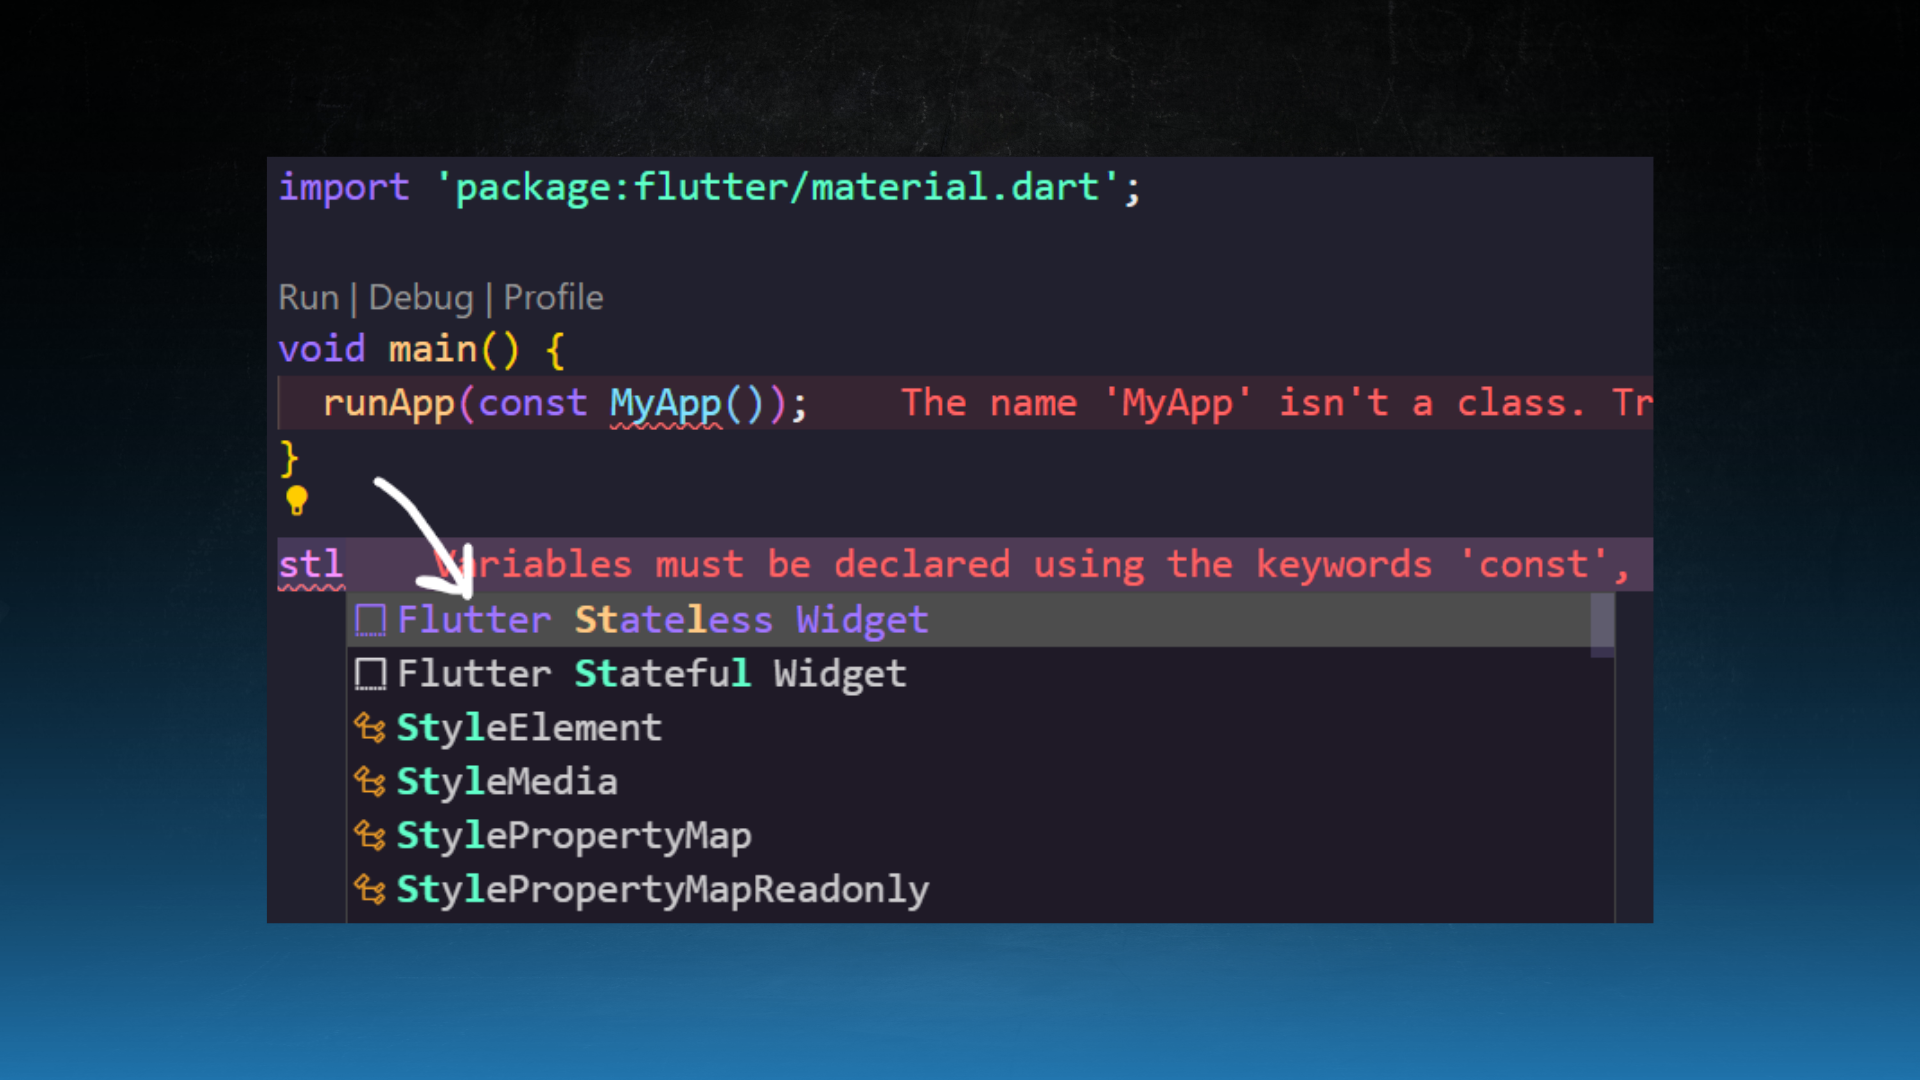
- After hitting on the snippet a class will be created that extends the StatelessWidget.
class MyApp extends StatelessWidget {
  const MyApp({Key? key}) : super(key: key);

  @override
  Widget build(BuildContext context) {
    return Container();
  }
- In flutter, there are two main Widgets: Stateless and Stateful widget.
- In simple words, If a widget does not change—when a user interacts with it, is called Stateless Widget.
- A Stateless widget never changes.
- Icon and Text are examples of stateless widgets.
- On the other hand, If a widget changes— when a user interacts with it, is called a Stateful widget.
- A stateful widget is dynamic
- For example, it can change its appearance in response to events triggered by user interactions or when it receives data. Checkbox, Radio, Slider, InkWell, Form, and TextField are examples of stateful widgets.
The build() method
- The build method returns a widget and will be called anytime Flutter needs to rebuild the UI.
- For example: when the user presses the button, your data changes and reflects on the screen.
MaterialApp
- The first widget we'll return inside the
build method is a Material app.
It's used as the root of the application and allows us to configure themes, routes, localization, title, etc of the application.
class MyApp extends StatelessWidget {
const MyApp({Key? key}) : super(key: key);

@override
Widget build(BuildContext context) {
  return MaterialApp(
    title: 'Flutter Demo',
    theme: ThemeData(
      primarySwatch: Colors.blue,
      visualDensity: VisualDensity.adaptivePlatformDensity,
    ),
    home:
  );
}
}
- MaterialApp must have at least one of the home, routes, onGenerateRoute, or builder properties non-null. And that's why we are going to learn about one more widget known as
Scaffold, which is used as a base for every screen.
- For an in-depth explanation of the MaterialApp widget check out the below article.
Scaffold
- Before we design anything in Flutter, we need something in the base which can hold the basic layout structure and provide us with some common widgets that help us build design easily.
- Scaffold implements the basic material design layout structure.
- Scaffold provides us AppBar, BottomNavigationBar, Drawer, FloatingActionButton, and BottomSheet, that we can use in our app.
- Ideally, in MaterialApp every page/Screen will consist of the parent widget as a Scaffold. If we don't give Scaffold as a parent widget there will be no material look and feel in Material App.
Let's give a Scaffold an AppBar
class MyApp extends StatelessWidget {
const MyApp({Key? key}) : super(key: key);

@override
Widget build(BuildContext context) {
  return MaterialApp(
    title: 'Flutter Demo',
    theme: ThemeData(
      primarySwatch: Colors.blue,
      visualDensity: VisualDensity.adaptivePlatformDensity,
    ),
    home: Scaffold(
      appBar: AppBar(),
    ),
  );
}
}
- Every pre-built widget has a bunch of
name parameters where you can customize its appearance.
- Put your cursor inside a widget then hit
ctrl+spacebar to bring up all the options.
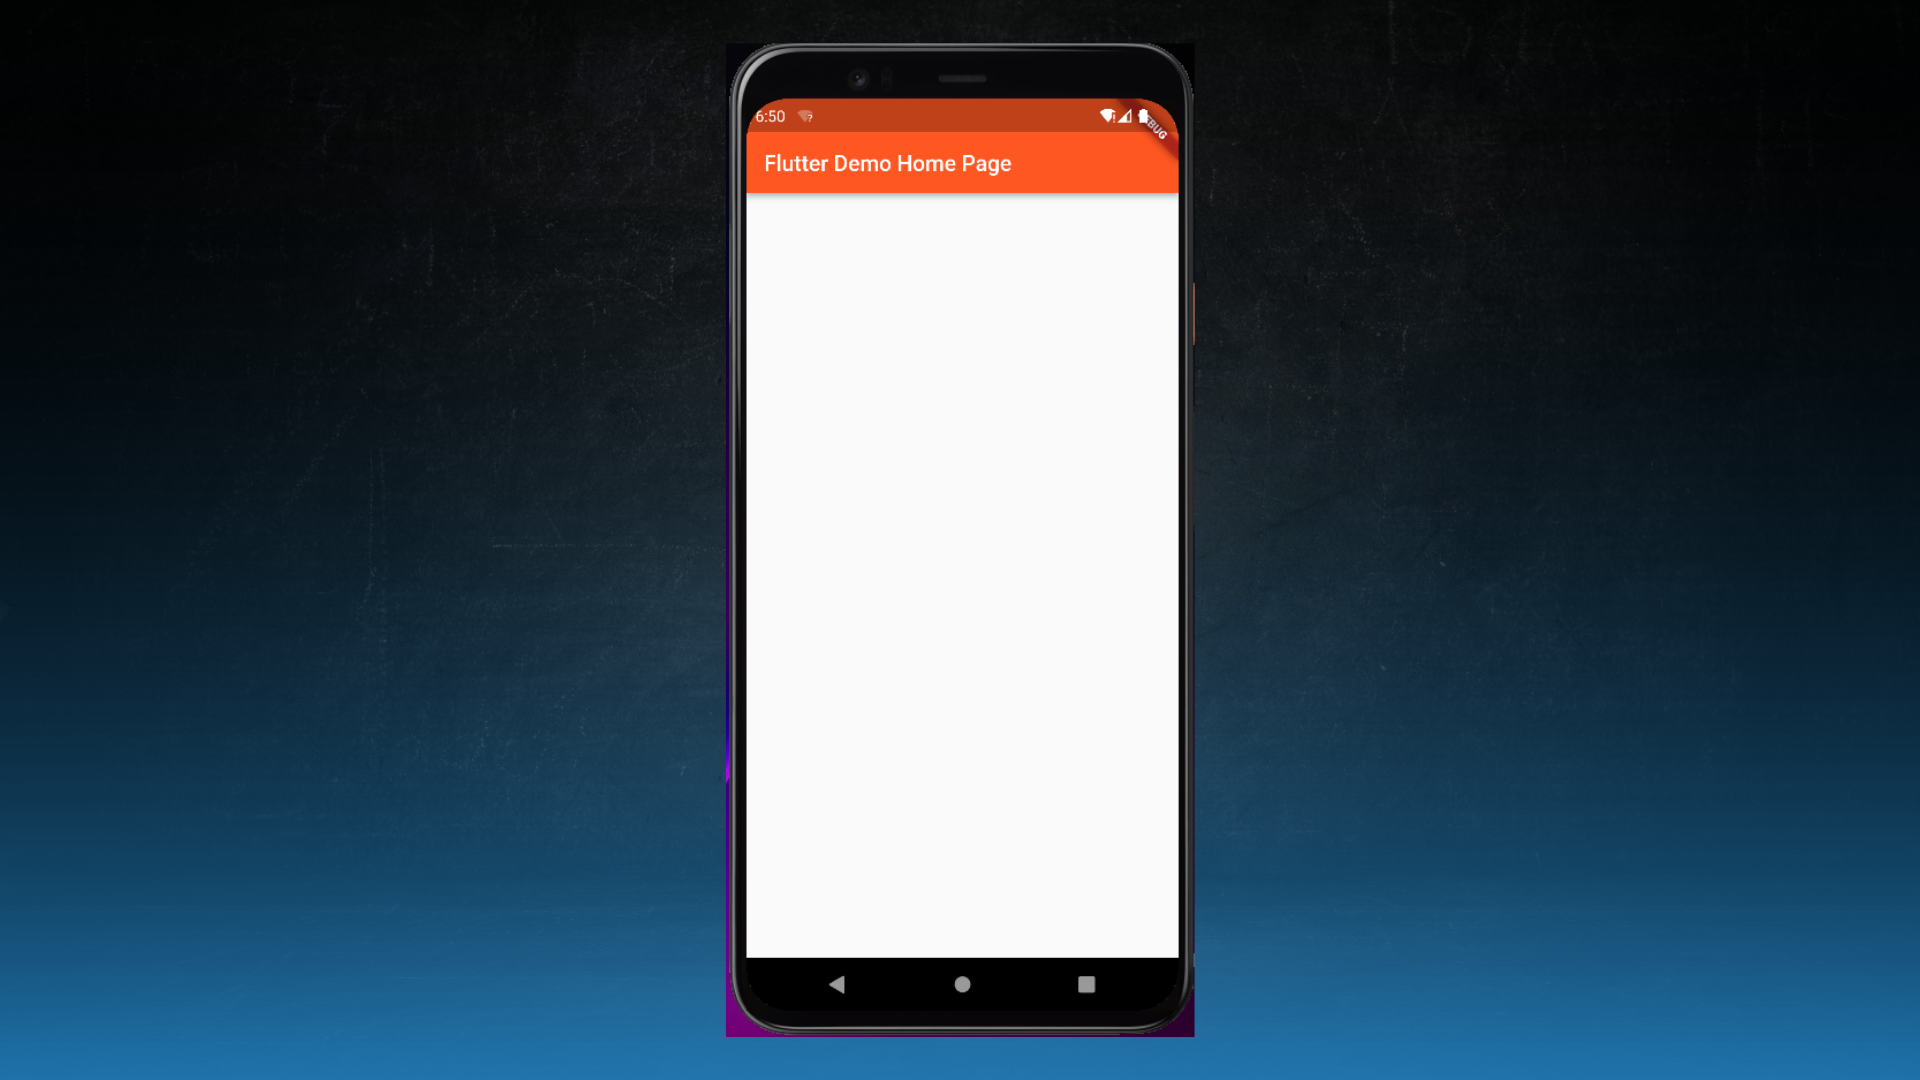
Go ahead and add a background color then add a title by creating a Text widget.
class MyApp extends StatelessWidget {
const MyApp({Key? key}) : super(key: key);

@override
Widget build(BuildContext context) {
  return MaterialApp(
    title: 'Flutter Demo',
    theme: ThemeData(
      primarySwatch: Colors.blue,
      visualDensity: VisualDensity.adaptivePlatformDensity,
    ),
    home: Scaffold(
      appBar: AppBar(
        title: const Text('Flutter Demo Home Page'),
        backgroundColor: Colors.deepOrange,
      ),
    ),
  );
}
}
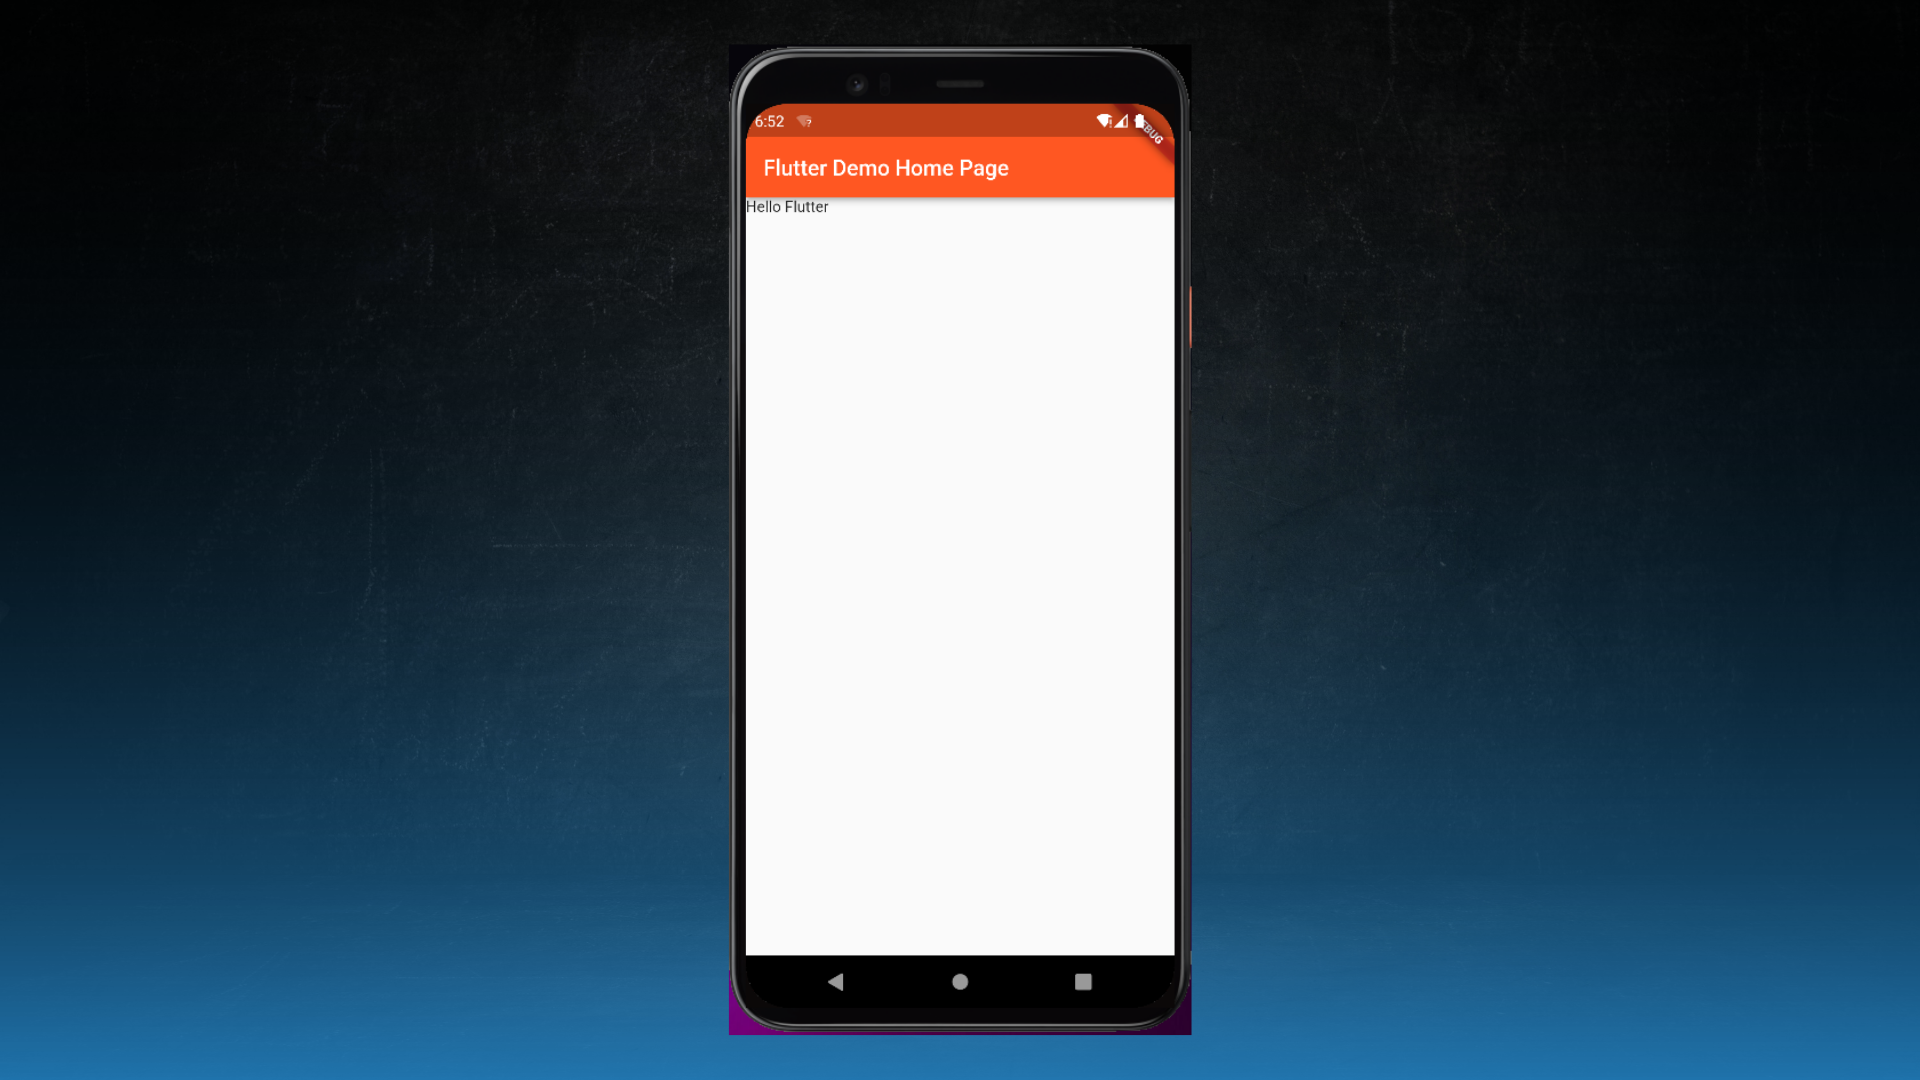
- Now hot reload to check out your first Flutter Screen made by you.
- Want to know more about Scaffold?, check out the below link

Layouts in Flutter
- Let's now talk about Layout.
- The most fundamental way to layout a widget is with a Container widget. It's kind of like a div in HTML or a view in android.
- You can think of a Container as a wrapper, which wraps other widgets.
It takes one child widget as an argument. Let's put a Text widget for now.
class MyApp extends StatelessWidget {
const MyApp({Key? key}) : super(key: key);

@override
Widget build(BuildContext context) {
  return MaterialApp(
    title: 'Flutter Demo',
    theme: ThemeData(
      primarySwatch: Colors.blue,
      visualDensity: VisualDensity.adaptivePlatformDensity,
    ),
    home: Scaffold(
      appBar: AppBar(...),
      body: Container(
        child: const Text('Hello Flutter 💙'),
      ),
    ),
  );
}
}
- The Text widget will be placed in the top left corner of the screen.
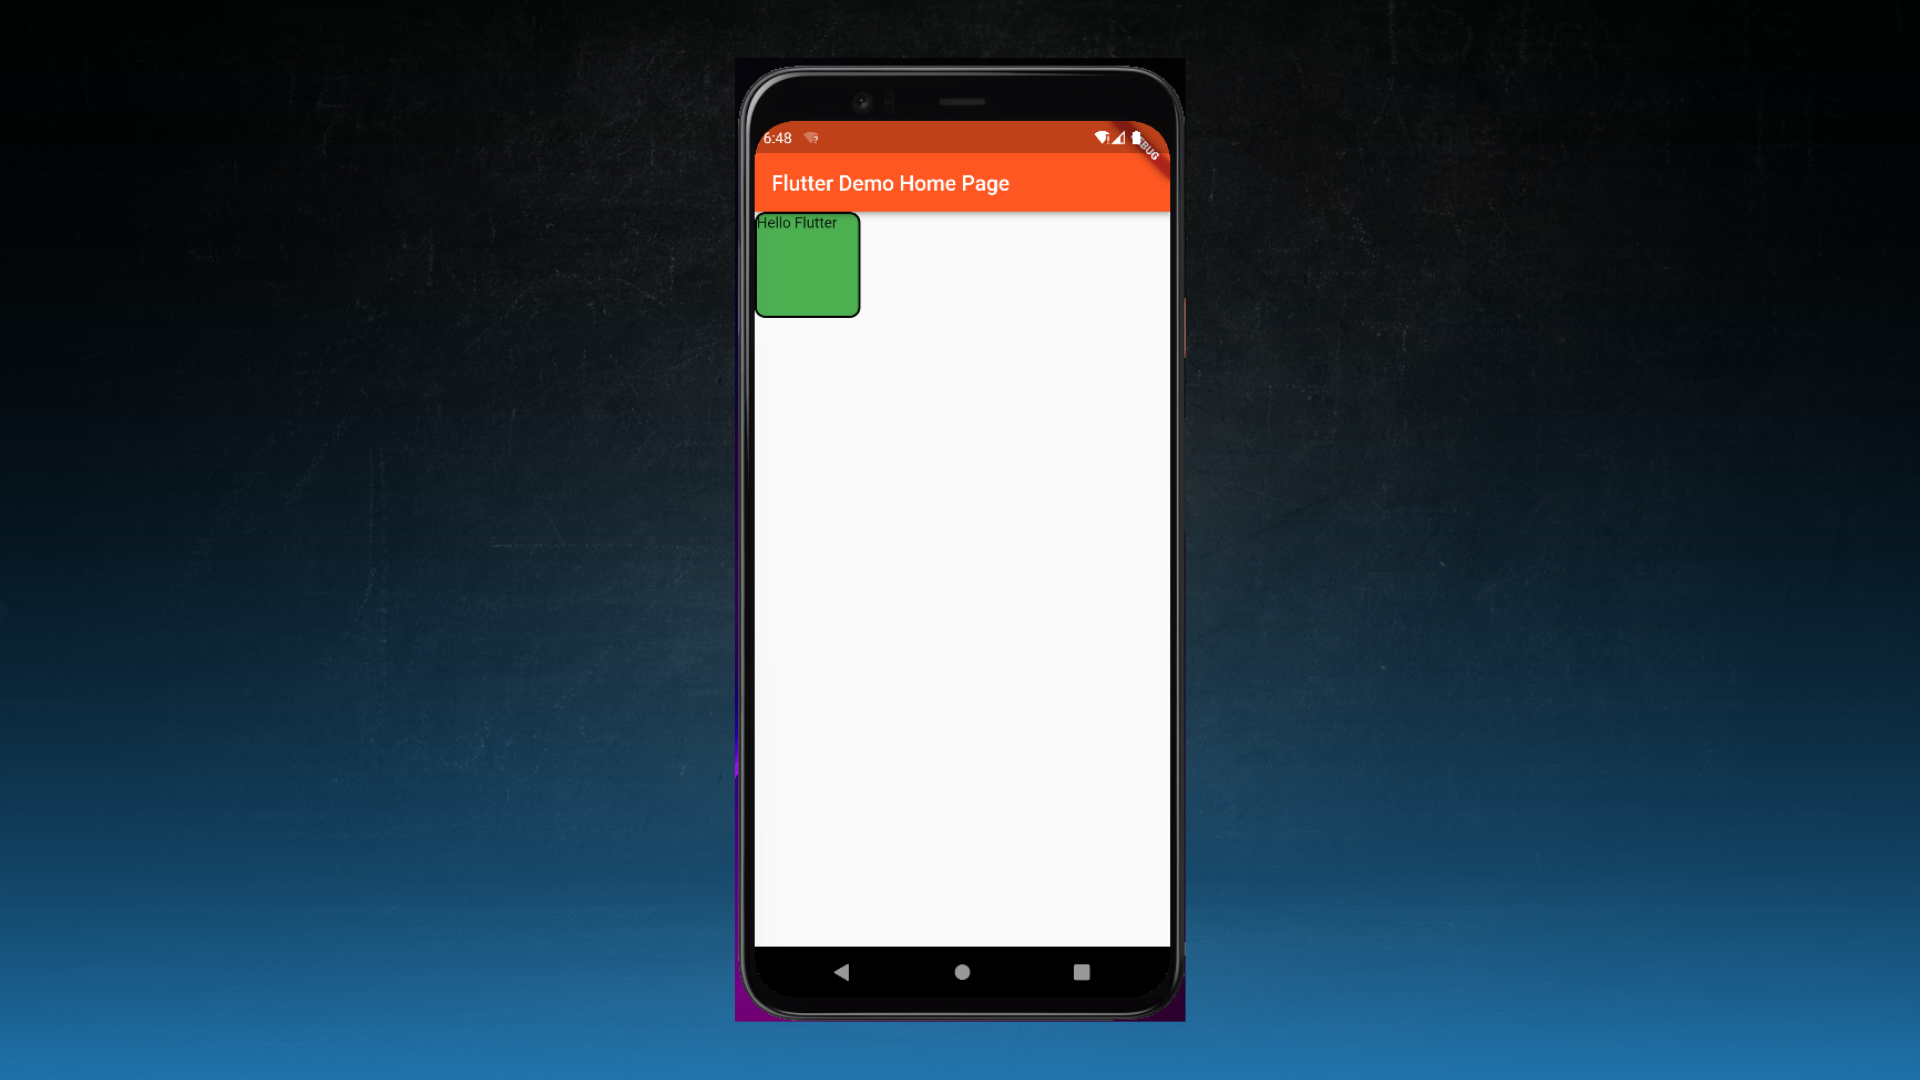
- We can change the dimensions of that box by adding margin, padding, height, and width we can also customize the box using the decoration property. Let's put it all together and create a cool-looking Container.
Container(
     height: 100,
     width: 100,
     decoration: BoxDecoration(
         color: Colors.green,
         border: Border.all(
           color: Colors.black,
           width: 2,
         ),
         borderRadius: BorderRadius.circular(10),
       ),
    child: const Text('Hello Flutter'),
),
- There are many other cool Widget that helps you build better UI, For example:
- Use the Center widget to center the widget to its parent.
- Wrap the Padding widget above your widget to give padding around your widget.
- Use the SizedBox widget to empty space between the widgets or for creating an empty box.
- Check out the below link to find out more about Containers
- Flutter provides Row and Column widgets used to layout multiple children horizontally or vertically.
- Unlike a Container that takes only one widget as a child a Row/Column takes multiple children as a list of Widgets.
- Create a Column and add three Icon widgets inside it.
class MyApp extends StatelessWidget {
  const MyApp({Key? key}) : super(key: key);

  @override
  Widget build(BuildContext context) {
    return MaterialApp(
      title: 'Flutter Demo',
      theme: ThemeData(...),
      home: Scaffold(
        appBar: AppBar(...),
        body: Column(
          children: const [
            Icon(Icons.category),
            Icon(Icons.search),
            Icon(Icons.person),
          ],
        ),
      ),
    );
  }
}
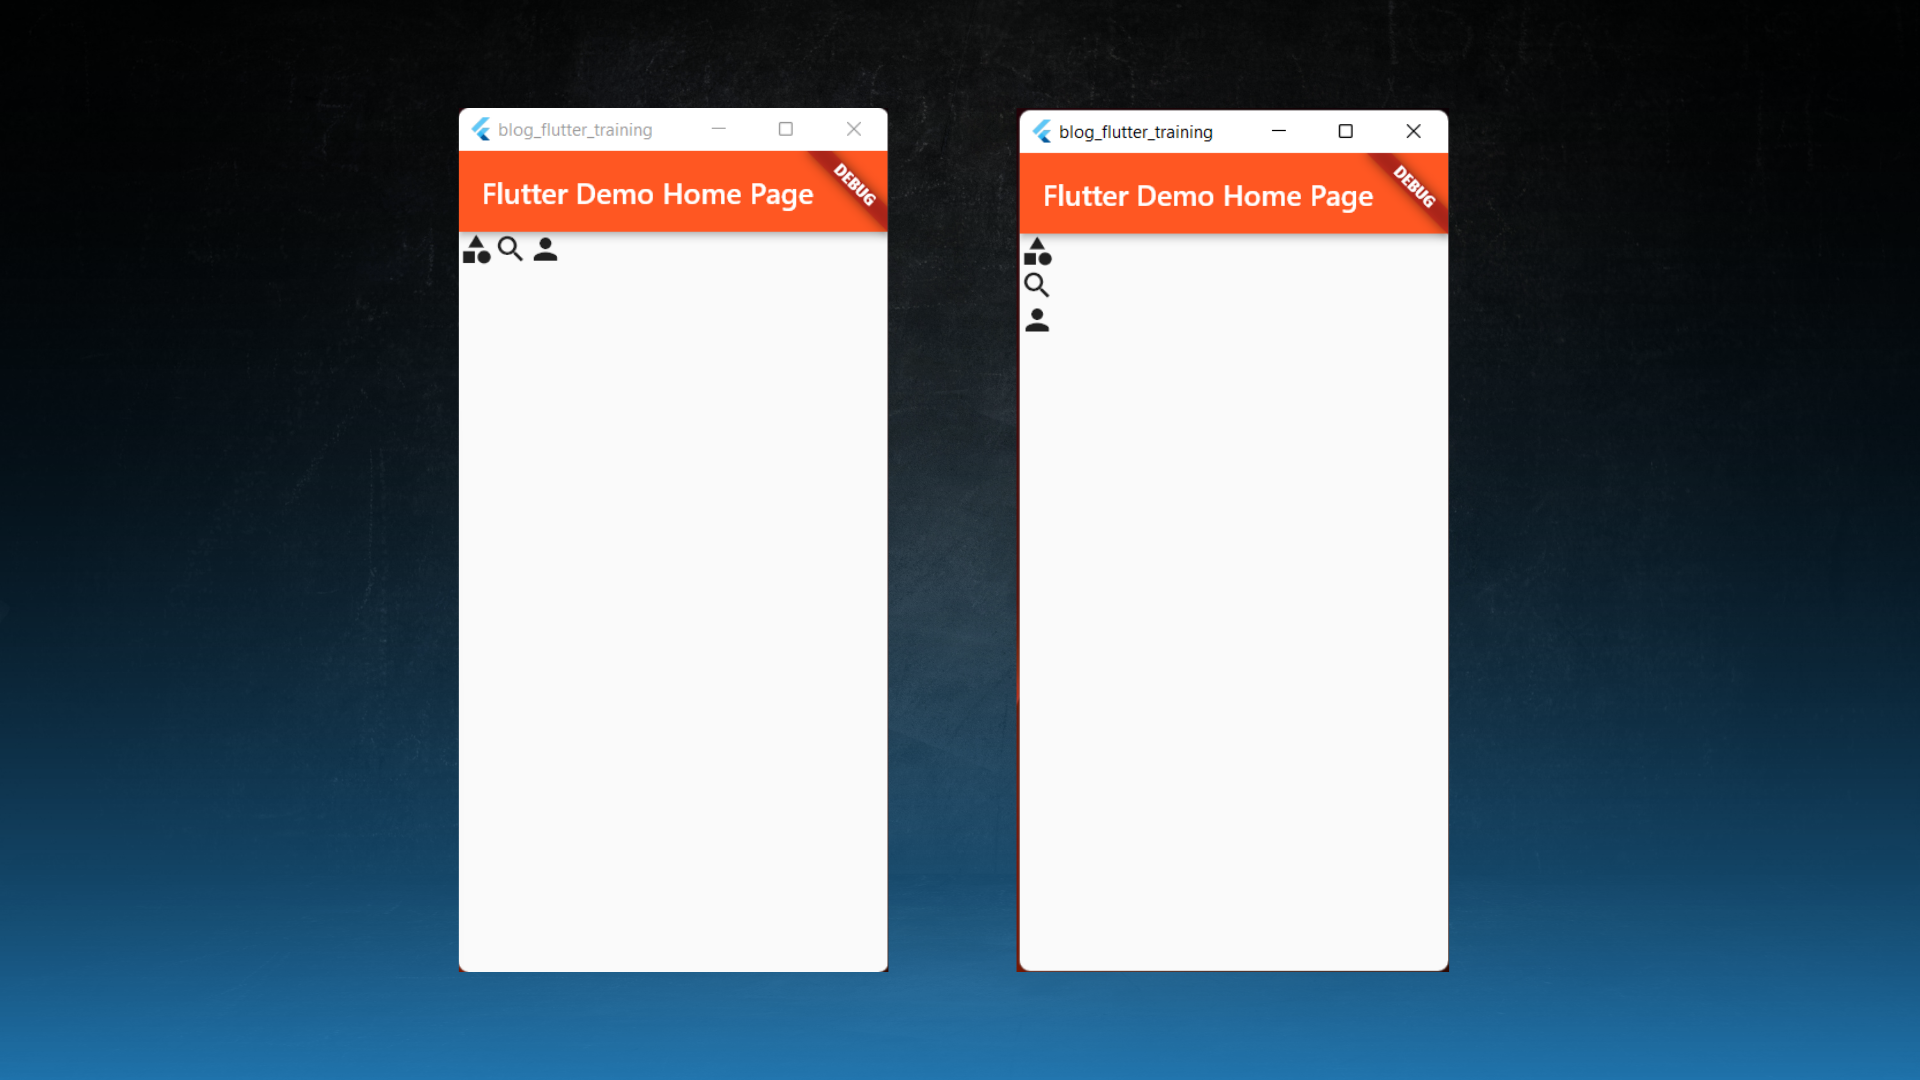
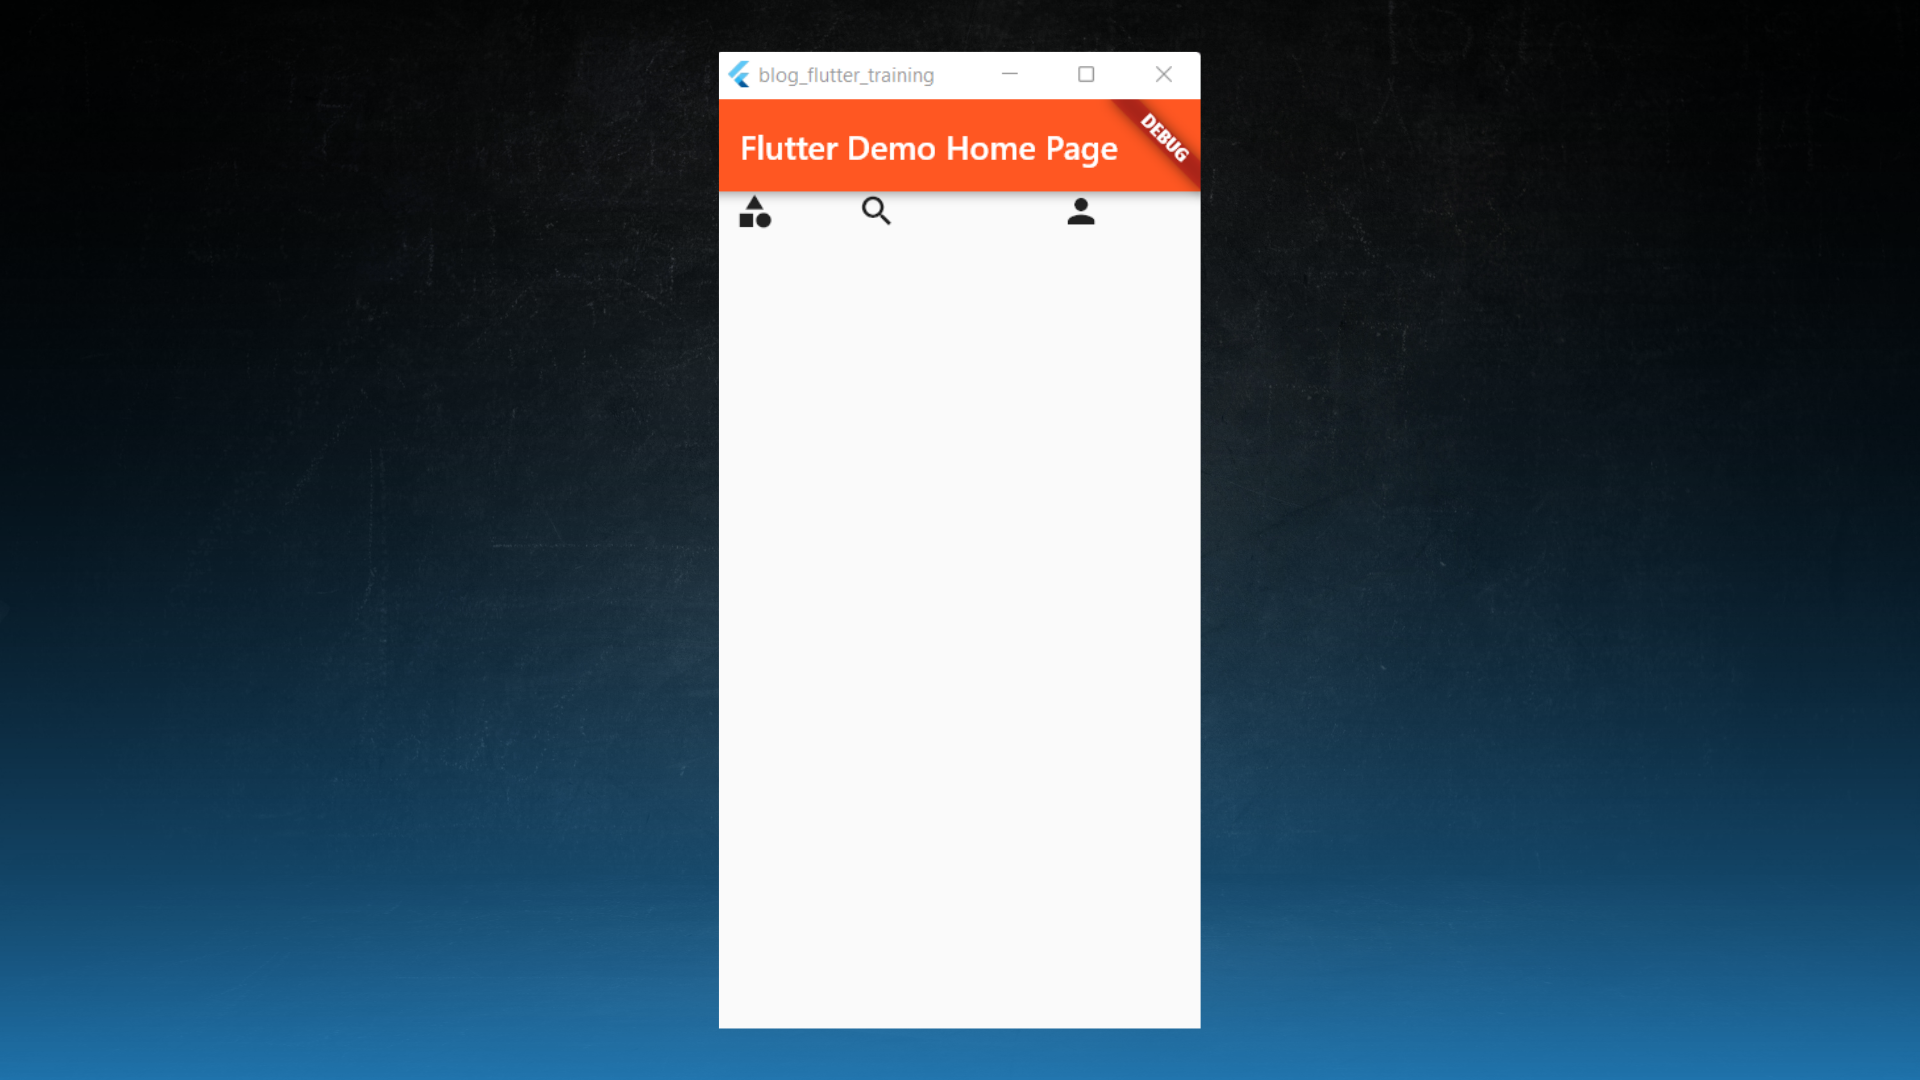
- As you can see, each icon is laid out one after the other vertically. Change that widget to a Row and now the widget is laid out horizontally.
- The direction widget is laid out is called
mainAxisAlignment while the opposite direction is called crossAxisAlignment
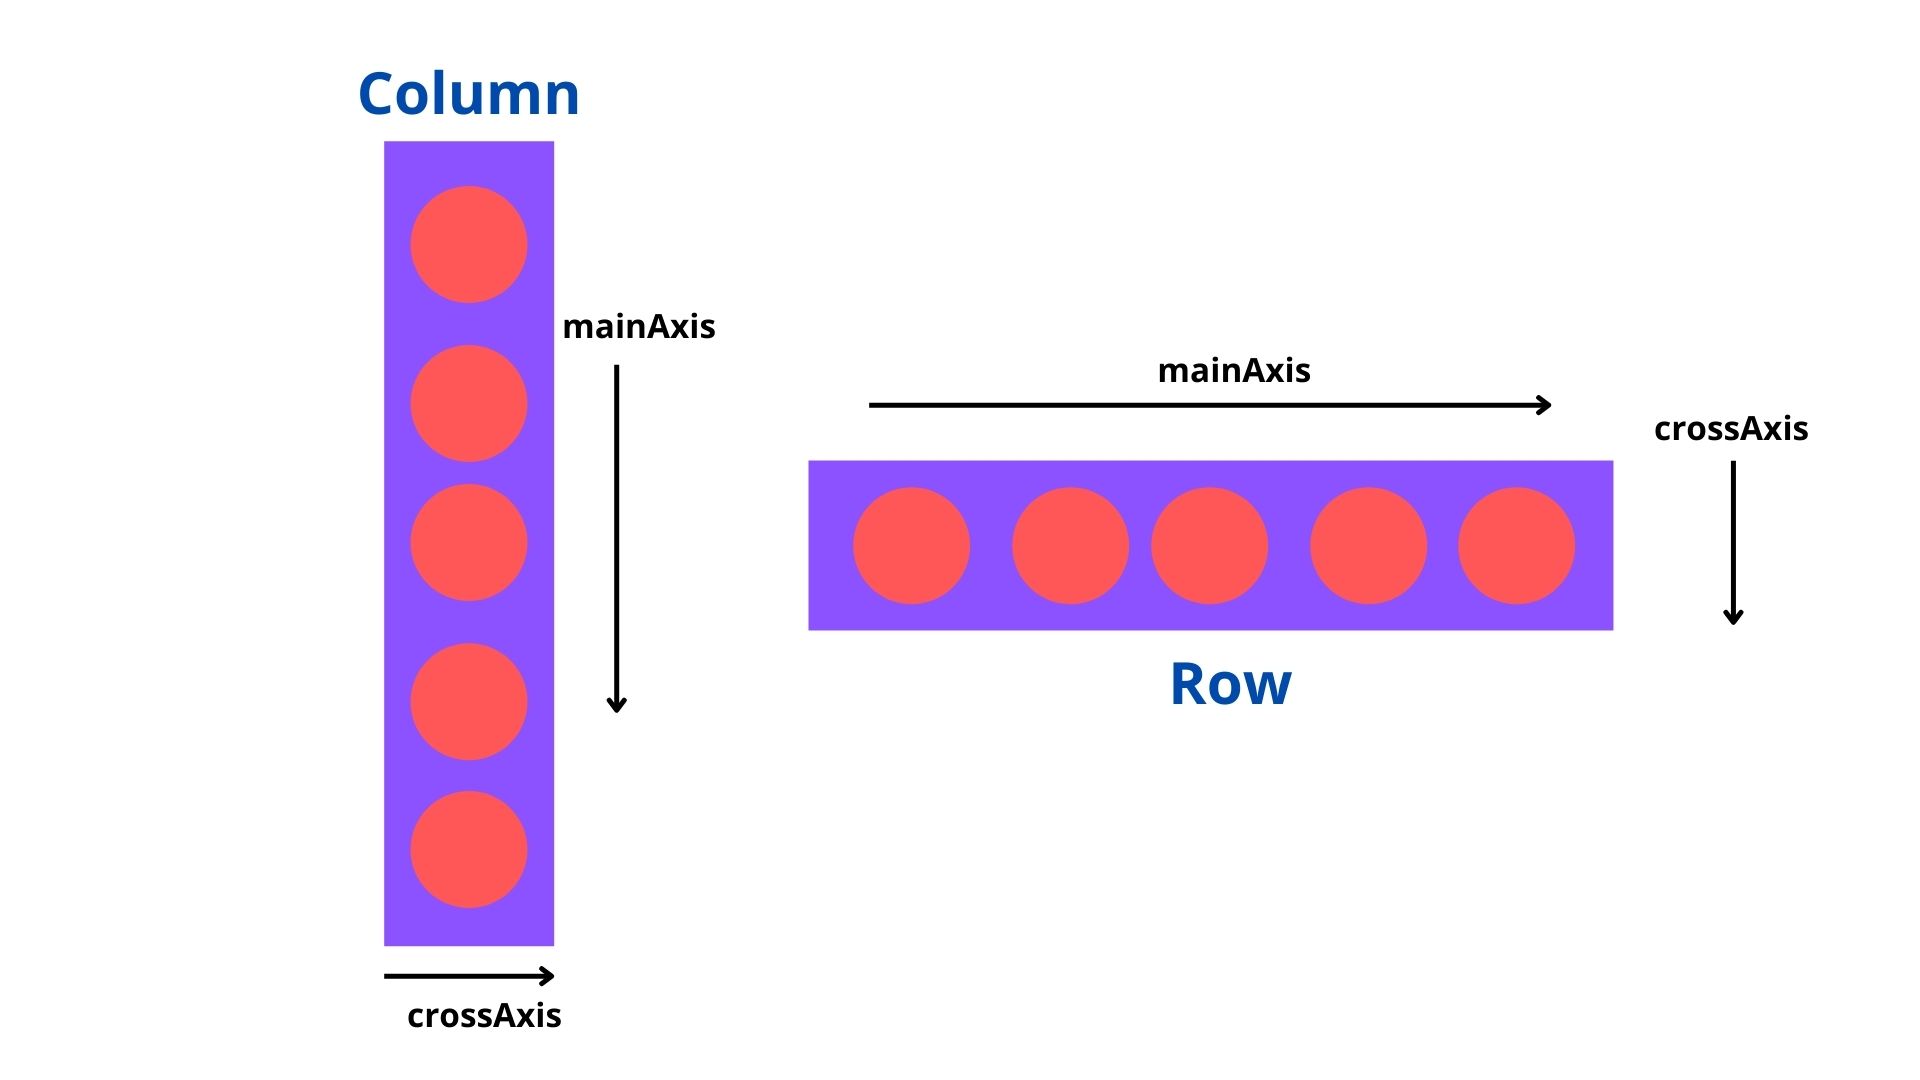
- You can change the spacing and alignment between the children by modifying the cross axis and main axis alignment on the widget.
Expanded and Flexible
- By default, each child of Row / Column has a flex value of 1 which means that each sibling occupies the same amount of space.
- If that's not desirable you can wrap a child in a Flexible or Expanded widget.
- Expanded widget tells a child to take up any available space and you can give it more space than the other children by modifying its
flex value
Row(
          children: const [
            Expanded(
              flex: 1,
              child: Icon(Icons.category),
            ),
            Expanded(
              flex: 2,
              child: Icon(Icons.search),
            ),
            Expanded(
              flex: 3,
              child: Icon(Icons.person),
            ),
          ],
),
Stack and Positioned
- In some cases, you may want to have one widget overlap another like a button that floats on top of some other UI element.
- In that case, the widget we're looking for is a Stack. Just like a Row or Column, it takes a list of children as an argument.
- In our Stack, we might have a Container and an Icon. If we want to display the icon on top of the Container we make sure that it comes after the Container in the list.
class MyApp extends StatelessWidget {
  const MyApp({Key? key}) : super(key: key);

  @override
  Widget build(BuildContext context) {
    return MaterialApp(
      title: 'Flutter Demo',
      theme: ThemeData(...),
      home: Scaffold(
          appBar: AppBar(...),
          body: Center(
            child: Stack(
              children: [
                Container(
                  height: 100,
                  width: 100,
                  color: Colors.green,
                ),
                const Icon(
                  Icons.android,
                  color: Colors.white,
                ),
              ],
            ),
          )),
    );
  }
}
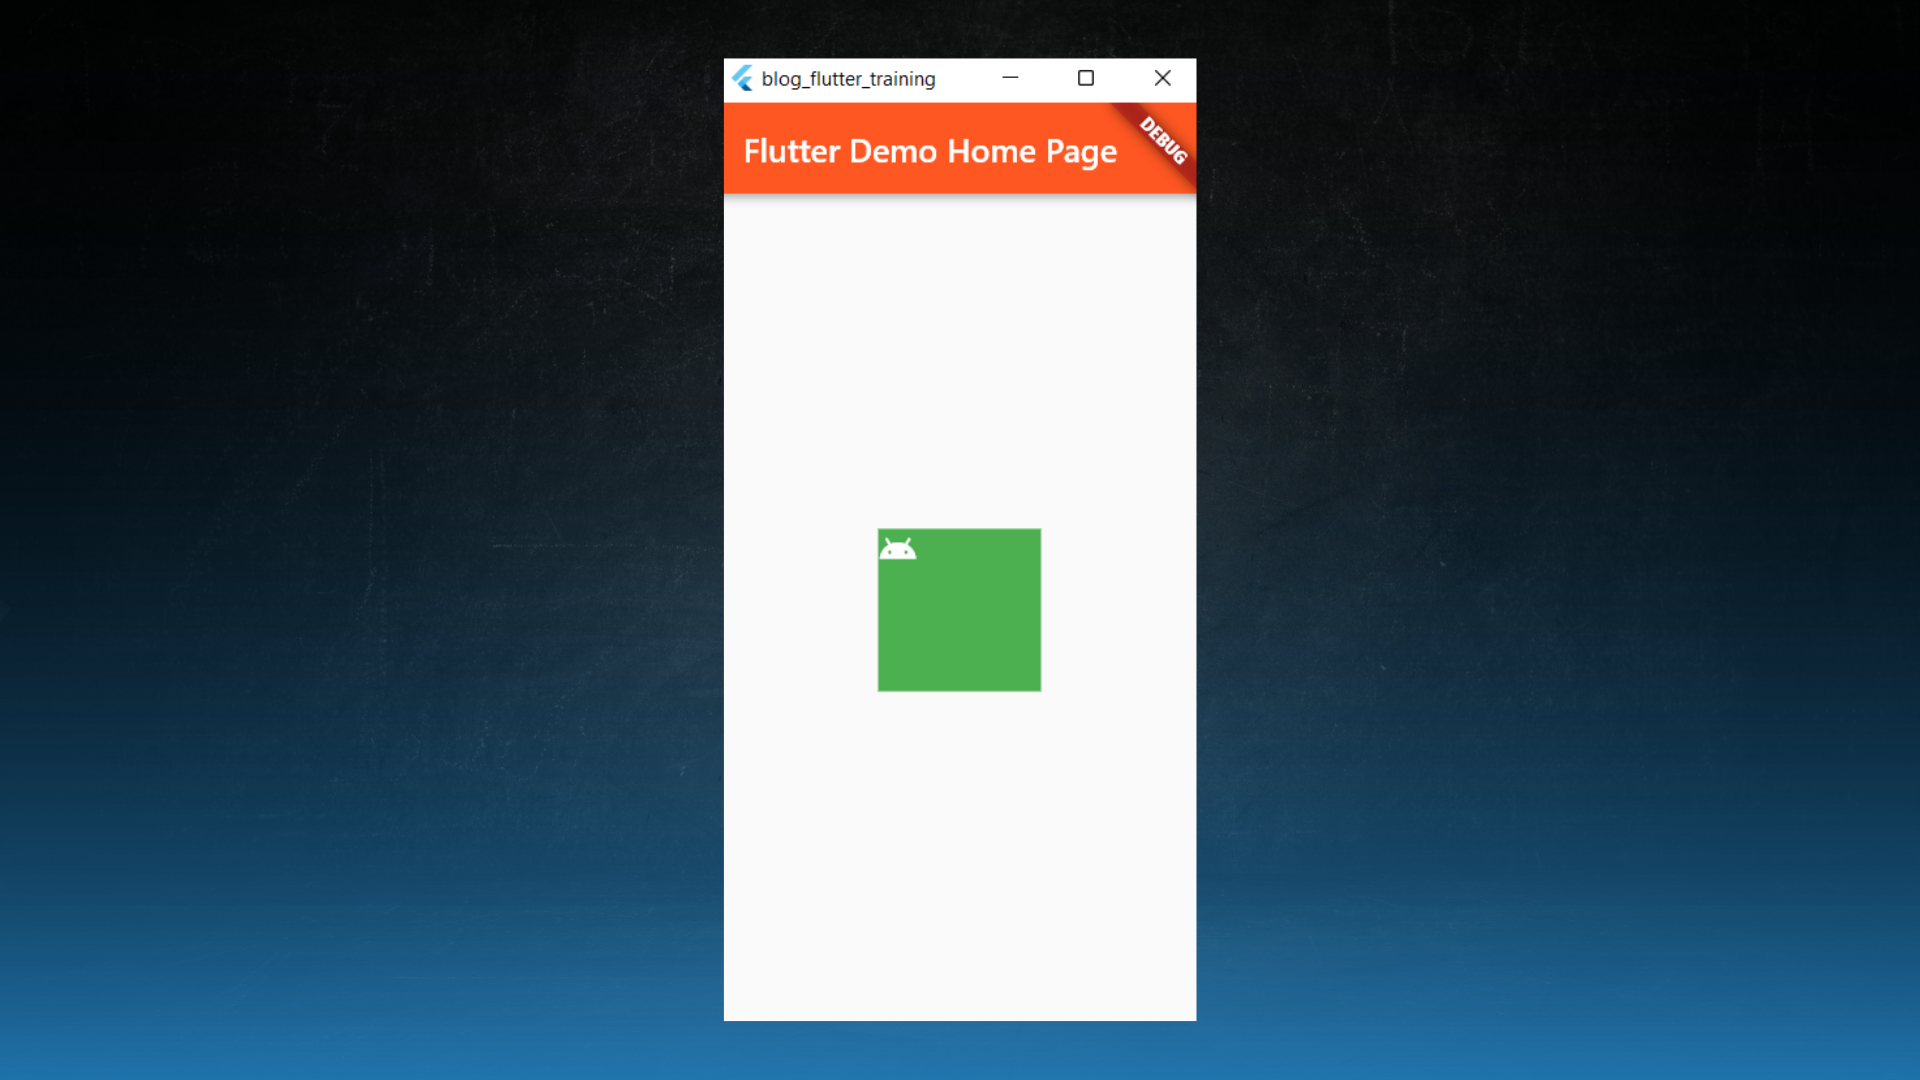
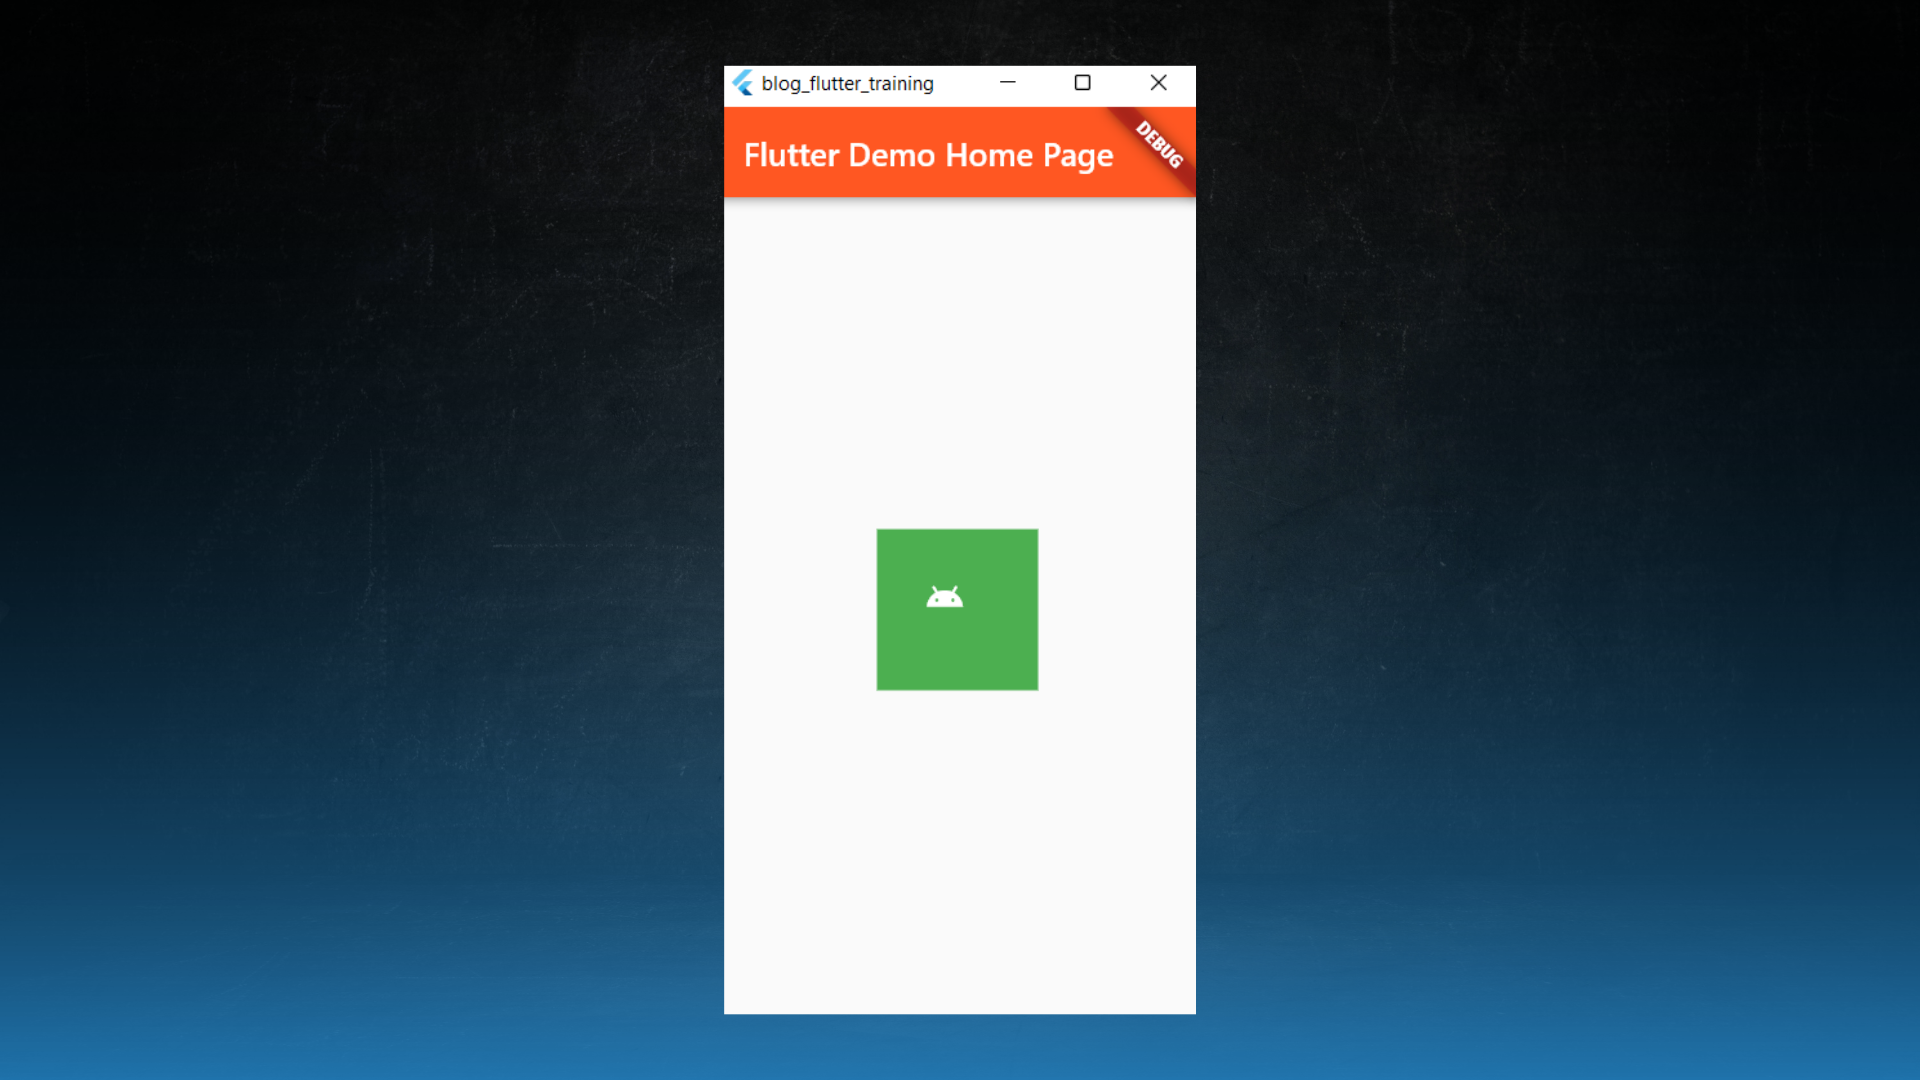
- Now if we want to move things around we can use Positioned widget to move a widget into a specific spot.
- If we want to modify its positioning relative to its parent we can use, the
top, left, bottom, right properties of the Positioned widget.
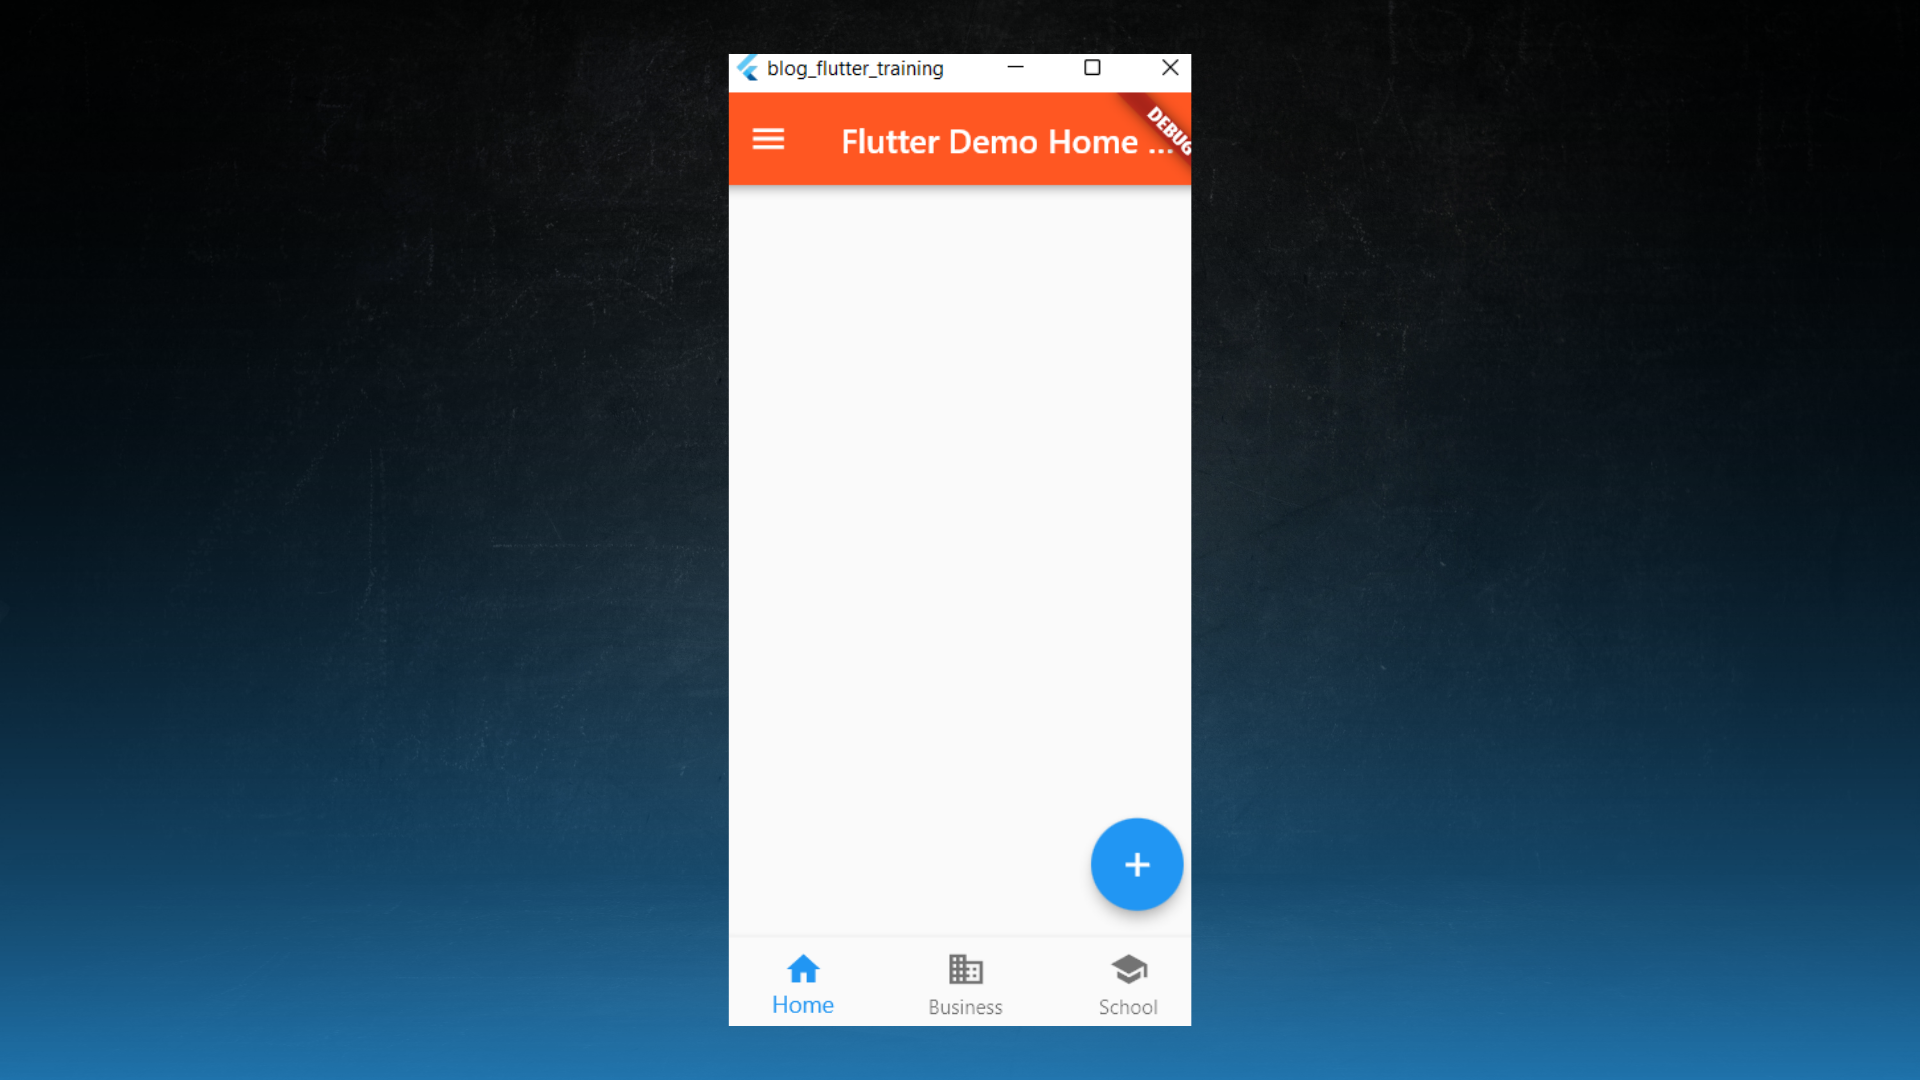
- Scaffold provides some of the build-in widgets which are very helpful in building an application. For example AppBar, BottomNav Bar, Drawer, Floating button, etc
class MyApp extends StatelessWidget {
  const MyApp({Key? key}) : super(key: key);

  @override
  Widget build(BuildContext context) {
    return MaterialApp(
      title: 'Flutter Demo',
      theme: ThemeData(
        primarySwatch: Colors.blue,
        visualDensity: VisualDensity.adaptivePlatformDensity,
      ),
      home: Scaffold(
        appBar: AppBar(
          title: const Text('Flutter Demo Home Page'),
          backgroundColor: Colors.deepOrange,
        ),
        bottomNavigationBar: BottomNavigationBar(
          items: const <BottomNavigationBarItem>[
            BottomNavigationBarItem(
              icon: Icon(Icons.home),
              label: 'Home',
            ),
            BottomNavigationBarItem(
              icon: Icon(Icons.business),
              label: 'Business',
            ),
            BottomNavigationBarItem(
              icon: Icon(Icons.school),
              label: 'School',
            ),
          ],
        ),
        floatingActionButton: FloatingActionButton(
          onPressed: () {},
          child: const Icon(Icons.add),
        ),
        drawer: Drawer(
          child: ListView(
            children: <Widget>[
              const DrawerHeader(
                decoration: BoxDecoration(
                  color: Colors.deepOrange,
                ),
                child: Text('Header'),
              ),
              ListTile(
                title: const Text('Item 1'),
                onTap: () {
                  Navigator.pop(context);
                },
              ),
              ListTile(
                title: const Text('Item 2'),
                onTap: () {
                  Navigator.pop(context);
                },
              ),
            ],
          ),
        ),
      ),
    );
  }
}
ListView and Builders
- If you want to scroll items on the screen, Row and Column are not what you want.
- For that, we have a ListView widget.
- It takes a list of children as its argument and will scroll between them. We can specify the direction of the scroll too.
ListView(
scrollDirection: Axis.vertical,
children: [
Container(...),
Container(...),
Container(...),
Container(...),
Container(...),
Container(...),
],
),
Builders
- You'll notice that in this list we're adding each widget individually but in real life, you'll often need to fetch a bunch of items from a database and then create each list item programmatically.
- In flutter, many widgets can be built dynamically using builders which is just a function that you define that can map a list of data to a list of widgets and that means you can create a scrollable list that is infinitely long where the children are rendered lazily keeping the UI smooth and fast.
ListView.builder(
          itemCount: 100,
          itemBuilder: (context, index) {
            return ListTile(
              title: Text('Item $index'),
      );
   },
),

State in Flutter
- Now that you know how to build a UI we need to talk about the state or the data that changes throughout the life cycle of the app.
- A Stateless widget has no state as the name implies. To give this widget mutable data we need to convert it to a Stateful widget.
- We can do this by right-clicking on the Stateless width and going to the refactor option and choosing the option
Convert to Stateful widget to convert it.
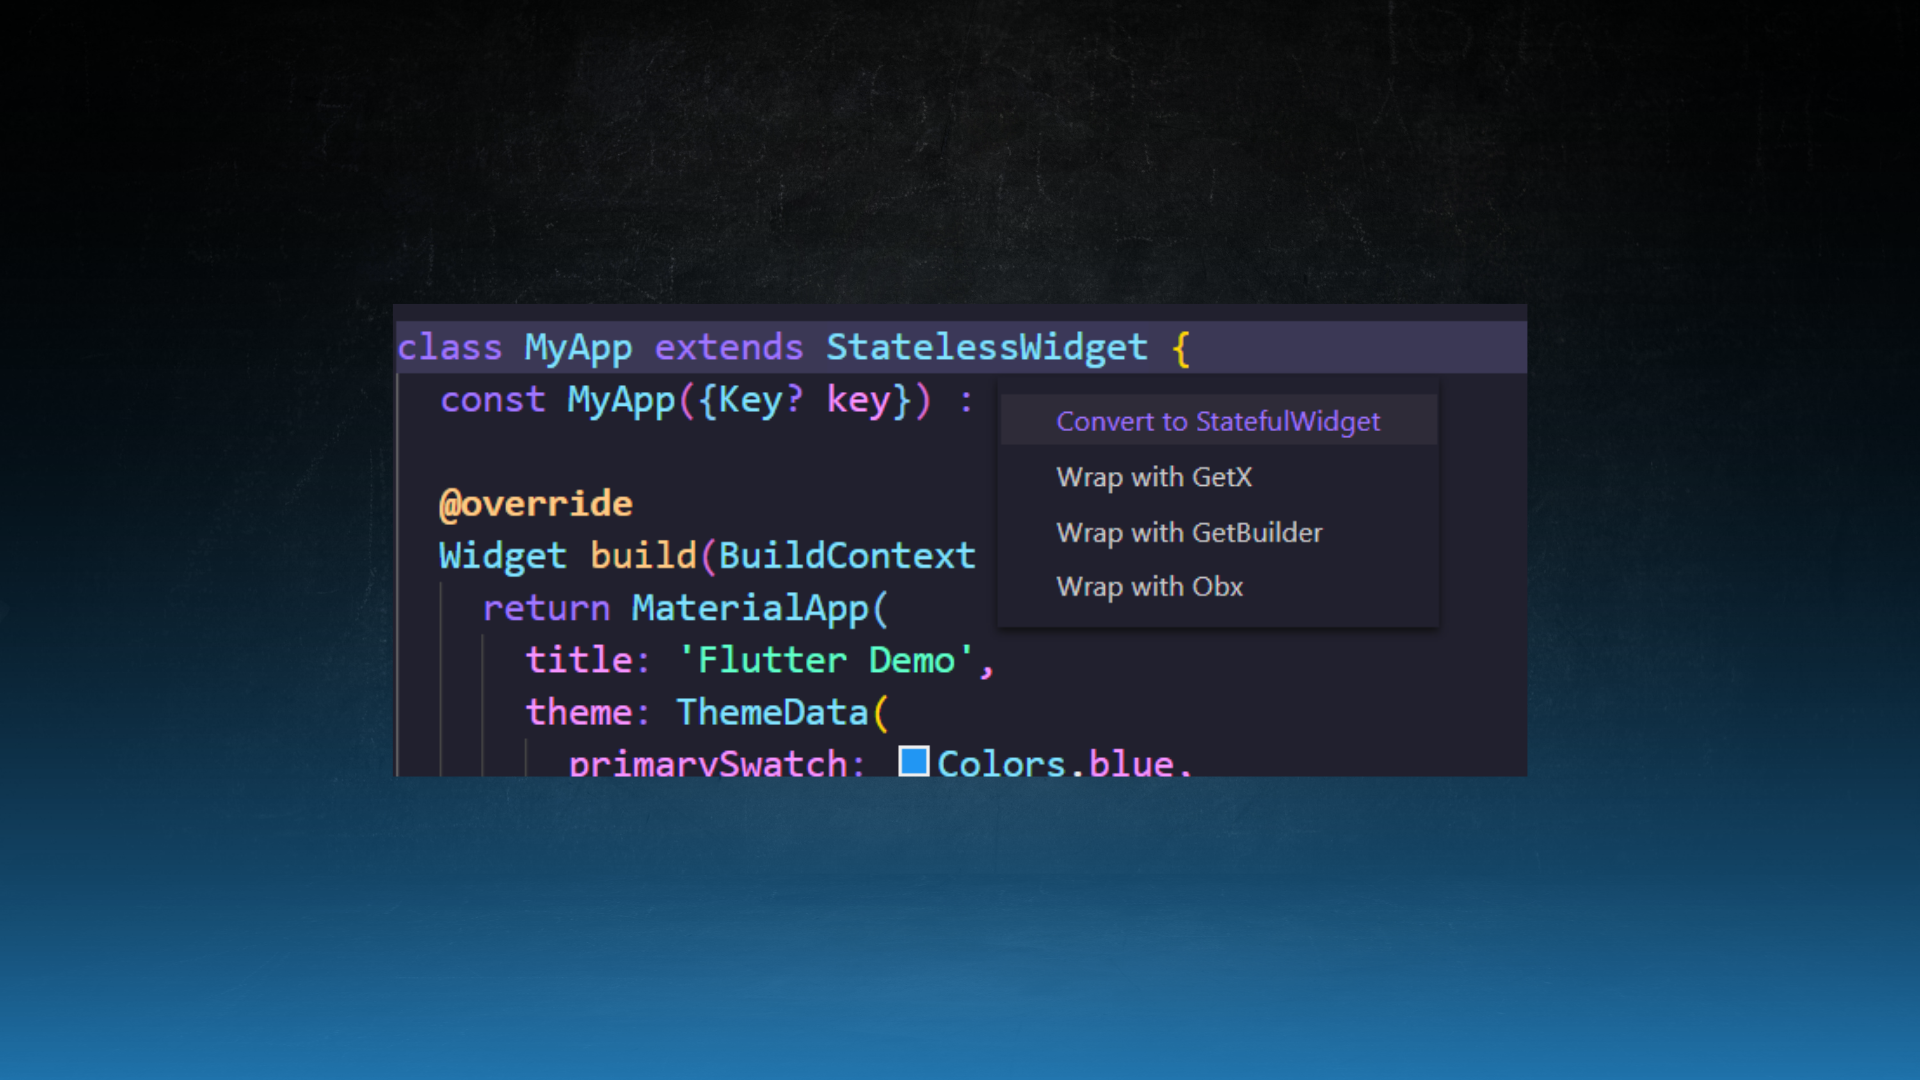
- That will break the widget up into two different classes that keep the widget itself immutable while giving us a state class where we can play with mutable data.
class MyApp extends StatefulWidget {
  const MyApp({Key? key}) : super(key: key);

  @override
  State<MyApp> createState() => _MyAppState();
}

class _MyAppState extends State<MyApp> {
  @override
  Widget build(BuildContext context) {
    return MaterialApp(
      title: 'Flutter Demo',
      theme: ThemeData(
        primarySwatch: Colors.blue,
        visualDensity: VisualDensity.adaptivePlatformDensity,
      ),
      home: Scaffold(
        appBar: AppBar(
          title: const Text('Flutter Demo Home Page'),
          backgroundColor: Colors.deepOrange,
        ),
      ),
    );
  }
}
- It has a
build method too, but now, we can also define variables in this class.
class _MyAppState extends State<MyApp> {
  int counter = 0;

  @override
  Widget build(BuildContext context) {
    return MaterialApp(
      title: 'Flutter Demo',
      theme: ThemeData(
        primarySwatch: Colors.blue,
        visualDensity: VisualDensity.adaptivePlatformDensity,
      ),
      home: Scaffold(
        appBar: AppBar(
          title: const Text('Flutter Demo Home Page'),
          backgroundColor: Colors.deepOrange,
        ),
      ),
    );
  }
}
- Now we can change this counter by using the built-in
setState((){}) function in our code like when a button is pressed.
- In order to see the counter on the screen create a Text widget and give the counter to it.
class _MyAppState extends State<MyApp> {
  int counter = 0;

  @override
  Widget build(BuildContext context) {
    return MaterialApp(
      title: 'Flutter Demo',
      theme: ThemeData(
        primarySwatch: Colors.blue,
        visualDensity: VisualDensity.adaptivePlatformDensity,
      ),
      home: Scaffold(
        appBar: AppBar(
          title: const Text('Flutter Demo Home Page'),
          backgroundColor: Colors.deepOrange,
        ),
        body: Center(
          child: Text('You have pressed button: $counter times'),
        ),
        floatingActionButton: FloatingActionButton(
          onPressed: () {
            setState(() {
              counter++;
            });
          },
          child: const Icon(Icons.add),
        ),
      ),
    );
  }
}
- Now when our button is pressed we call
setState to change the value and the widget will automatically re-render to reflect the latest data.
initState and dispose
- Another thing you might want to do in a StatefulWidget is initialized data like maybe fetch a record from a database.
- You can just do that inside the
initState method. It is called once when the widget is first initialized.
- There's also another lifecycle hook called
dispose that runs when the widget is removed from the UI.
@override
void initState() {
}
@override
void dispose() {
super.dispose();
}
Navigation
- Now that we have a fully functional counter app the question becomes how do we navigate to a different screen.
- Go ahead and build two different StatelessWidgets then give each one of them a Scaffold make sure that each Scaffold has an app bar at the top of the first page.
- Go ahead and add a button to the body of the scaffold of the first page.
class HomePage extends StatelessWidget {
  const HomePage({Key? key}) : super(key: key);

  @override
  Widget build(BuildContext context) {
    return MaterialApp(
      title: 'Home Page',
      theme: ThemeData(
        primarySwatch: Colors.blue,
      ),
      home: Scaffold(
        appBar: AppBar(
          title: const Text('Home Page'),
        ),
        body: Center(
            child: ElevatedButton(
          onPressed: () {},
          child: const Text('About Page'),
        )),
      ),
    );
  }
}

class AboutMe extends StatelessWidget {
  const AboutMe({Key? key}) : super(key: key);

  @override
  Widget build(BuildContext context) {
    return Scaffold(
      appBar: AppBar(
        title: const Text('About Me'),
      ),
    );
  }
}
- Now think of your navigation like a stack where you can push and pop different screens onto it.
- To add a new screen to the top of the stack we use navigator push with the BuildContext and then create a new MaterialPage route.
- The route expects a builder function which then returns the screen that you want to render which in our case will be AboutMe page.
class HomePage extends StatelessWidget {
  const HomePage({Key? key}) : super(key: key);

  @override
  Widget build(BuildContext context) {
    return Scaffold(
      appBar: AppBar(
        title: const Text('Home Page'),
      ),
      body: Center(
          child: ElevatedButton(
        onPressed: () {
          Navigator.push(
            context,
            MaterialPageRoute(
              builder: (context) => const AboutMe(),
            ),
          );
        },
        child: const Text('About Page'),
      )),
    );
  }
}

class AboutMe extends StatelessWidget {
  const AboutMe({Key? key}) : super(key: key);

  @override
  Widget build(BuildContext context) {
    return Scaffold(
      appBar: AppBar(
        title: const Text('About Me'),
      ),
      body: Center(
        child: ElevatedButton(
          onPressed: () {
            Navigator.pop(context);
          },
          child: const Text('Back'),
        ),
      ),
    );
  }
}
- Now do a full restart of the application. and you should be able to navigate back and forth between the two pages.
- One magic thing that flutter is doing here is adding a back button to the app bar under the hood is calling the navigator pop method.
- DevTools is a suite of performance and debugging tools for Dart and Flutter.
- Here are some of the things you can do with DevTools:
- Inspect the UI layout and state of a Flutter app.
- Diagnose UI jank performance issues in a Flutter app.
- CPU profiling for a Flutter or Dart app.
- Network profiling for a Flutter app.
- Source-level debugging of a Flutter or Dart app.
- Debug memory issues in a Flutter or Dart command-line app.
- View general log and diagnostics information about a running Flutter or Dart command-line app.
- Analyze code and app size.
Congratulations 🎉🎉

- Congratulations on completing flutter basic training. This was just a quick rundown of some of the widgets. On flutter, there are several widgets to choose from.
- Make several apps and you will come across various widgets that you may utilize according to your needs.
Wrapping Up:
- I hope you enjoyed and learned something from this article. If you have any feedback/queries, leave them in the comments.
- Thank you for spending time reading this article. See you in the next article. Until then...