Flutter Widget In Detail: Scaffold
Exploring Scaffold Widget: A blog explaining what is Scaffold, how to use it, and examples. An in-depth guide for newbie and senior developers.
Introduction
- Before we design anything in Flutter, we need something in the base which can hold the basic layout structure and provide us some common widgets that help us building design easily.
- For example, If you observe any application in your mobile app, almost all have some similarities, like they have some kind of AppBar, BottomNavigationBar, Drawer, BottomSheets, etc. Right?
- Because these are some common things that every app has, Flutter helps developers by providing these basics building blocks in-built in Flutter SDK so that they can easily integrate them into their app, without any problem.
- So what do we have to do or which widget helps us get those things?
- Allow me to introduce one of the awesome widget of Flutter SCAFFOLD.

- Scaffold implements the basic material design layout structure.
- Scaffold provides us
AppBar,BottomNavigationBar,Drawer,FloatingActionButton,BottomSheet, that we can use in our app. 
- Ideally, in MaterialApp every page/Screen will consist of the parent widget as a Scaffold. If we don't give Scaffold as a parent widget there will be no material look and feel in Material App.
- If you don't use Scaffold as a child of a MaterialApp :
class MyHomePage extends StatelessWidget {
@override
Widget build(BuildContext context) {
  return Center(
      child: Text("😢 I'dont have Scaffold")
    );
}
}
- See??. It looks horrible.
- But when you provide a Scaffold :
class MyHomePage extends StatelessWidget {
  @override
  Widget build(BuildContext context) {
    return Scaffold(
      body: Center(
        child: Text("😎 I am inside Scaffold")
      )
    );
  }
}

- You can clearly see the difference .Scaffold gives a material design-like feel.
- So now let's see all the properties of the Scaffold widget one by one.
body :
- This property takes
Widgetas an input. - The
bodyhas the primary content that has to be shown on the screen. - The widget in the body is positioned at the top-left corner of the Scaffold initially.
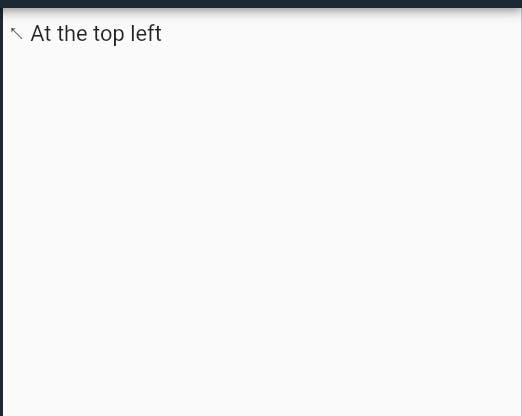
- To center this widget, consider putting it inside
Centerwidget. Scaffold( body: Center( child: Text("🙃 Center of the Scaffold") ) );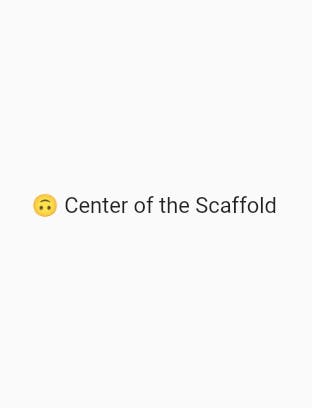
- If we wrap this centered
Textinside the Container, it will only take the height and width of its child widget : Scaffold( body: Center( child: Container( color: Colors.green, child: Text(" 🤠 Expand me") ) ) );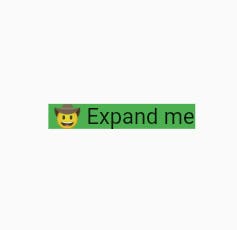
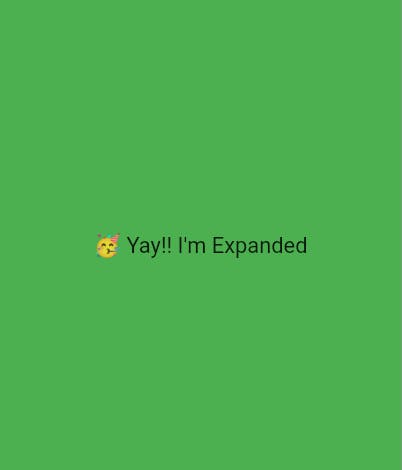
- If you want to expand the Container widget to take full width and height of Scaffold, consider putting it in SizedBox.expand.
Scaffold(
    body: SizedBox.expand(
      child: Container(
        alignment: Alignment.center,
        color: Colors.green,
        child: Text("🥳 Yay!! I'm Expanded")
      ),
    )
);
- If you have some kind of big list wrapped inside the
Columnwidgets, normally it should fit on the screen. But content may overflow from the Column. 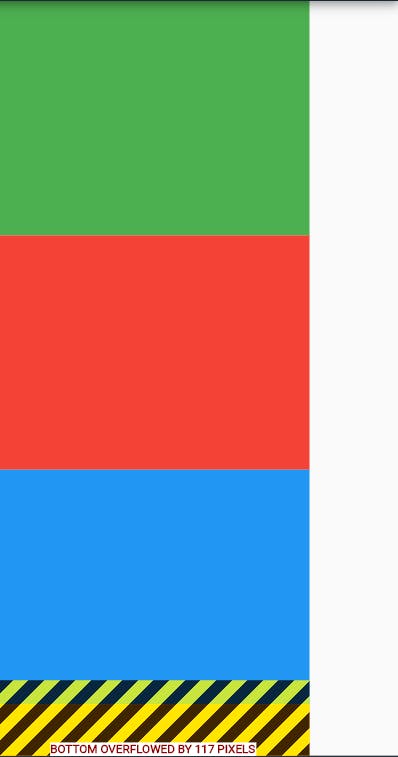
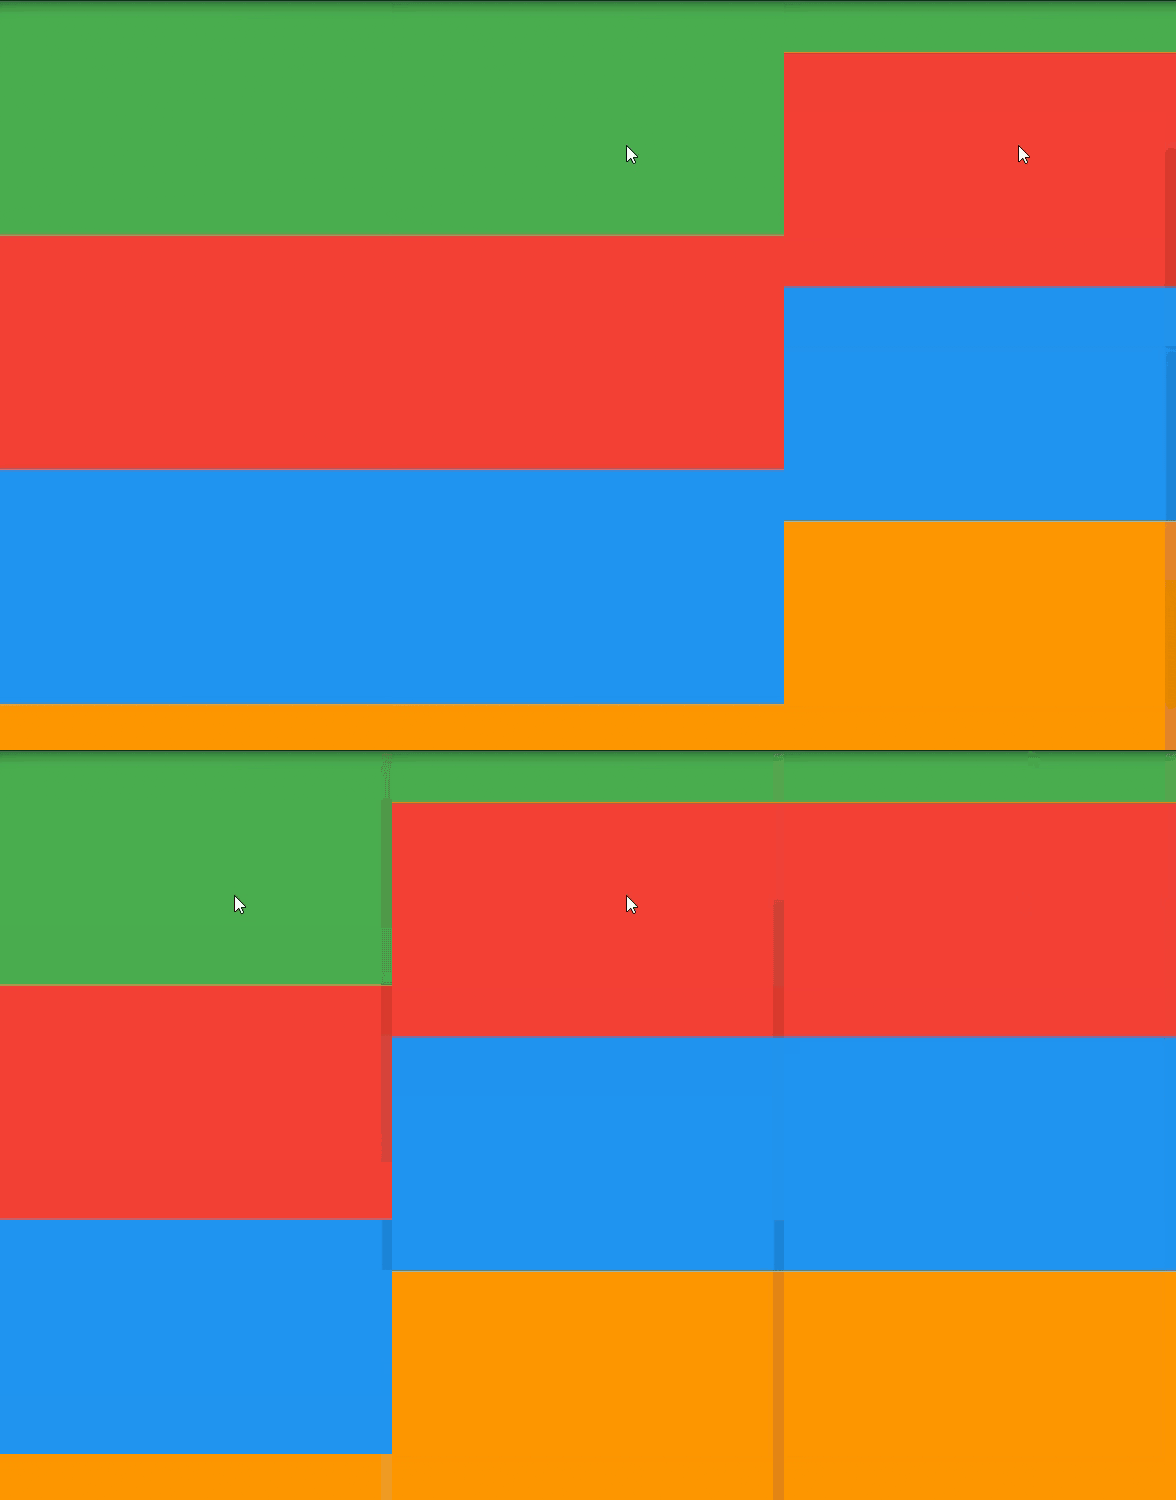
- In such cases, we want some kind of scrolling, to make sure users can scroll the content. To make overflowed content scrollable, consider using a ListView as the body of the Scaffold. This is also a good choice for the case where your body is a scrollable list.
Scaffold(
    body: ListView(
      children: [
        Container(
          width: 200,
          height: 150,
          color: Colors.green,
        ),
        // other widgets
      ],
    )
);
backgroundColor :
- We can give a Scaffold a background color by giving
Colorvalue inside thebackgroundColorproperty. - Default color is
ThemeData.scaffoldBackgroundColor. Scaffold( backgroundColor: Colors.purple, body: // widget );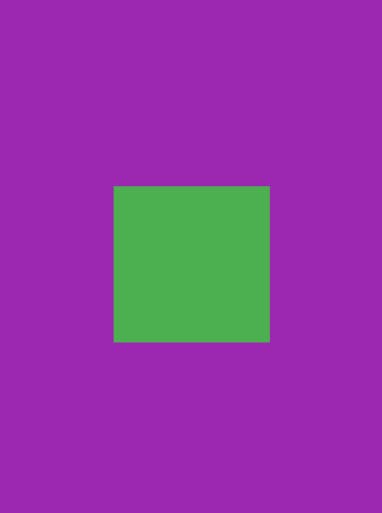
floatingActionButton :
- This is a simple circular button placed on the top of the body of the Scaffold, or we can say it is
floatingabove the body, In the bottom-right corner Scaffold( floatingActionButton: FloatingActionButton( child: Icon(Icons.add), onPressed: (){}, ), body: // widget );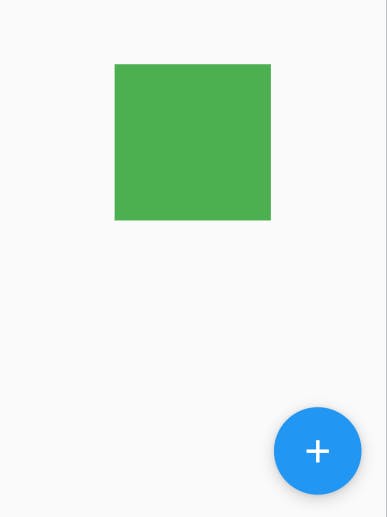
- Here
childproperty ofFloatingActionButtonis used to give any kind of widget as a child ofFloatingActionButton. onPressedproperty provides a callback that is called when the button is pressed.
floatingActionButtonLocation :
- It is responsible for determining where the
floatingActionButtonshould go. - By default the
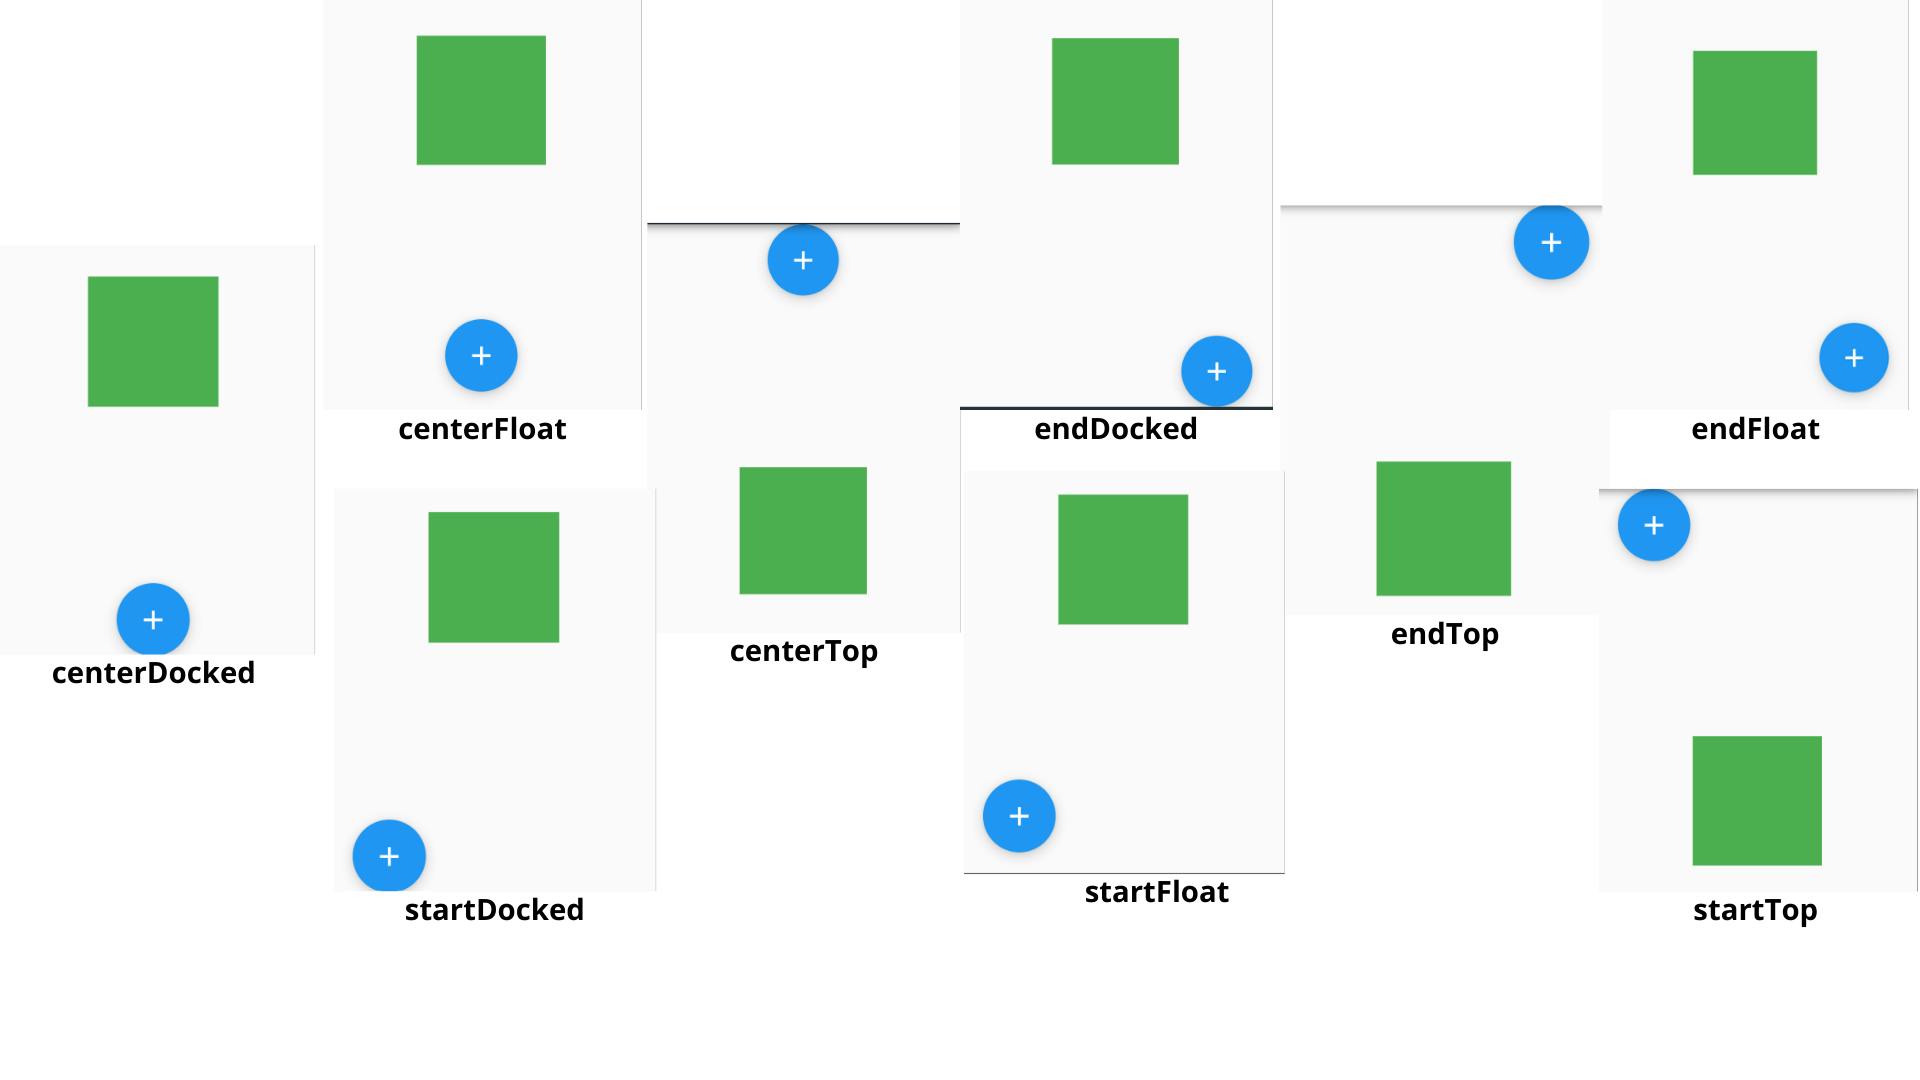
floatingActionButtonis place at bottom-right corner. - There are many default constructors available for positioning the
floatingActionButton. 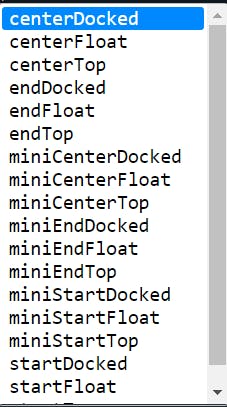
- Example :
Scaffold( floatingActionButtonLocation: FloatingActionButtonLocation.centerFloat, body: // widget )- Here I've displayed some of the possible positions
floatingActionButtonAnimator :
- This is used to animate the
floatingActionButtonfrom onefloatingActionButtonLocationto another. - The
FloatingActionButtonAnimatordefines : Offsetof theFloatingActionButtonbetween old and newfloatingActionButtonLocation.- An
Animationto scale theFloatingActionButtonduring the transition. - An
Animationto rotate theFloatingActionButtonduring the transition. - Where to start a new animation from if an animation is interrupted.
- The
FloatingActionButtonAnimatorhas one constant calledscalingwhich moves theFloatingActionButtonby scalingoutand theninat a newFloatingActionButtonLocation.
appBar :
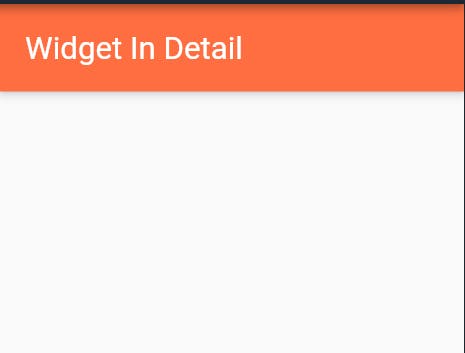
- It is a typical AppBar that is displayed at the top of Scaffold.
- We can create an AppBar by passing
AppBar()as an input. - The AppBar has various properties like
title,actions,elevation,backgroundColoretc. - We can also create our own custom AppBar by implementing PreferredSizeWidget our class.
- Example :
Scaffold(
    appBar: AppBar(
      title: Text("Widget In Detail"),
      backgroundColor: Colors.deepOrangeAccent,
    ),
    body: // widget
);
bottomNavigationBar :
- In a typical application user interface there is one navigation panel through which users can navigate through a different part of an app.
- Most of the app uses
BottomNavigationBarfor navigation, positioned at the bottom of the Scaffold body. - We can create our own custom
bottomNavigationBar, but Flutter provides us a built-inBottomNavigationBar. Scaffold( body: Container(), bottomNavigationBar: BottomNavigationBar( currentIndex: _currentIndex, fixedColor: Colors.deepOrange, items: [ BottomNavigationBarItem( title: Text("Home"), icon: Icon(Icons.home), ), BottomNavigationBarItem( title: Text("Search"), icon: Icon(Icons.search), ), BottomNavigationBarItem( title: Text("Add"), icon: Icon(Icons.add_box), ), ], onTap: (int index){ setState(() { _currentIndex = index; }); }, ), );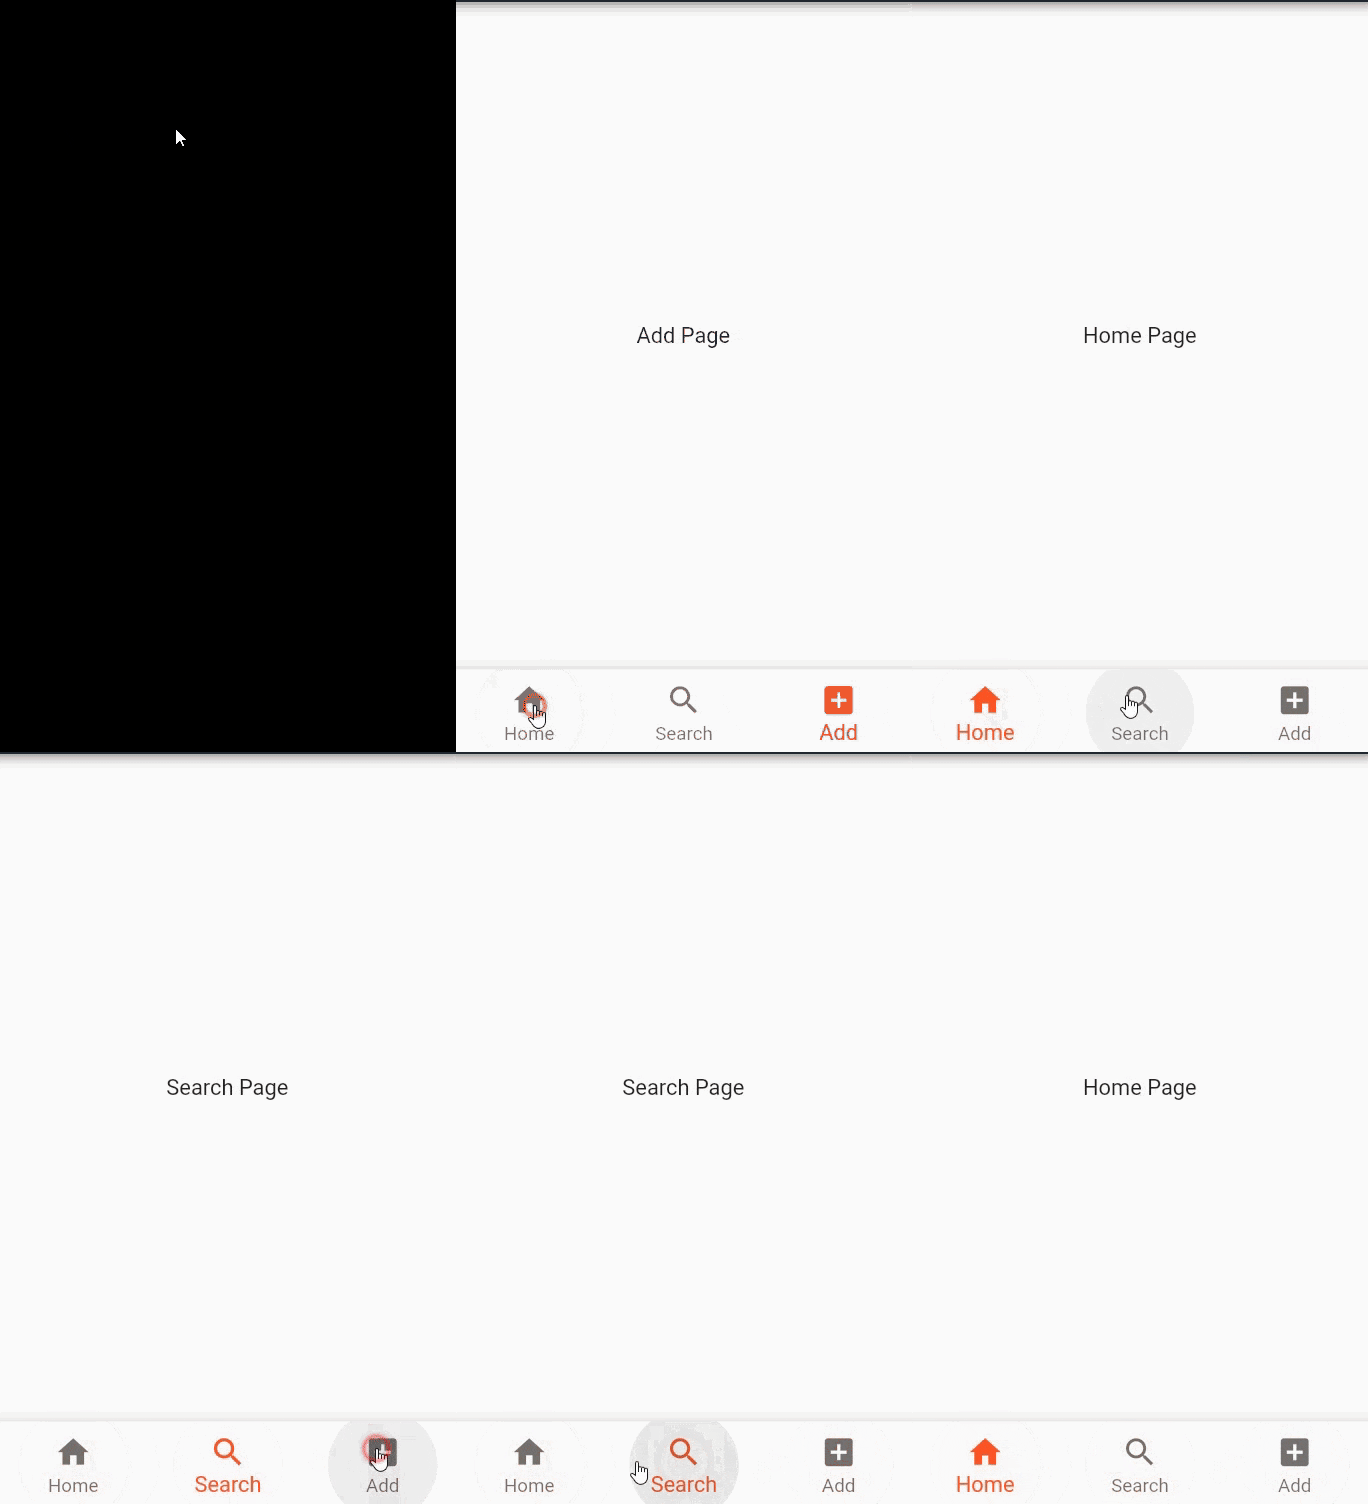
bottomSheet:
- It is a kind of we can say overlay that is shown at the bottom of the app.
- There can be two types of
bottomSheet: - Persistent Bottom Sheet : By using the Persistent Bottom Sheet we can interact with our app content as well as the sheet content. Which we can't do with the Model Bottom Sheet.
- Model Bottom Sheet : It is a kind of pop-up, with some menus. If a user clicks outside of that sheet area, the sheet will be dismissed immediately. It means we cannot interact with our app content and with the Sheet content at the same time.
- The
BottomSheetwidget itself is rarely used directly. Because we can't open or close it by swiping up or down. It's static.Scaffold( bottomSheet: BottomSheet( onClosing: (){}, builder: (_){ return Container( width: MediaQuery.of(context).size.width, height:150, color:Colors.green, child: Column( mainAxisAlignment: MainAxisAlignment.center, children: [ Text("Count in BottomSheet $_bottomSheetCounter"), RaisedButton( child: Icon(Icons.add), onPressed:(){ setState((){ _bottomSheetCounter++; }); } ) ], ) ); 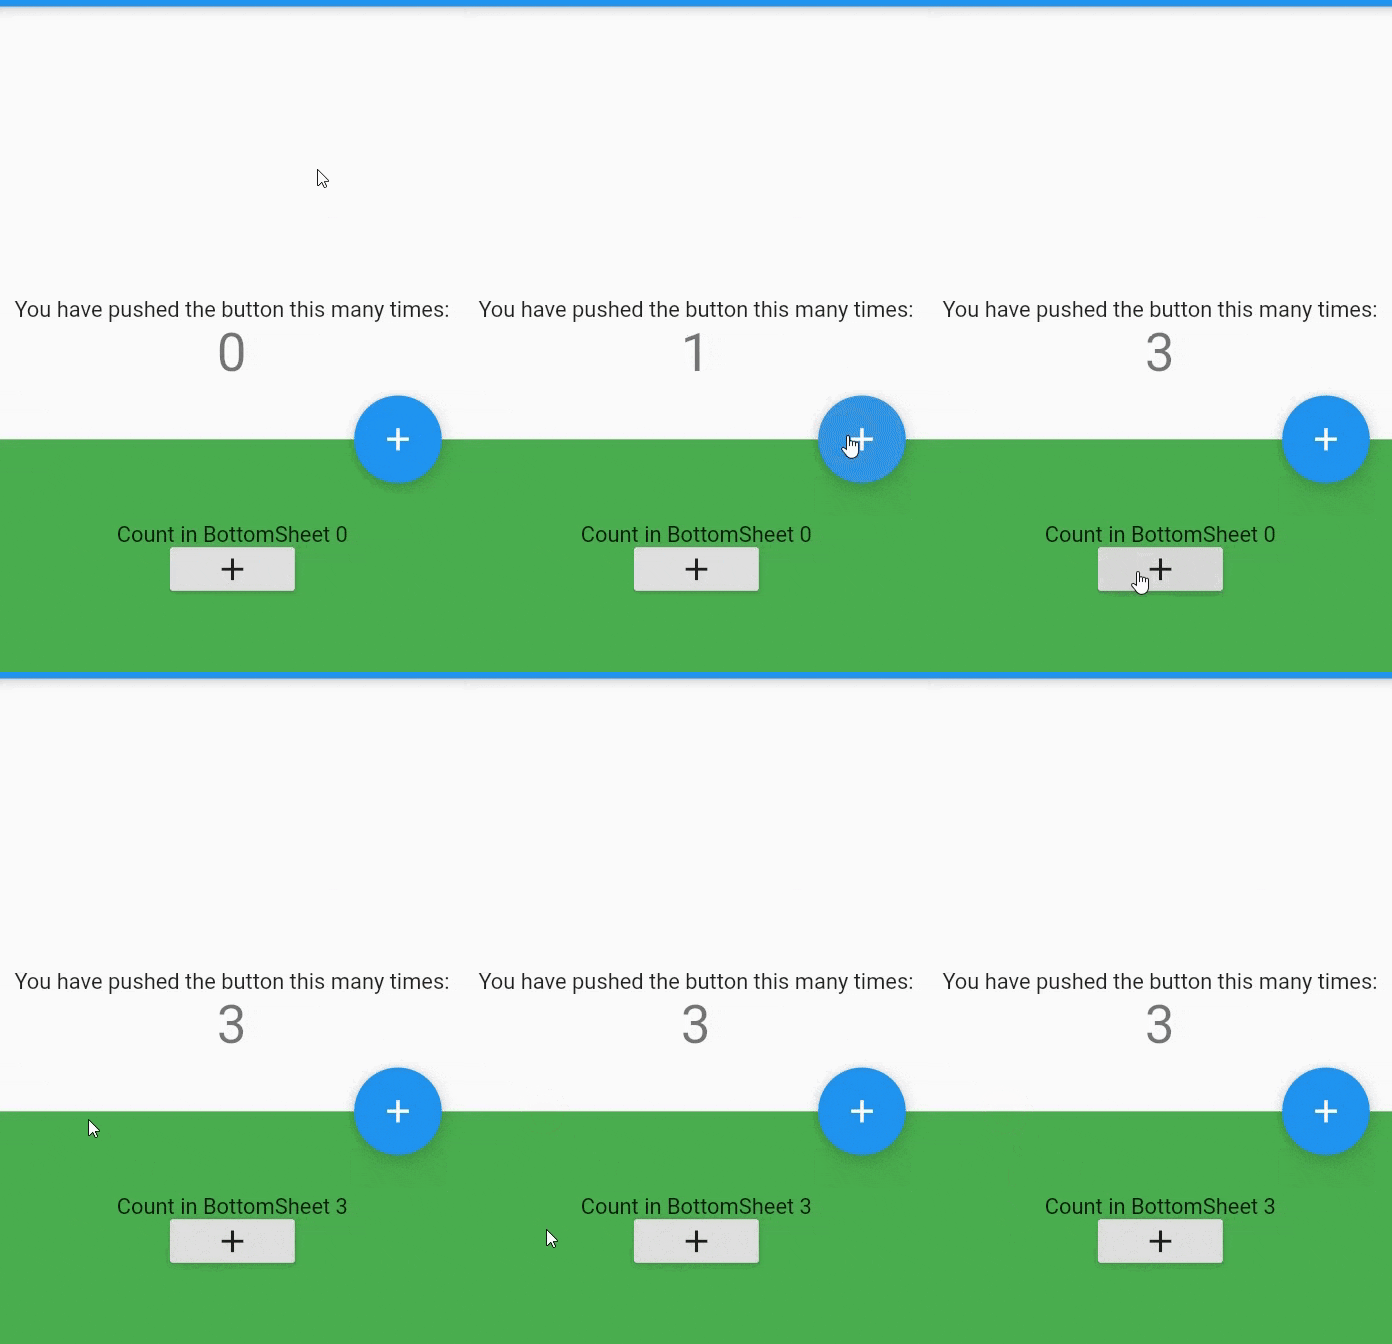
- If you want to use make it dismissible, or open it when some event is triggered, Instead, prefer to create a persistent bottom sheet with
ScaffoldState.showBottomSheetorScaffold.bottomSheet, and a modal bottom sheet withshowModalBottomSheet.
persistentBottomSheet :
- Create a
GlobalKeyof typeScaffoldState. And pass it to the Scaffold'skeypropertyfinal _scaffoldKey = new GlobalKey<ScaffoldState>();Scaffold( key: _scaffoldKey ) - Add a button inside the body for triggering bottomSheet.
Scaffold( key:_scaffoldKey, body: Center( child: RaisedButton( onPressed: _showPersistentBottomSheet, child: Text("Persistent"), ), ) ) - Declare
VoidCallbackof_showPersistentBottomSheetand assign it to the actual function that will trigger the bottomSheet. VoidCallback? _showPersBottomSheetCallBack; @override void initState() { super.initState(); _showPersBottomSheetCallBack = _showBottomSheet; } void _showBottomSheet() { // }- Now implement the
_showBottomSheetfunction. void _showBottomSheet() { setState(() { _showPersBottomSheetCallBack = null; // We don't want to press button again if the sheet already opened That's why we are disabling the button. }); _scaffoldKey.currentState !.showBottomSheet((context) { return Container( height: 200.0, color: Colors.deepOrange, child: Center( child: Text("I'm Persistent"), ), ); }) .closed .whenComplete(() { if (mounted) { // If our sheet is not visible then we are again attaching the `_showBottomSheet` function to `_showPersBottomSheetCallBack ` as we did in `initState` setState(() { _showPersBottomSheetCallBack = _showBottomSheet; }); } }); }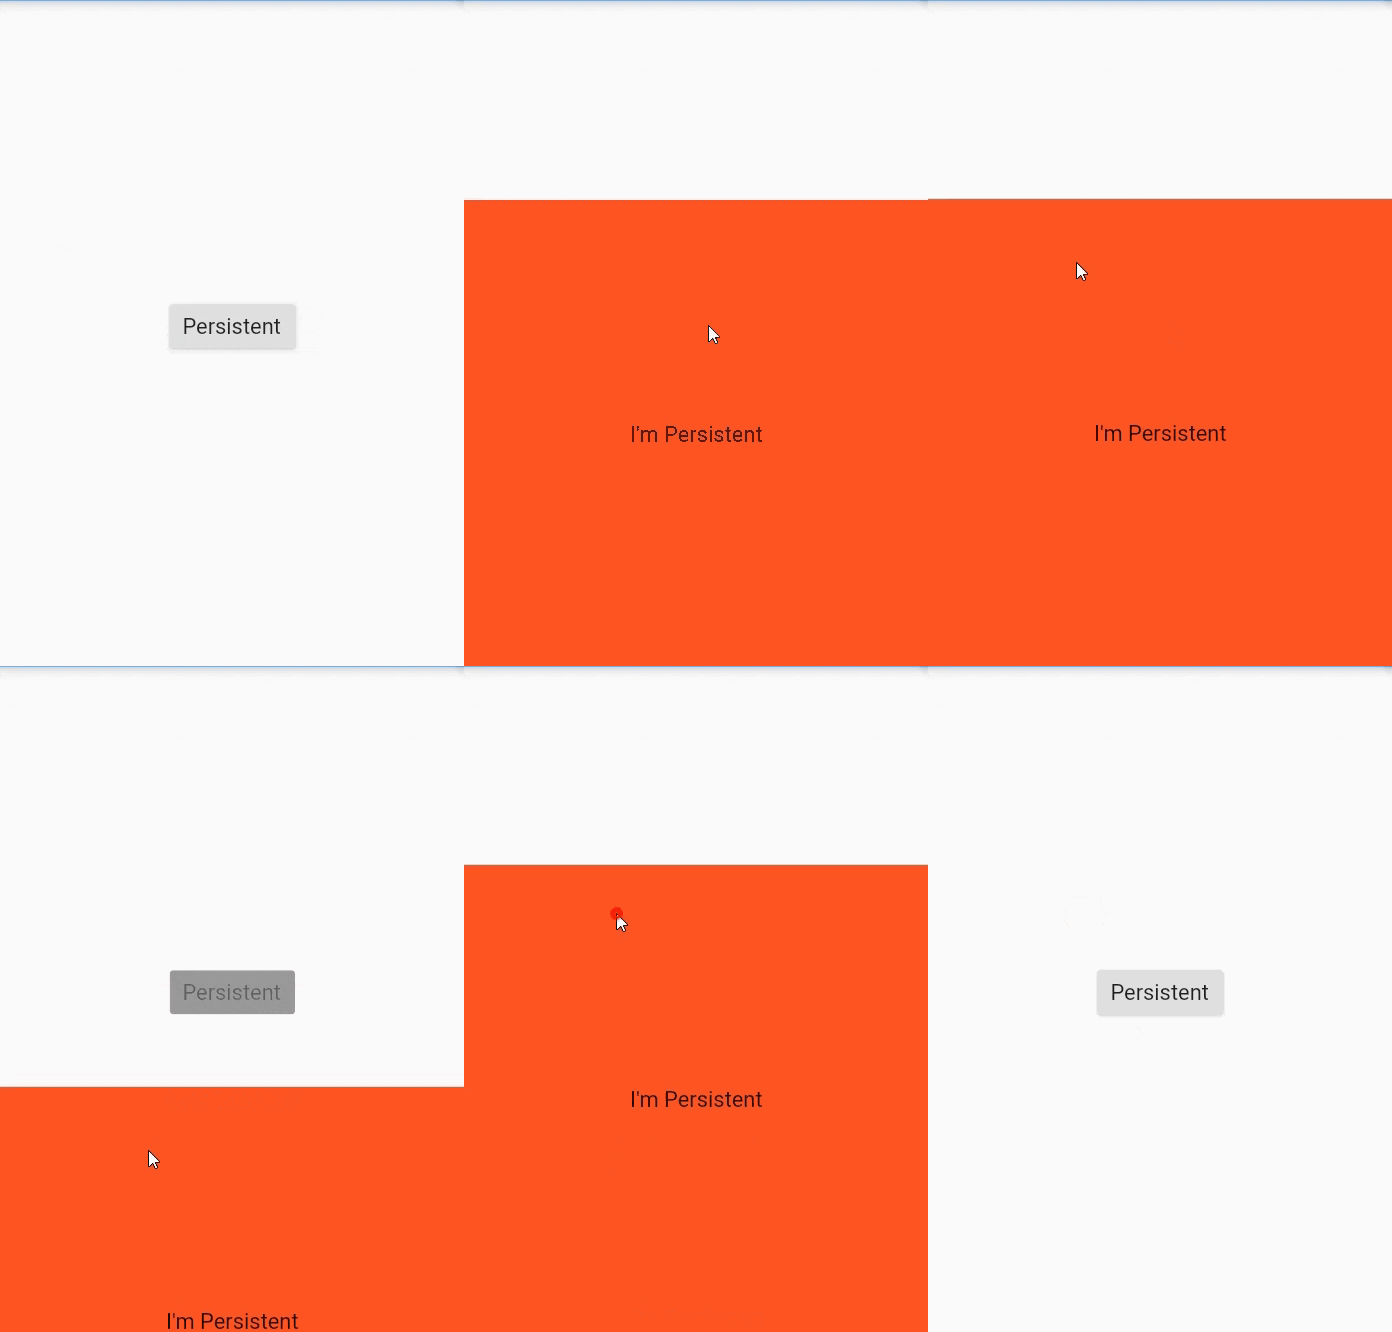
showModelBottomSheet :
- It's very simple, just implement
showModelBottomSheetfunction which is in-built in flutter and attach with any button, you are ready to go. -void _showModalSheet() { showModalBottomSheet( context: context, builder: (builder) { return Container( color: Colors.greenAccent, child: new Center( child: Text("I'm ModalSheet"), ), ); }); } 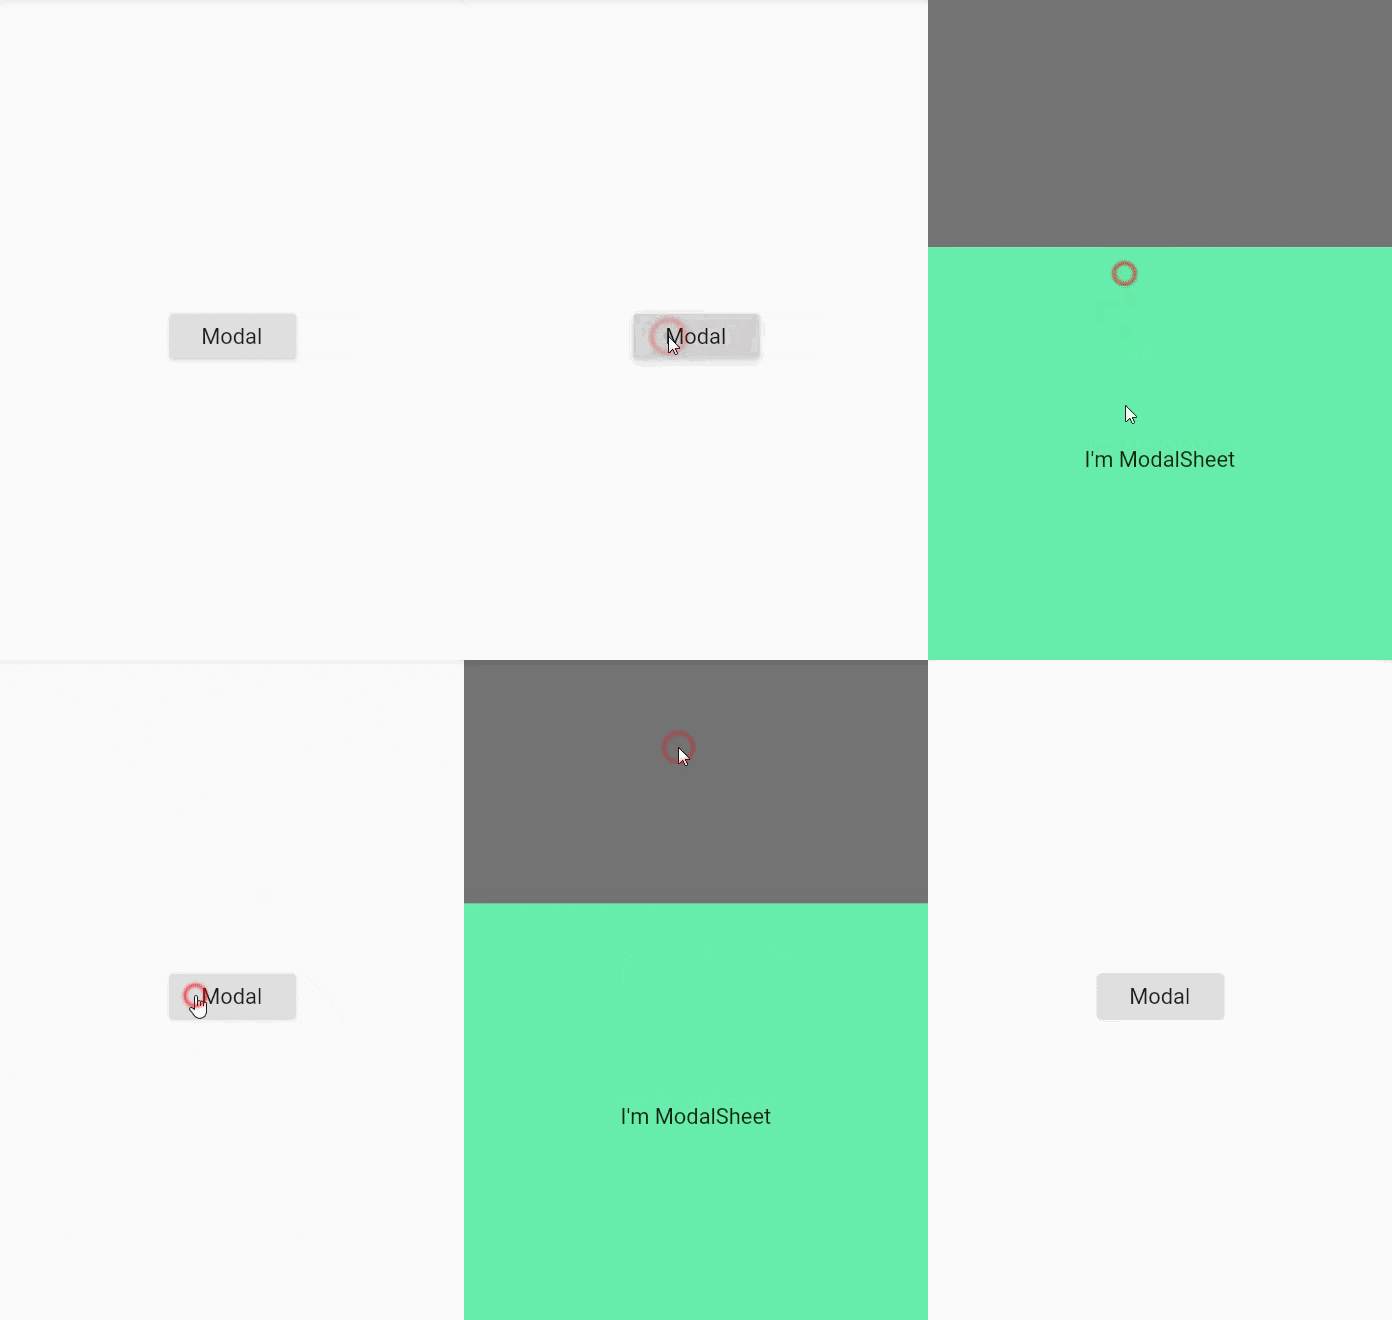
drawer :
- A drawer is a
Paneldisplayed on the left or right side of the body. - It is mostly hidden on mobile devices.
- To open it the user has to swipe left-to-right or right-to-left.
drawertakesDrawerwidget as input.- You can create your own custom
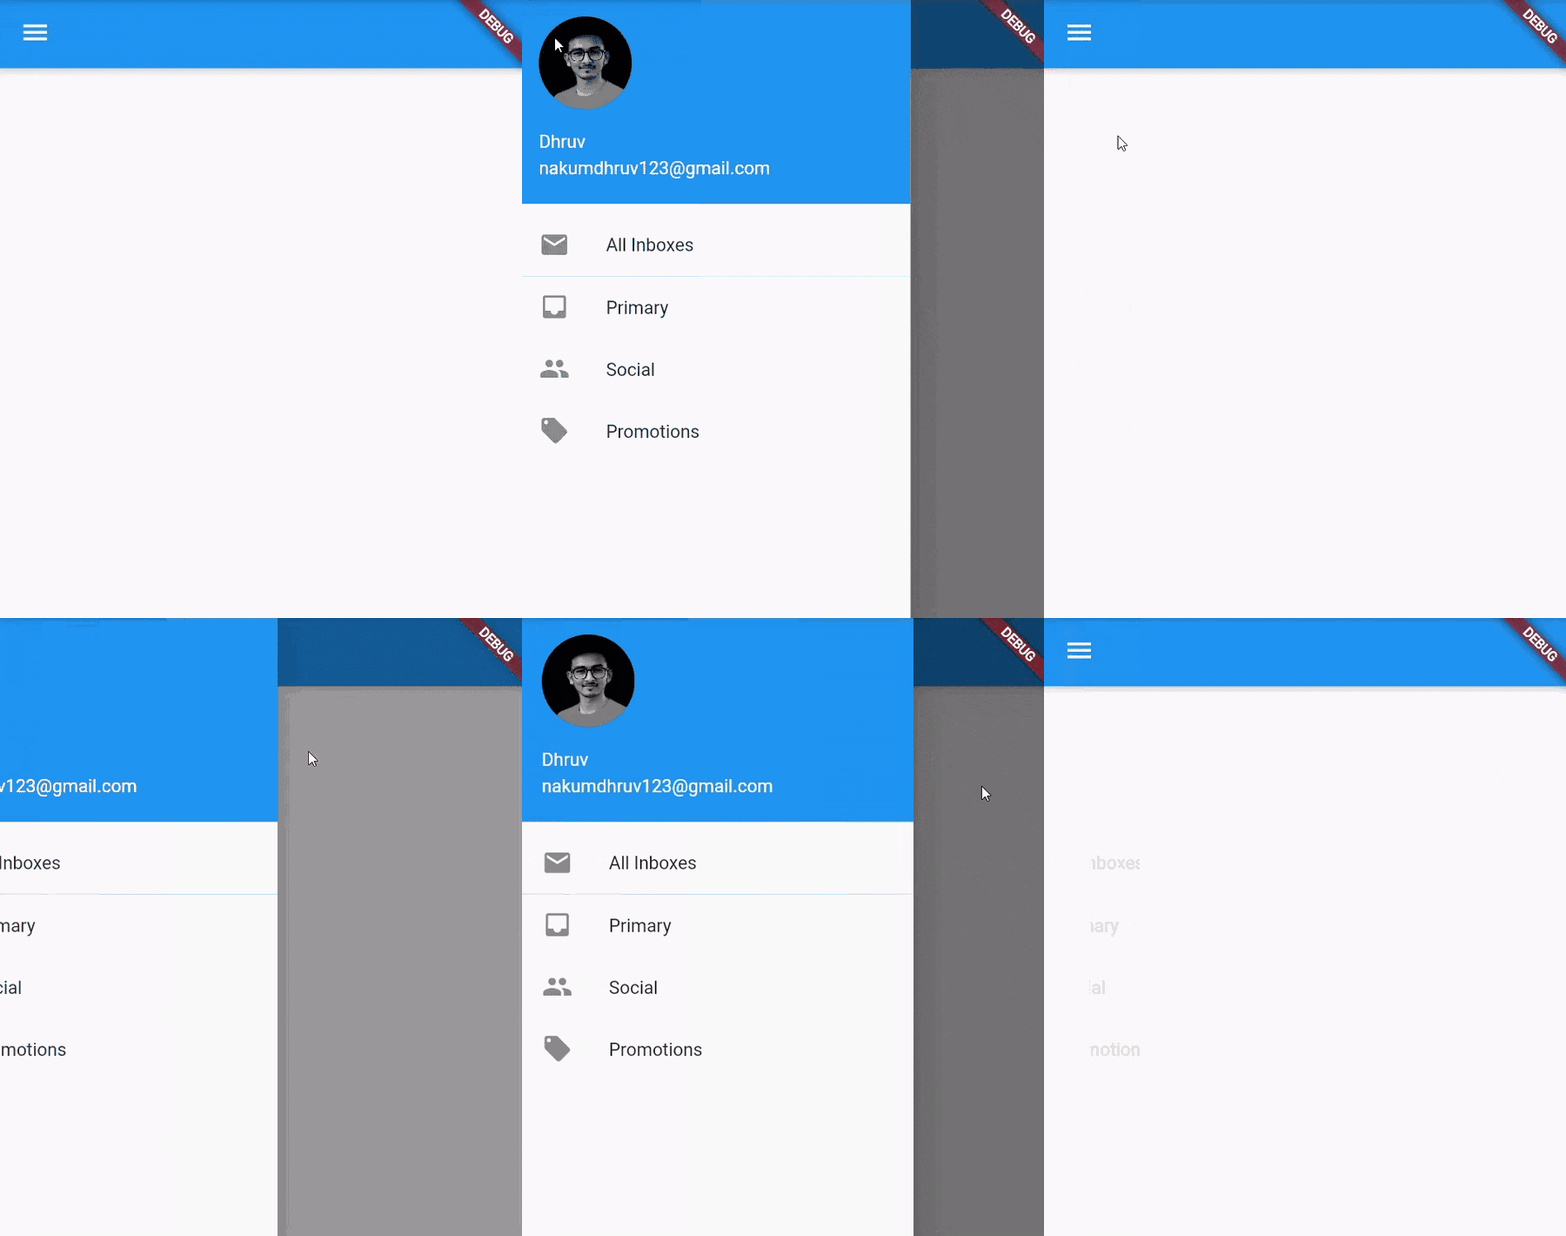
Drawertoo. - It is usually used to show user profile info, navigation links, about information etc.
- Example :
Scaffold(
    appBar: AppBar(),
    drawer: Drawer(
      elevation: 16.0,
        child: Column(
          children: <Widget>[
            UserAccountsDrawerHeader(
              accountName: Text("Dhruv"),
              accountEmail: Text("nakumdhruv123@gmail.com"),
              currentAccountPicture: CircleAvatar(
                backgroundImage: NetworkImage("https://media-exp1.licdn.com/dms/image/C4D03AQHDlYNK0WgLFA/profile-displayphoto-shrink_400_400/0/1621524948952?e=1634169600&v=beta&t=_fPR4KDunI_mvH0YCaa9T_aj1Fo0A19DlTbF7n_IdBM"),
              ),
            ),
          ListTile(
            title: new Text("All Inboxes"),
            leading: new Icon(Icons.mail),
          ),
          Divider(
            height: 0.1,
          ),
          ListTile(
            title: new Text("Primary"),
            leading: new Icon(Icons.inbox),
          ),
          ListTile(
            title: new Text("Social"),
            leading: new Icon(Icons.people),
          ),
          ListTile(
            title: new Text("Promotions"),
            leading: new Icon(Icons.local_offer),
          )
      ],
  ),
),
    body: Container()
);
drawerEdgeDragWidth:
- This is the width of the area within which drawer opens.
- By default, the value used is 20.0
- Lets set it to
0.0and see what happen Scaffold( drawerEdgeDragWidth: 0, )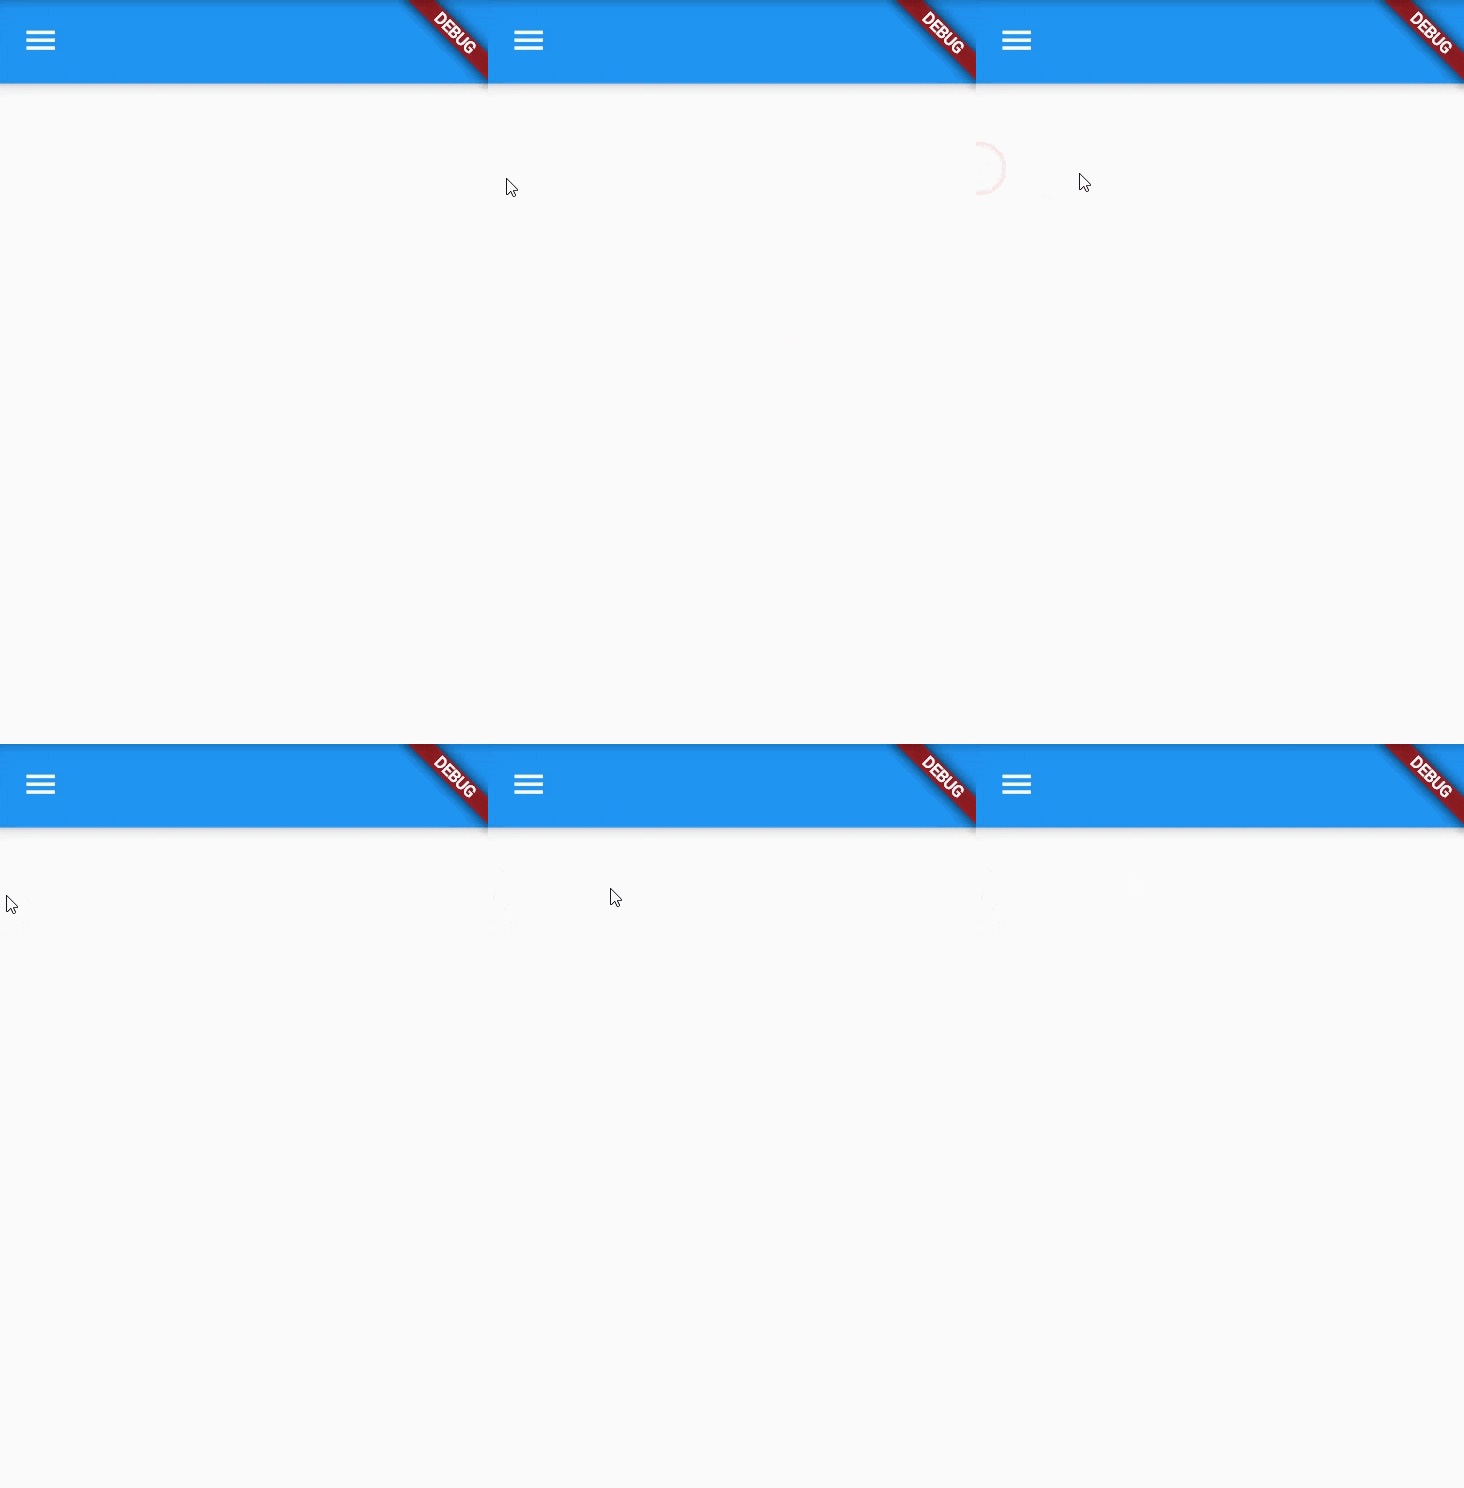
- As you can see the drawer is no longer opening, It is because of the area where the drag behavior stars is now zero.
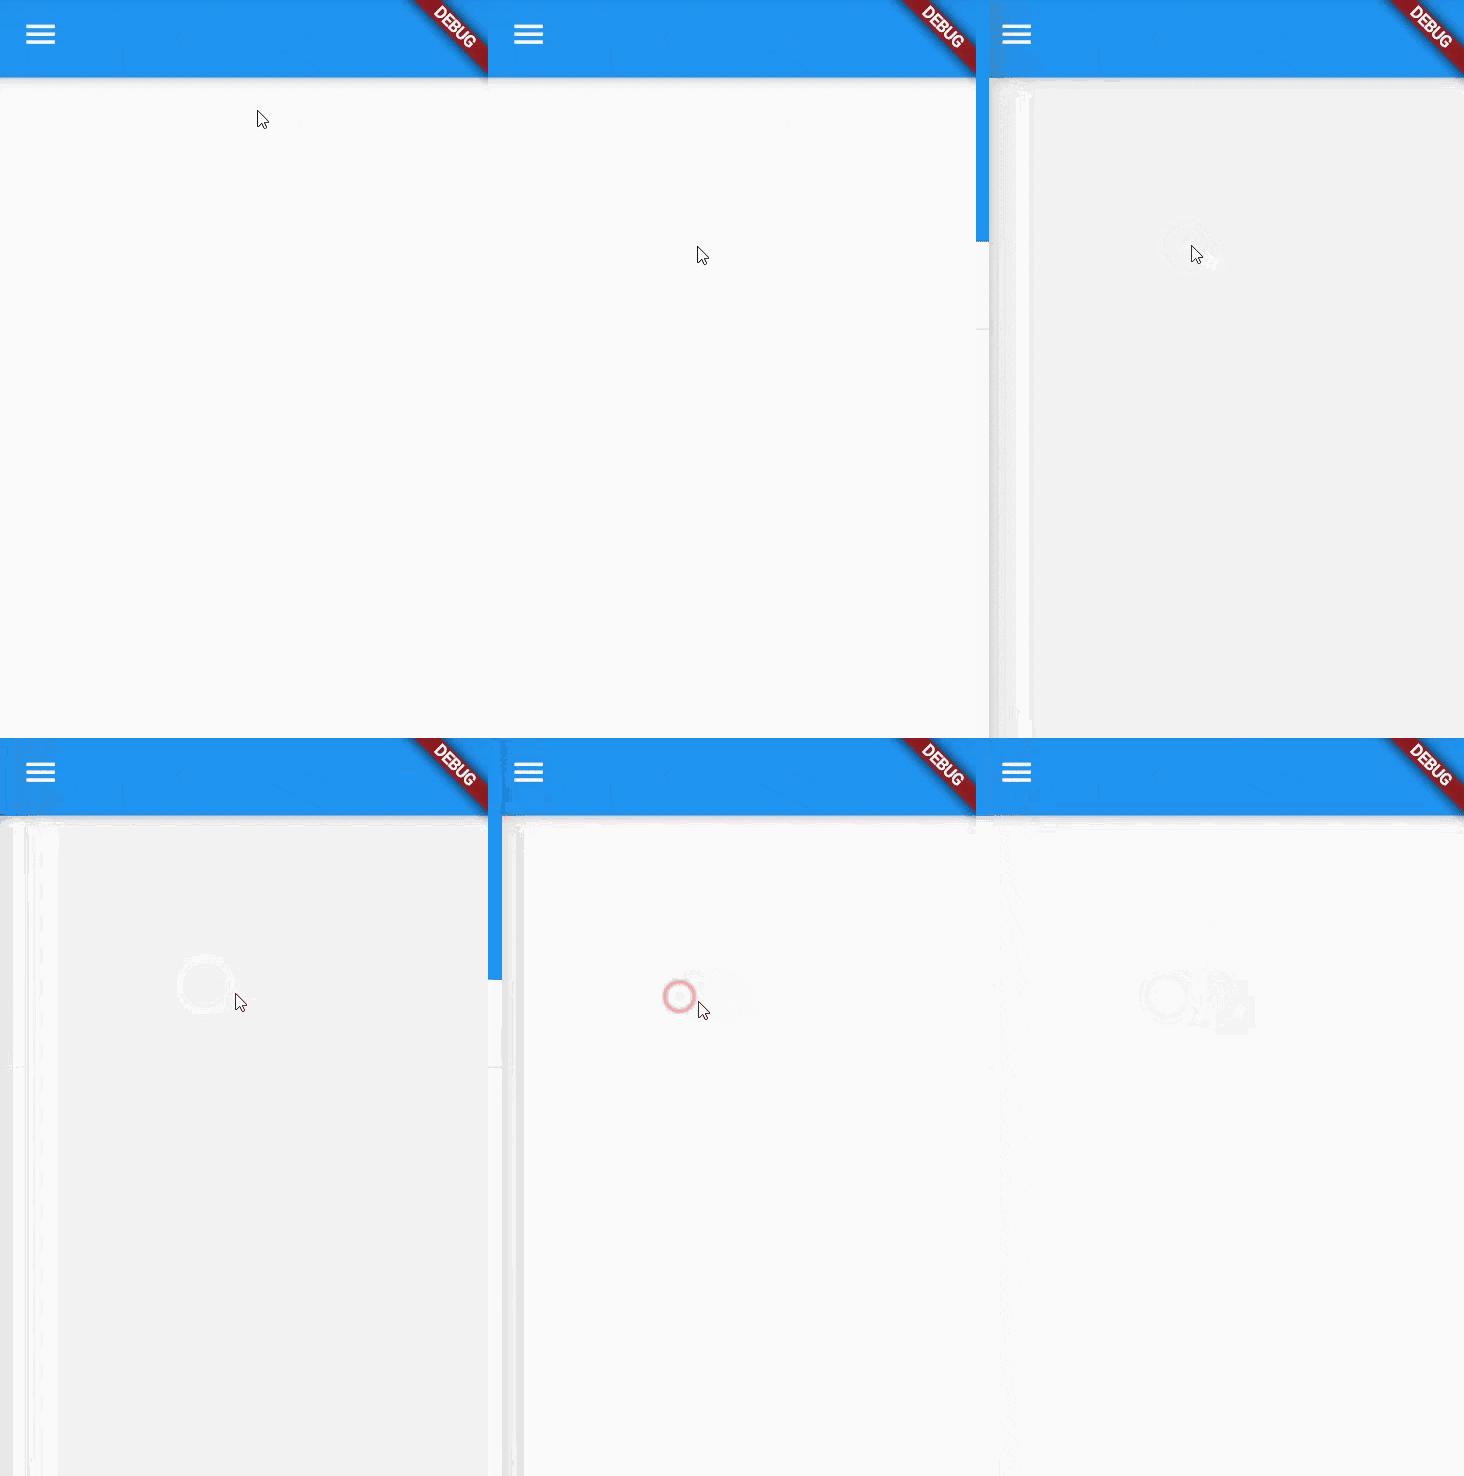
- And if we now set it to some higher value
Scaffold(
  drawerEdgeDragWidth: 150,
)
drawerScrimColor :
- It is the color that is used to obscure/hide the primary content of the app.
- Default value is
Colors.black54 - Example :
Scaffold( drawerScrimColor: Colors.red.shade300, ) 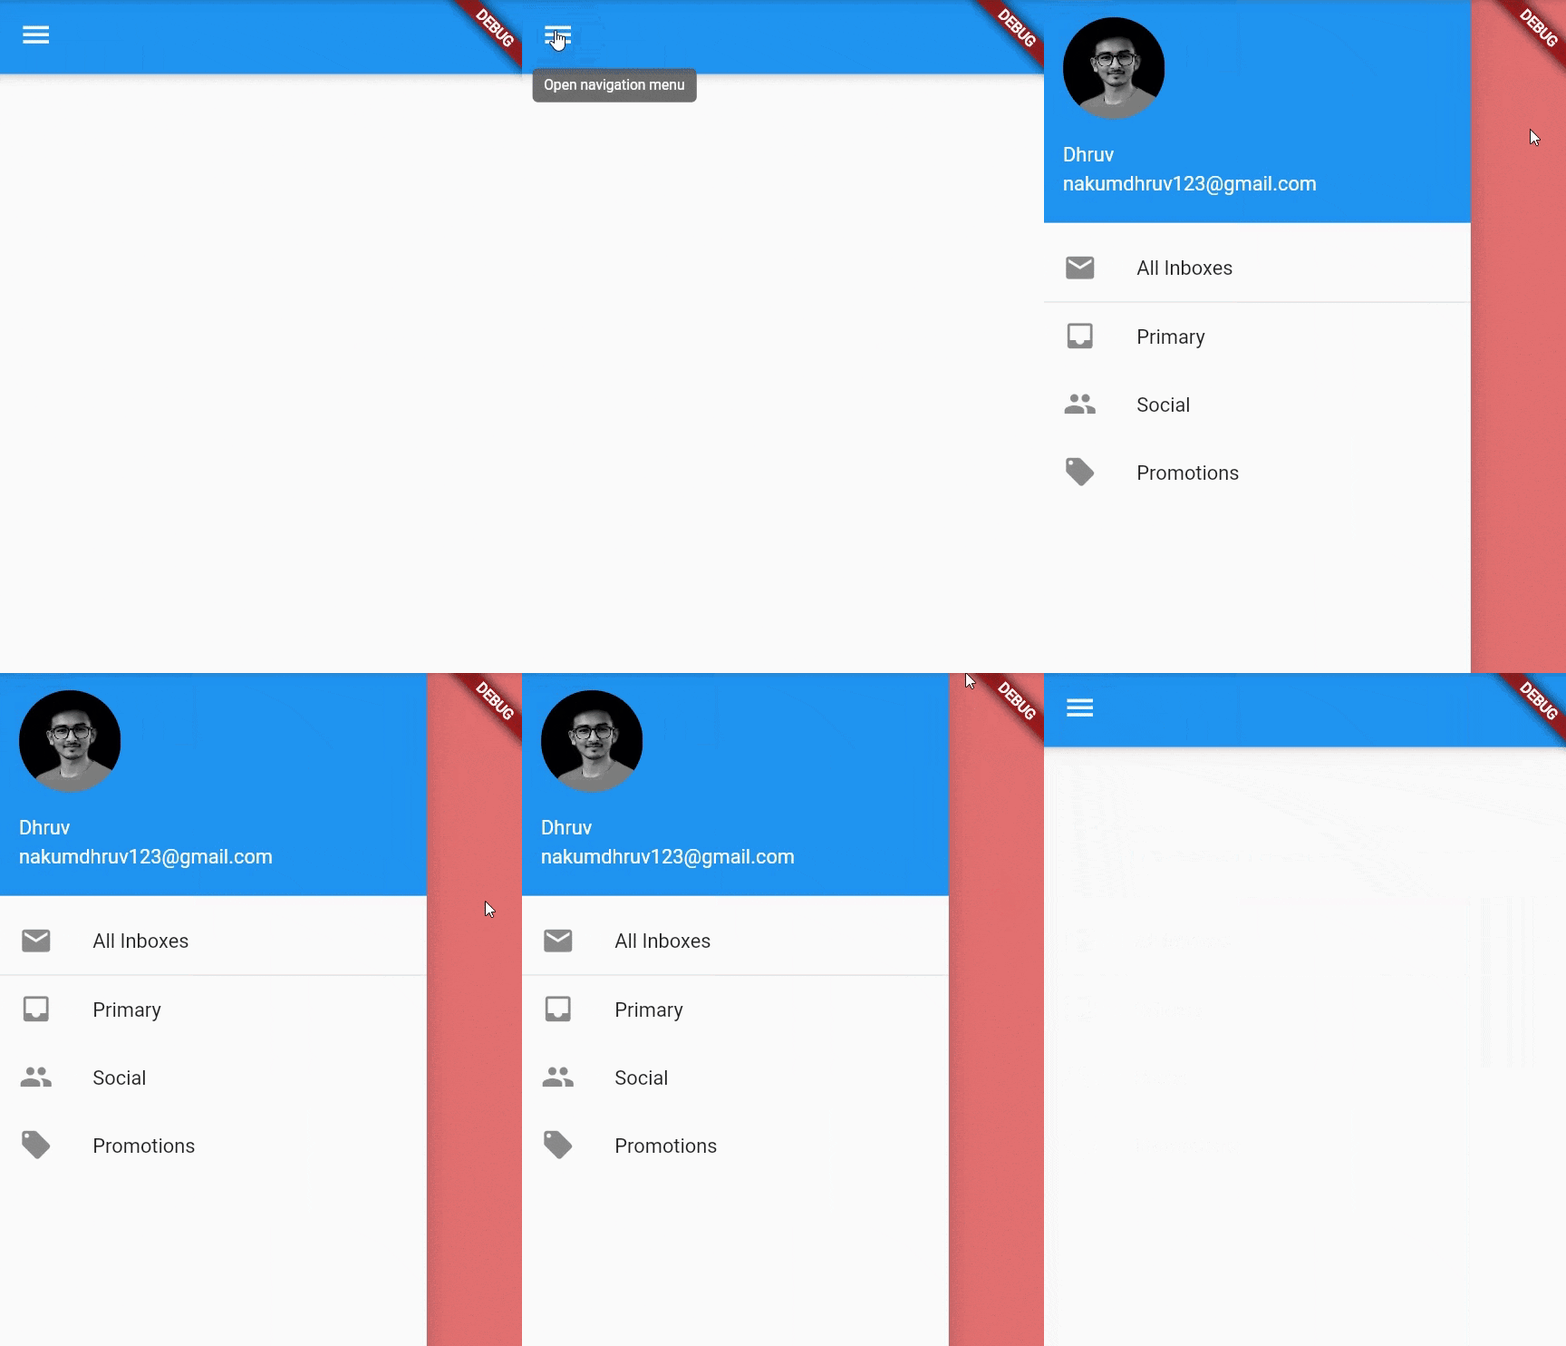
drawerEnableOpenDragGesture :
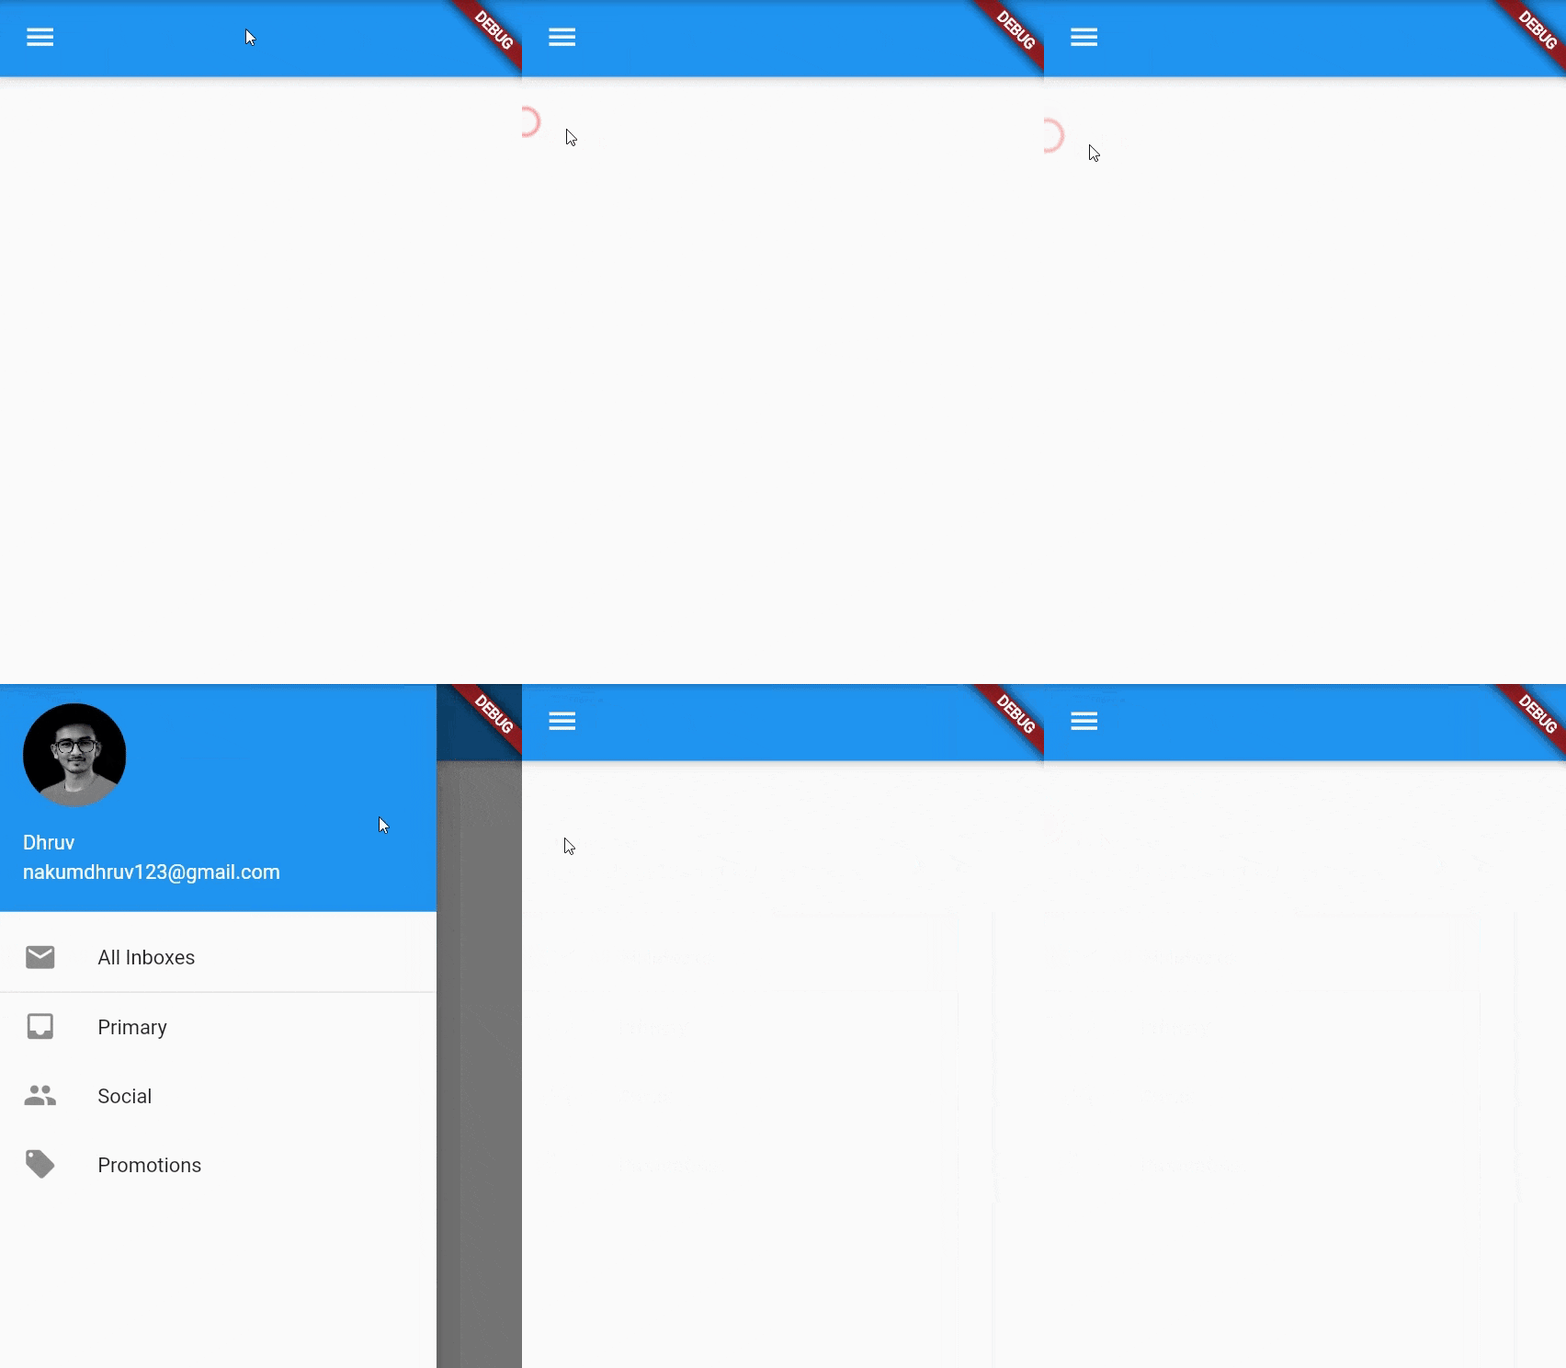
- This is responsible for opening the
drawerby dragging. - If set to
false, thedrawerwill no longer open when the user will swipe from left-to-right or right-to-left. - Default value is
true. - Example :
Scaffold(
   drawerEnableOpenDragGesture: false,
)
onDrawerChanged :
- It expects callback function as an input.
- And it is called when the
Drawerisopenedorclosed - Example :
Scaffold( onDrawerChanged: (_){ print("Drawer $_"); }, ) 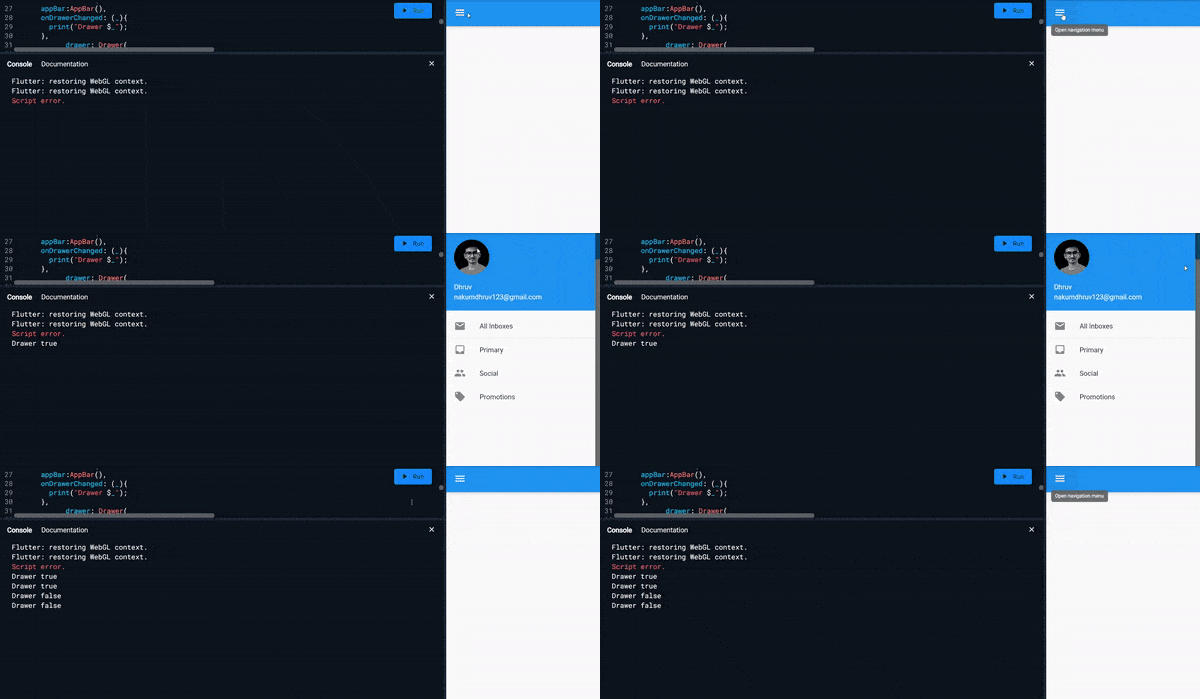
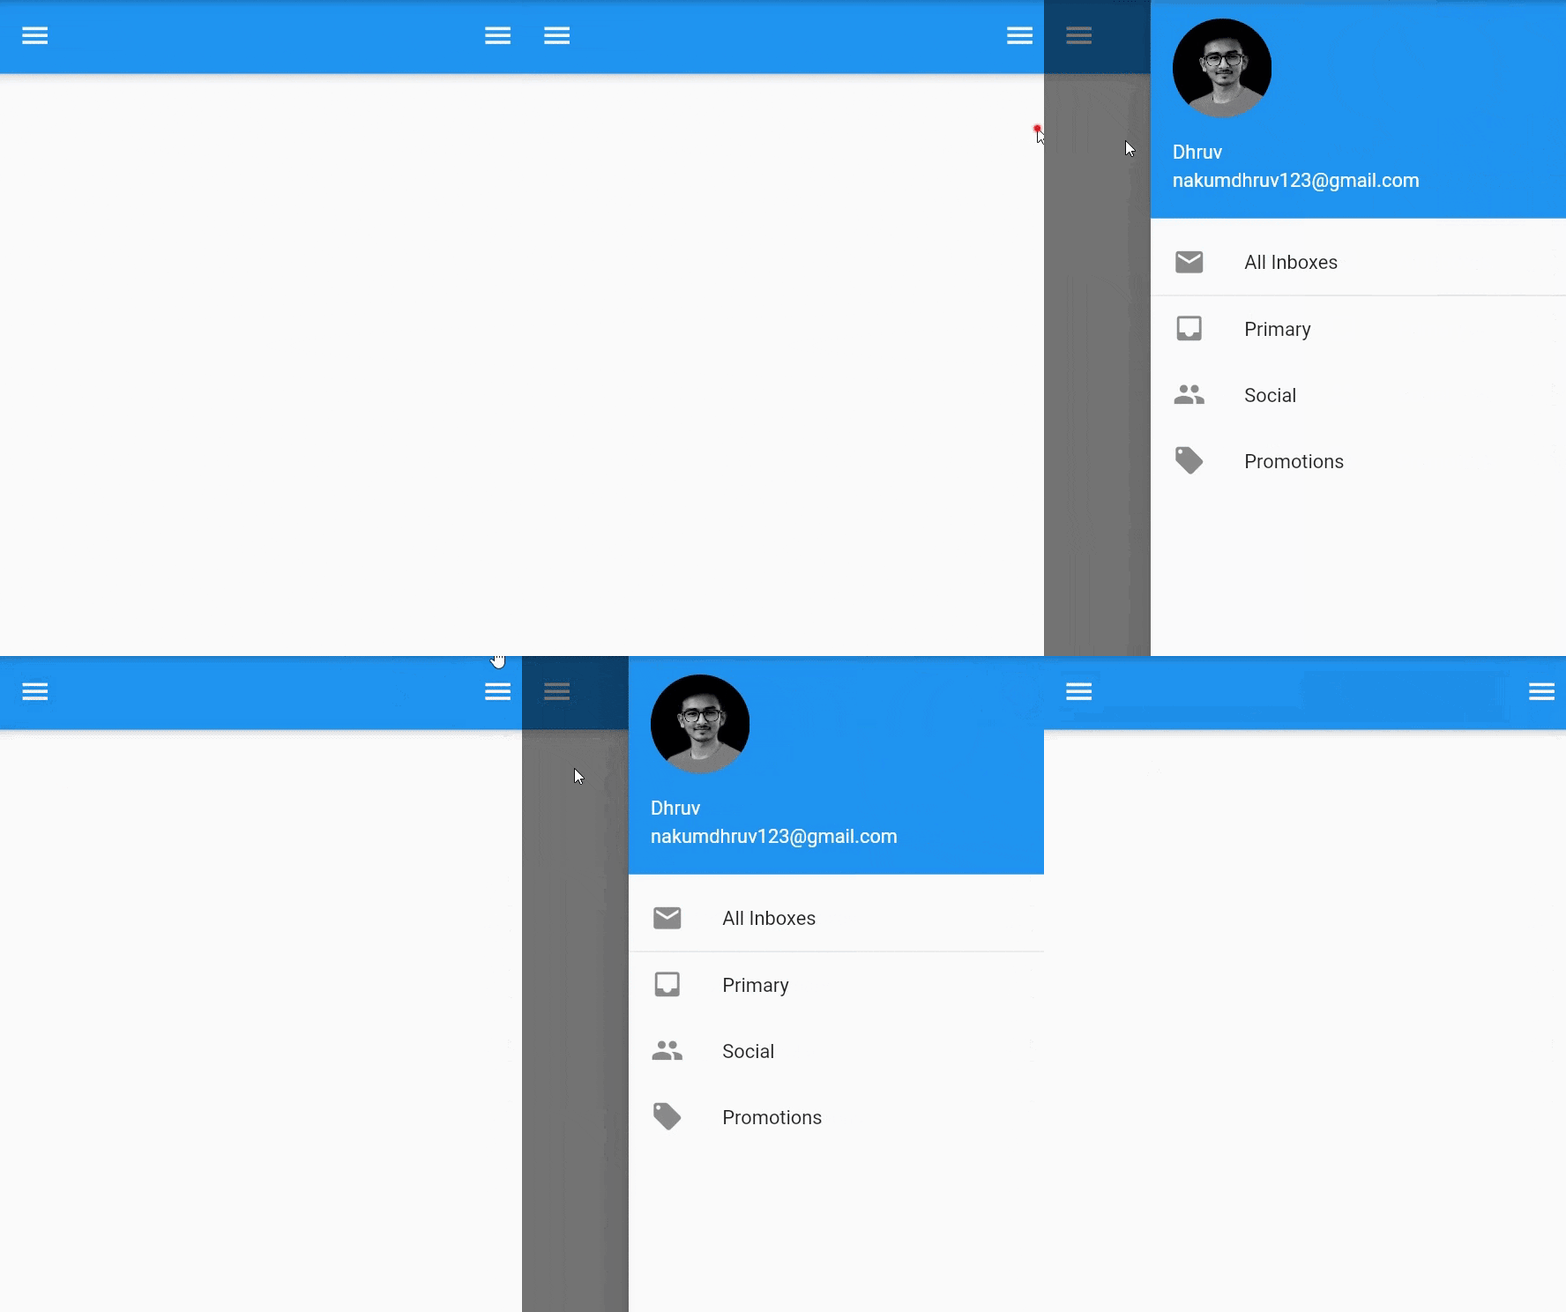
endDrawer :
- Same as
drawer, but instead the panel/drawer is on the right side of the app. - Swipe right-to-left to open/close drawer.
Scaffold(
    endDrawer: Drawer(
    elevation: 16.0,
        child: Column(
          children: <Widget>[
            UserAccountsDrawerHeader(
              accountName: Text("Dhruv"),
              accountEmail: Text("nakumdhruv123@gmail.com"),
              currentAccountPicture: CircleAvatar(
                backgroundImage: NetworkImage(url),
              ),
            ),
            // Drawer content
      ],
  ),
    ),
)
endDrawerEnableOpenDragGesture:
- Same as
drawerEnableOpenDragGesturebut for theendDrawer - If set to
false, thedrawerwill no longer open when the user will swipe from right-to-left or left-to-right. - Default value is
true.
onEndDrawerChanged :
- Same as
onDrawerChanged, except it is forendDrawer - Example :
Scaffold(
   onEndDrawerChanged: (_){
      print("Drawer $_");
    },
)
extendBody :
- If
true, andbottomNavigationBaris specified, then thebodyextendsto the bottom of theScaffold. Instead of only extending to the topbottomNavigationBar. - If
false, andbottomNavigationBaris specified, then thebodywill notextendto the bottom of theScaffold. And only extends to the topbottomNavigationBar. - Default is
false - With
extendBody: trueScaffold( extendBody: true, bottomNavigationBar: BottomNavigationBar( // navigation items ) body: // items ) 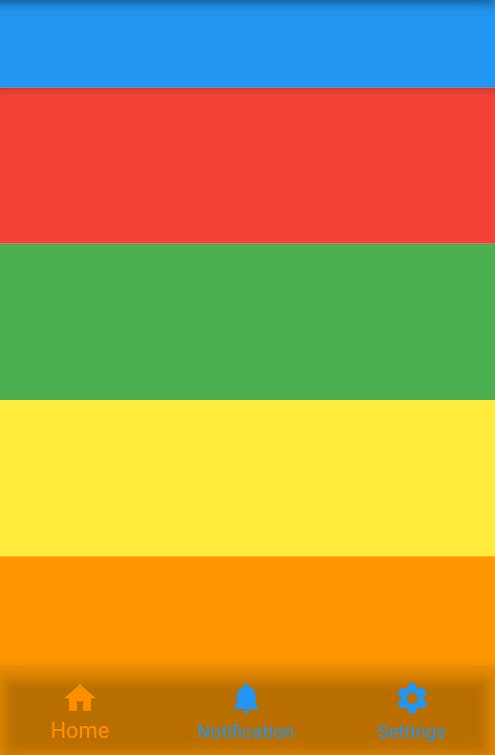
- With
extendBody: false (Default)Scaffold( extendBody: false, bottomNavigationBar: BottomNavigationBar( // navigation items ) body: // items ) 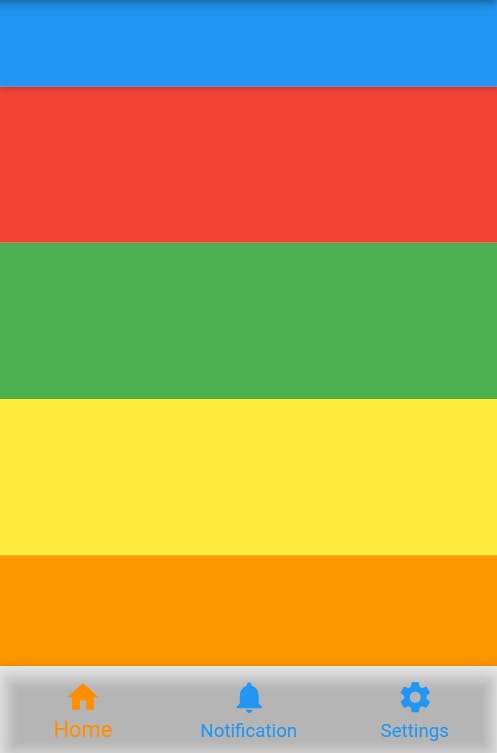
extendBodyBehindAppBar :
- This is used when we want to place our body behind the
AppBar. - For this
AppBarshould havetransparentbackgroundColor - This property is false by default. It must not be null.
- With
extendBodyBehindAppBar : trueScaffold( extendBodyBehindAppBar: true, appBar: AppBar(backgroundColor: Colors.transparent,) body: // items ) 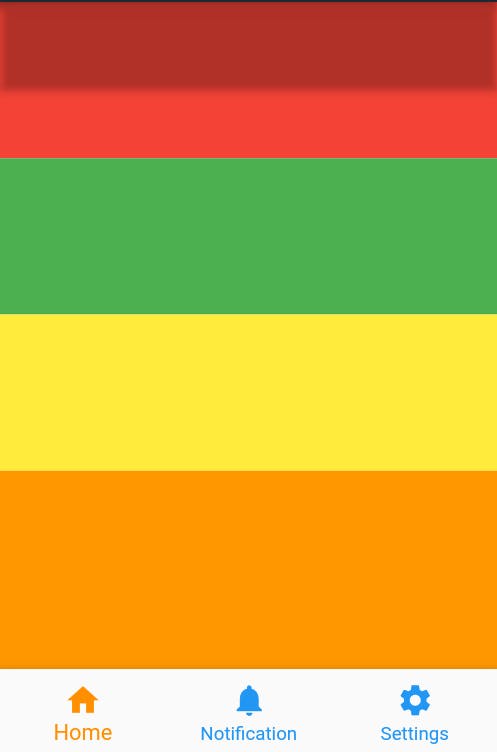
- With
extendBodyBehindAppBar : falseScaffold( extendBodyBehindAppBar: false, appBar: AppBar(backgroundColor: Colors.transparent,) body: // items ) 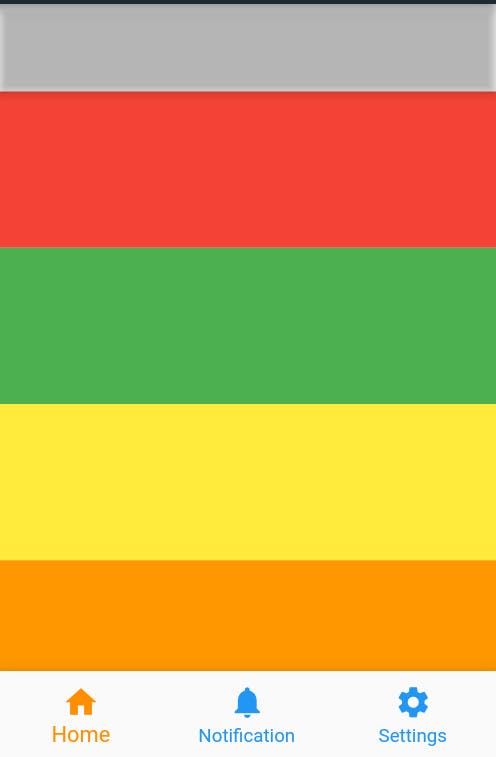
If you are using
ListVieworGridViewmake sure to havepadding: EdgeInsets.only(top: 0), to see expected results.
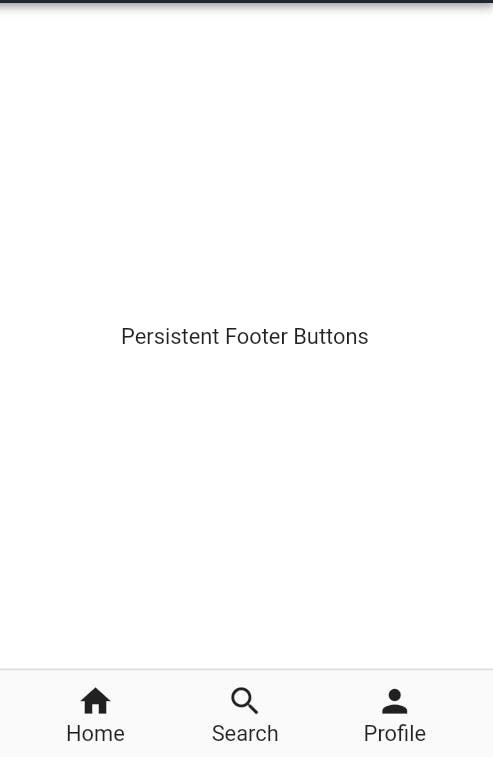
persistentFooterButtons :
- A set of buttons that are displayed at the bottom of the
Scaffold. - Typically this is a list of TextButton widgets.
- These buttons are persistently visible, even if the body of the scaffold scrolls.
- The
persistentFooterButtonsare rendered above thebottomNavigationBarbut below thebody. - Example :
Scaffold(
body: Container(
  color: Colors.white,
  child: Center(child: Text("Persistent Footer Buttons"),),
),
persistentFooterButtons: <Widget>[
  Row(
    mainAxisAlignment: MainAxisAlignment.spaceEvenly,
    children: <Widget>[
      FlatButton(
        onPressed: () {},
        child: Column(
          mainAxisSize: MainAxisSize.min,
          children: <Widget>[
            new Icon(Icons.home),
            new Text('Home'),
          ],
        ),
      ),
      FlatButton(
        onPressed: () {},
        child: Column(
          mainAxisSize: MainAxisSize.min,
          children: <Widget>[
            new Icon(Icons.search),
            new Text('Search'),
          ],
        ),
      ),
      FlatButton(
        onPressed: () {},
        child: Column(
          mainAxisSize: MainAxisSize.min,
          children: <Widget>[
            new Icon(Icons.person),
            new Text('Profile'),
          ],
        ),
      ),
    ],
  ),
],
);
resizeToAvoidBottomInset :
- If
truethebodyand the scaffold's floating widgets should size themselves to avoid the onscreen keyboard. - For example, if there is an onscreen keyboard displayed above the
scaffold, the body can be resized to avoid overlapping the keyboard, which prevents widgets inside the body from being obscured by the keyboard. - Example :
- With
resizeToAvoidBottomInset : false: Scaffold( resizeToAvoidBottomInset: false, body: // Content )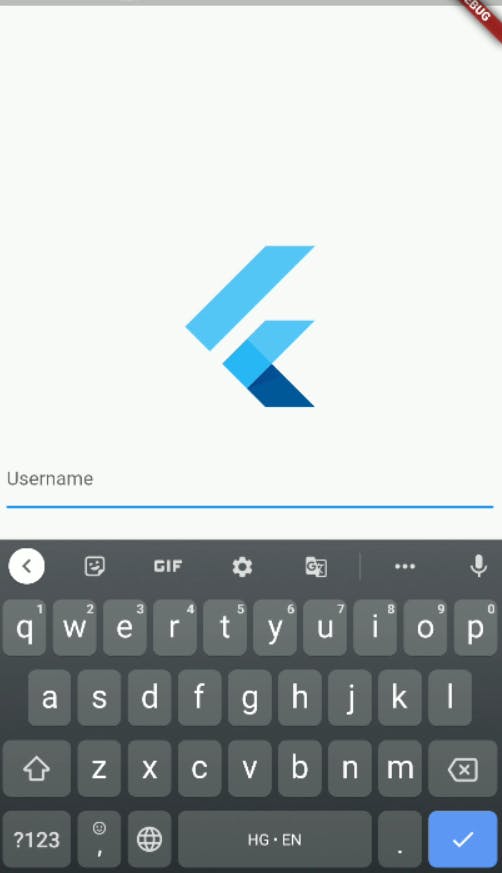
- With
resizeToAvoidBottomInset : true: Scaffold( resizeToAvoidBottomInset: true, body: // Content )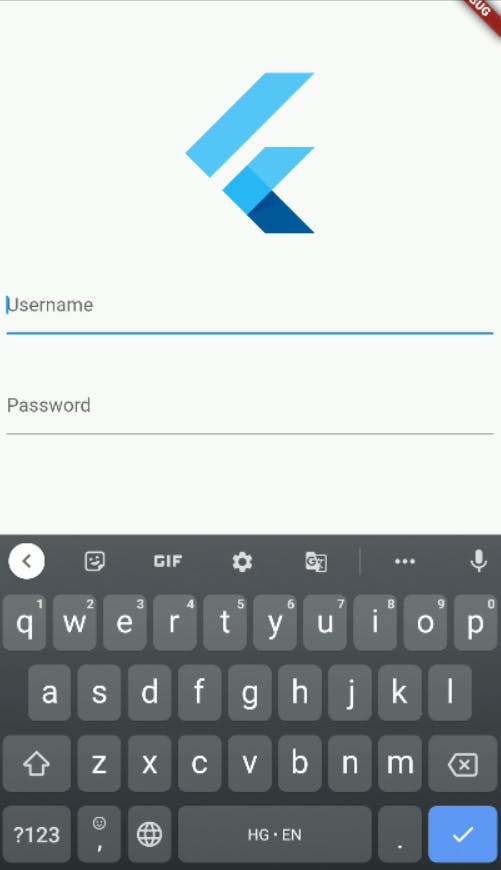
primary :
- Whether this
scaffoldis being displayed at the top of the screen. - If true then the height of the
appBarwill be extended by the height of the screen's status bar, i.e. the top padding for MediaQuery. - The default value of this property, like the default value of
AppBar.primary, istrue. - With
primary: false 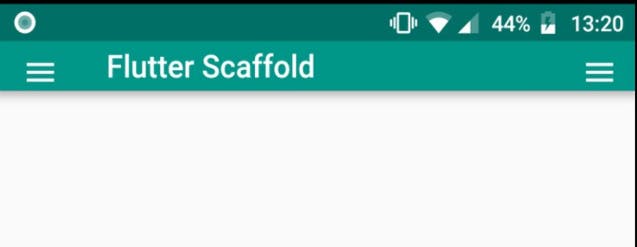
- With
primary: true 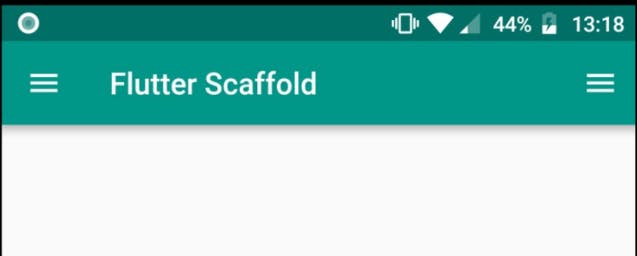
restorationId :
- I've explained the whole concept of
Flutter State Restorationin MaterialApp's Blog
THAT'S IT
- That's all you need to know about the Scaffold widget.
Thank you for reading
Previous Widget: MaterialApp

