Hydrated Bloc: Persist and Restore Your Bloc State/Data
How to persist and restore data of your Bloc using Hydrated Bloc?

D
I'm a mobile/web developer 👨💻 who loves to build projects and share valuable tips for programmers
Follow me for Flutter, React/Next.js, and other awesome tech-related stuff 😉
Intro
- Helloo Flutter Devs. I'm here with another interesting Flutter Bloc article to continue the flow of Flutter Bloc articles.
- Bloc is a fantastic state management architecture, and Hydrated Bloc is one of the packages that make it even better.
- In this article, I am going to explain to you, What Hydrated Bloc is? and Why would you want to use it? and how to put it to use in a flutter app.
- You must have a basic understanding of BLoC as a requirement for this article. I've already prepared an article about BLoC if you're interested. So go ahead and take a look:
Problem
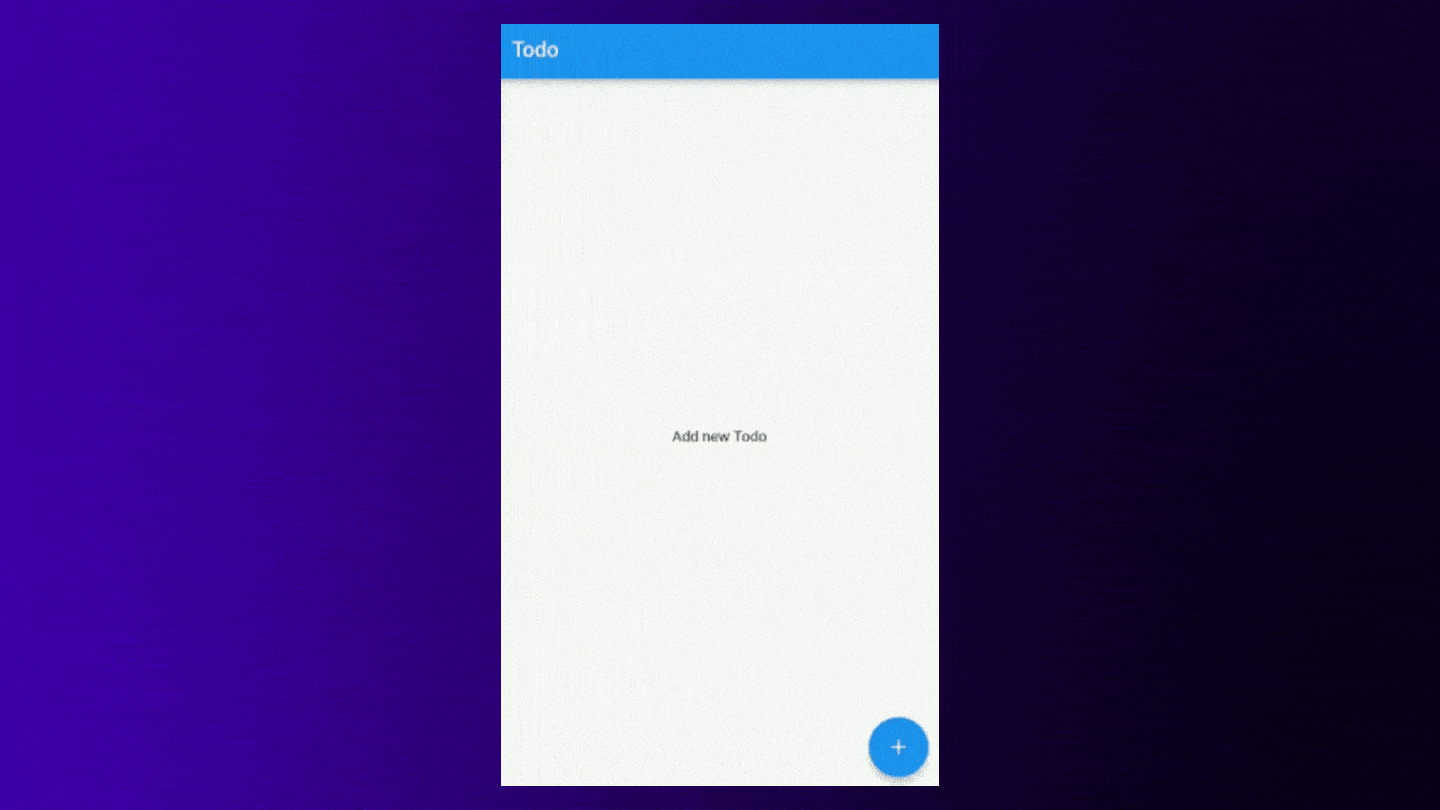
- In flutter, By default, Every flutter application can only keep its state after rebooting. This means that the state you were in before will not be saved locally in the app.
- The below example shows the list of Todos that gets destroyed after restarting the application.

- This results in a poor user experience.
Solution
- To fix this problem, we must either persist data locally on the device or in the cloud. Many packages, such as Shared Preferences, Hive, SQLite, and others, overcome this problem. And, to be honest, they're all incredible.
- So, what's the point of using this package when there are already packages available?
Why Hydrated Bloc?
- We've seen several examples and use cases of Bloc state management in earlier articles. And, after reading those articles, you must agree that Bloc is a really powerful state management solution. To dynamically update the UI, we use bloc to create states, blocs, cubits, and events.
- However, as we've seen, the difficulty with the state we're maintaining in the application is that it persists for the duration of the application's running period; once we restart or reboot the app, the state is lost.
- As a result, it is our responsibility to save the application's state for a better user experience. And we already have a package that does just that: An extension to package: bloc, which saves and restores bloc and cubit states automatically.
What is Hydrated Bloc?
- As I previously stated, the Hydrated bloc is nothing more than an extension of the bloc package.
- The data is saved in the application directory locally. To get to the application directory, we'll use the package path provider.
- Due to the fact that Hydrated Bloc exports a Storage interface, it can operate with any storage provider. It comes with its own implementation out of the box: HydratedStorage.
- HydratedStorage is a platform-agnostic, performant storage layer built on top of a hive. As a result, even if hundreds of requests are sent to the local, there will be no performance issues.
How to use Hydrated Bloc?
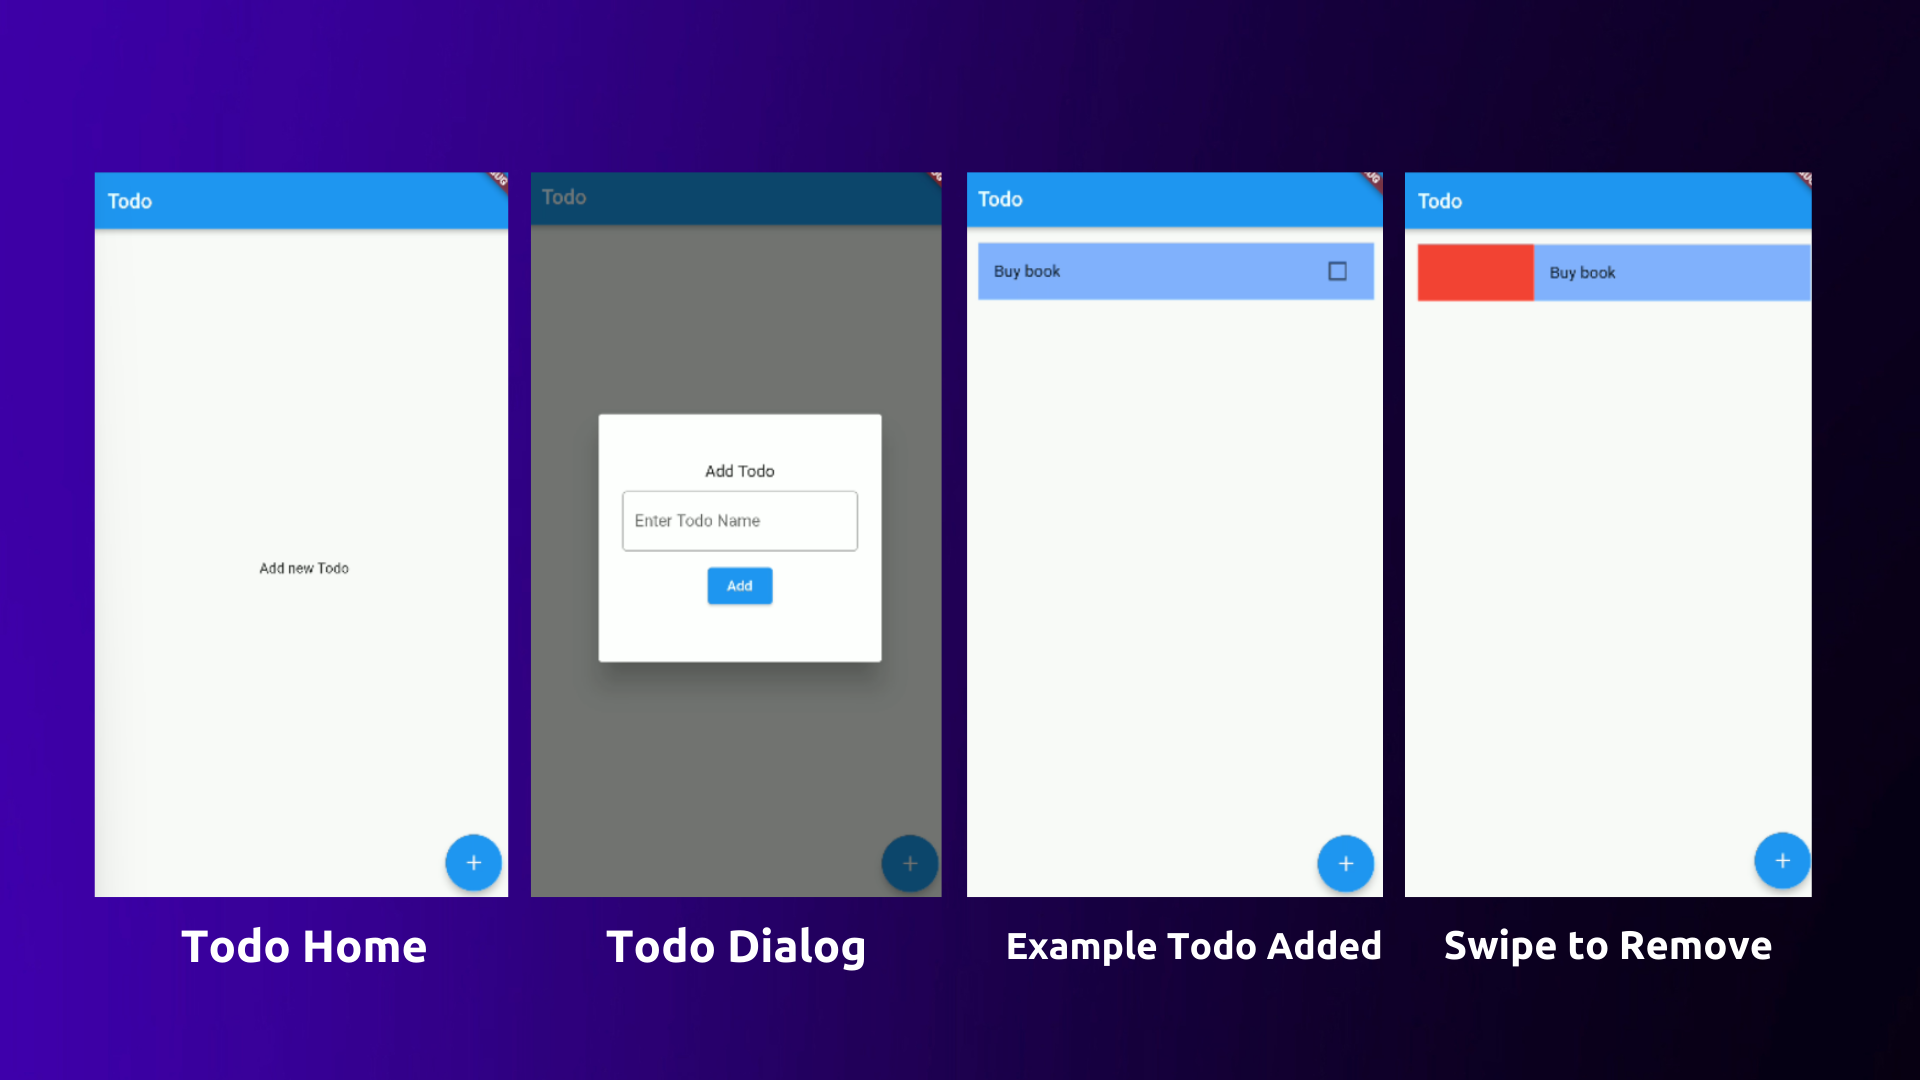
- I'll use the Todo application as an example, where we can add, remove, and alter the state of the todo. And we're going to use this Hydrated Bloc package to keep track of that to-do list.
- The layout is straightforward. All of the to-do lists will be displayed on the home screen. The floating action button brings up a dialogue window where we can create a new Todo item.
- We can delete a todo from the TodoList by simply swiping the list tile.
- CheckBoxListTile is the Tile used in this example, which offers Title and CheckBox.
Starter Project
- Get this starter project from the repository below, which already has a basic todo app created using the BLoC architecture.
Installation
- In order to persist the bloc states, we must first install the
hydrated blocpackage in our project. - Add the latest version of
hydrated bloctopubspec.yamlunder thedependencies:section.dependencies: hydrated_bloc: ^8.0.0 - The
path_providerpackage is also required to obtain the application directory path.dependencies: path_provider: ^2.0.8
Initialization
- Now that we've added all of the necessary dependencies, we need to tell Hydrated Bloc where to save the data.
- To accomplish so, enter the following code into the
mainfunction:Future<void> main() async { WidgetsFlutterBinding.ensureInitialized(); final storage = await HydratedStorage.build( storageDirectory: await getApplicationDocumentsDirectory(), ); HydratedBlocOverrides.runZoned( () => runApp(RepositoryProvider( create: (context) => TodoRepository(), child: const MyApp(), )), storage: storage, ); } - Because Hydrated Bloc must communicate with native code, we must first ensure that everything is natively initialised. That is why, before calling
runApp, we must first callWidgetsFlutterBinding.ensureInitialized();. - The
HydratedStorage.build()method is then used to link our application to the storage. If thestorageDirectoryparameter is not specified, the data will be stored temporarily in the device by default. So to avoid that we are going to acquire the application directory path usingpath_providerpackage. - To run our app safely after all the overridden processes we need to pass our runApp function to the HydratedBlocOverrides.runZoned().
- Now all the setup is done. It's time to store the data.
Storing the data
- The data will be saved in JSON format. In our scenario, we need to keep track of the user's to-do list.
- So go to the Todo Bloc page, and there are two options: We can either use HydratedBloc instead of Bloc like below:
class TodoBloc extends HydratedBloc<TodoEvent, TodoState> {} - or we can use the mixin
class TodoBloc extends Bloc<TodoEvent, TodoState> with HydratedMixin {} - After using any of this, there are two methods that we need to override.
- fromJson and toJson.
class TodoBloc extends HydratedBloc<TodoEvent, TodoState> { //.... @override TodoState? fromJson(Map<String, dynamic> json) {} @override Map<String, dynamic>? toJson(TodoState state) {} - Because the data is stored in JSON format, these two methods will transform our Todo data to JSON for storage and then back to a Dart-acceptable format for reading.
- First and foremost, we must understand the differences between these two methods.
- Every state emitted by the TodoBloc is converted to JSON using the toJson method and then it will store it in local directory. On the other hand, Every time the app requires data from the application directory, the fromJson method is invoked.
- As a result, once the Bloc emits a new state, we'll save the freshly changed data in the application directory. The toJson method implements this functionality. Let's put it into action.
@override Map<String, dynamic>? toJson(TodoState state) { if (state is TodoLoaded) { return state.toJson(); } else { return null; } } - As you can see we are converting the state data to JSON format. the toJson method we need to create in the TodoLoaded state.
- So, head over to the TodoState file and paste the below code inside the TodoLoaded class.
class TodoLoaded extends TodoState {
//....
  Map<String, dynamic> toJson() {
    return {'todo': listOfTodo};
  }
}
Now, after the data has been saved. We must additionally retrieve that data whenever the programme requires it. To accomplish so, we'll need to use the fromJson data. From the JSON format, this just returns the data in the form of Todo model.
@override TodoState? fromJson(Map<String, dynamic> json) { try { final listOfTodo = (json['todo'] as List) .map((e) => Todo.fromJson(e as Map<String, dynamic>)) .toList(); todoRepository.todoList = listOfTodo; //<-- This is IMPORTANT. You must assign the todoList defined in the TodoRepository to the locally stored `listOfTodo` to keep it up to date. return TodoLoaded(listOfTodo); } catch (e) { return null; } }- As you can see in the code above, we're just parsing the JSON for a list of todos, mapping over that list, and converting it to the Todo class.
- After that, we return the TodoLoaded() state by passing list todos in it.
- And That's it!! That's all you need to do. The data is now persisted when you reboot or reload the app.
Final Result
Final Respository
Wrapping Up
- I hope you found this article to be beneficial. If you have any feedback/queries, leave them in the comments.
- Thank you for spending time reading this article. See you in the next article. So, until then...