Flutter Riverpod: A Guide to Provider
What is Provider? How to use it? What is ProviderScope? What is Consumer? What is `ref.watch`, `ref.listen`, and `ref.read`? When to use what?
Getting Started
I'm so glad you're here. I know it can be overwhelming when you first start learning about state management, and I want to help you get started as quickly as possible.
In this post, we'll start with an introduction to the concept of state management and Provider. In the upcoming blog, We'll then go over different types of Providers that Riverpod has to offer to us and will see how it works and how it makes our lives easier.
After that, we'll create a real-world example using Riverpod. This will help you get a better understanding of how all of these providers work together to make our lives easier.
So without further ado, Let's get started.
Intro to Riverpod
- Flutter Riverpod is a modern, lightweight state management library for Flutter.
- It is designed to make managing and accessing application state easy, while offering powerful features like state immutability, state isolation, and dependency injection.
- With Flutter Riverpod, you can easily manage your application state using StateProviders, StateNotifiers, StateNotifierProviders, FutureProviders, and StreamProviders.
- These tools make it easier to handle complex application state, as well as to make state more accessible and easily shareable across widgets.
- With Flutter Riverpod, you can easily manage your application’s state, and make sure that your application is running efficiently.
Installation
- In order to install Riverpod package inside your Flutter application, head over to Pub.dev, and add flutter_riverpod package inside
pubspec.yaml.
dependencies:
  flutter_riverpod:
- After adding it, run
flutter pub getin your terminal. And now you are ready to do.
Providers
- Before we dive into Riverpod, it is very necessary to talk about Providers.
- By far, the most important part of a Riverpod is the provider.
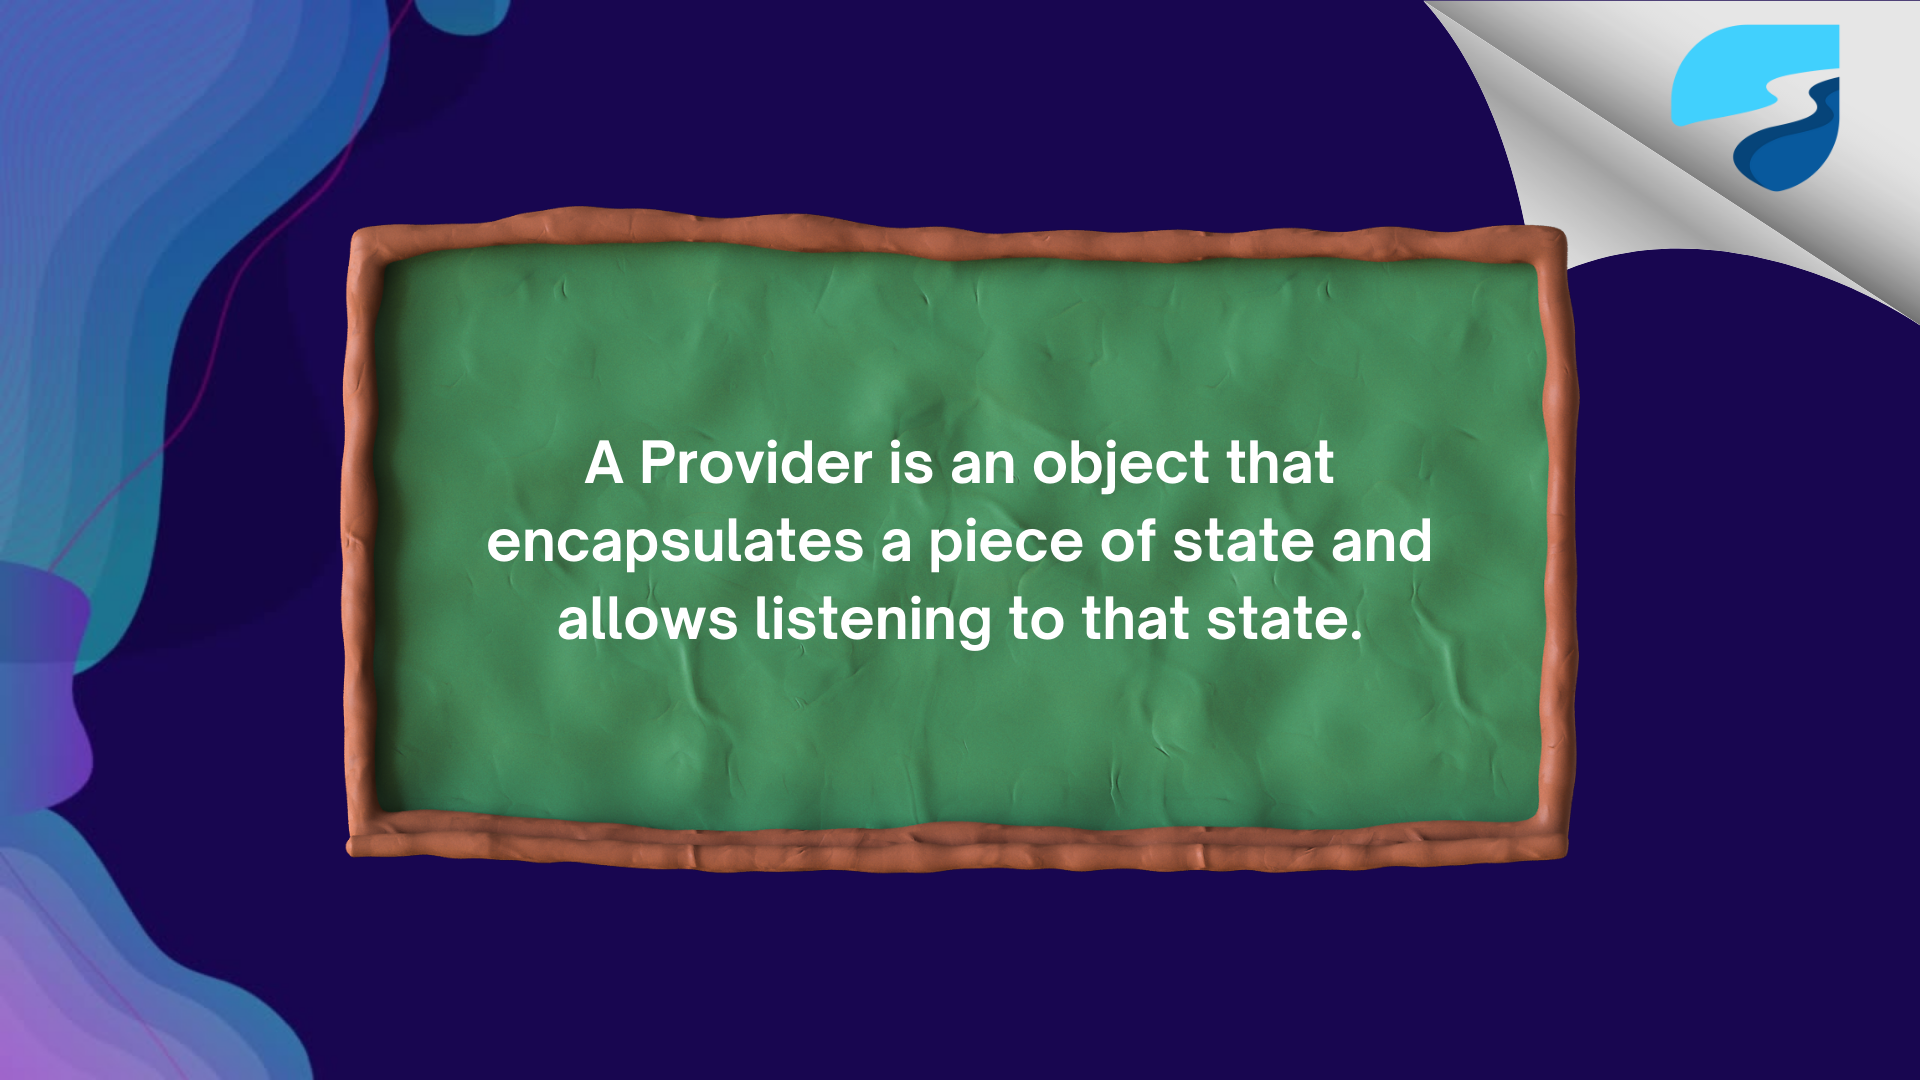
- It means when you return any data from a provider, you are not only exposing the data but also can listen to the changes happening to it.
- By using different Providers you can listen to the data from multiple locations, you don't need to manually inject anything by yourself, the provider does that for you.
How to create a Provider?
final myNumberProvider = Provider<int>((ref) => 100);
- As you can see, we've created a simple provider that, as you might expect, returns an integer value.
- This is the most fundamental type of Provider. This provider just allows you to only read its data. It does not allow you to change the data. So remember that.
- Also, if you create a Provider, make sure it is marked as
final. - Now, the next thing that comes into our mind, is how can we use
myNumberProviderinside my flutter application. Yoo hold up... you forgot to explain aboutrefparameter. - Yes, I did it on purpose since you will learn more about it in the following sections. So don't worry about it for the time being.
ProviderScope
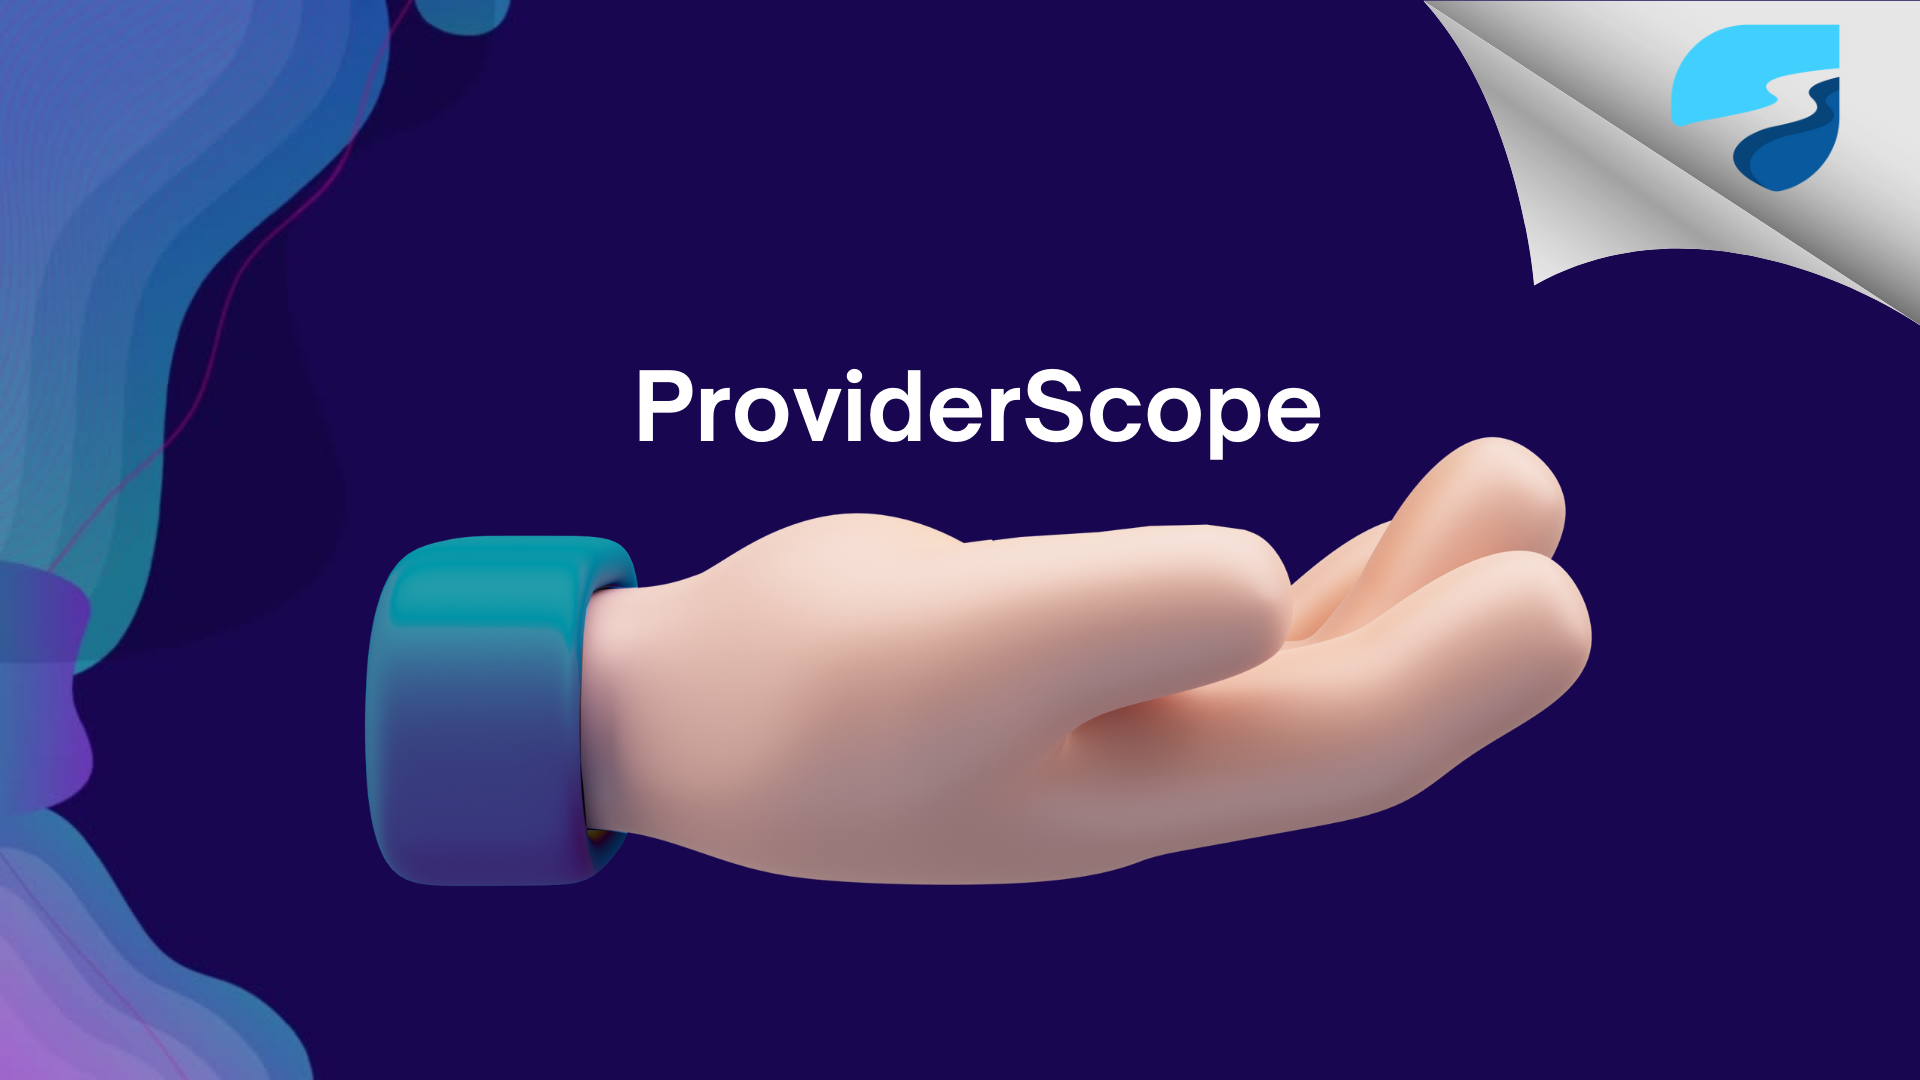
- This is the heart of Riverpod; without it, no Provider can function.
- Basically, we need to wrap the Root widget around the ProviderScope.
- This gives all of the Providers that you've defined within your application.
void main() {
  runApp(ProviderScope(child: MyApp()));
}
I always forgot to do this 😅 and end up in an error like this: Bad state: No ProviderScope found
Reading a Provider
- Okay, so now that we've created a Provider and also declared a ProviderScope, it's time to use this provider inside our application.
- There are two ways to get the value of our provider:
- By using the
Consumerwidget directly. - By extending
ConsumerWidgetinstead of StatelessWidget
- By using the
Using theConsumer widget:
final myValueProvider = Provider<int>((ref) {
  return 100;
});

class HomePage extends StatelessWidget {
  const HomePage({super.key});

  @override
  Widget build(BuildContext context) {
    return Scaffold(
      body: Consumer(       // <==
        builder: (context, ref, child) {
          final value = ref.watch(myValueProvider);
          return Text(value.toString());
        },
      ),
    );
  }
}
- As you can see, We've wrapped our Text widget around the
Consumerwidget. - This widget has one required parameter
builder. which expose 3 values:context,ref(Explained in further reading), andchild. - So what this widget actually does is, Whenever any widget is wrapped around this widget, and if the value of the provider used inside it (
myValueProviderin our case ) changes then, only the widget wrapped inside it (Text()in our case ) will get re-build, but the rest of the widgets will remain the same. - As you can see this is very useful in the case of making an app performance faster.
By extending ConsumerWidget
- Riverpod makes it very easy to access providers with its ConsumerWidget. We just need to replace our classic
StatlessWidgetwith theConsumerWidger.
final myValueProvider = Provider<int>((ref) {
  return 100;
});

class HomePage extends ConsumerWidget {
  const HomePage({super.key});

  @override
  Widget build(BuildContext context, WidgetRef ref) {
    final value = ref.watch(myValueProvider);
    return Scaffold(
      appBar: AppBar(
        title: const Text('Riverpod'),
      ),
      body: Center(
        child: Text(
          value.toString(),
          style: Theme.of(context).textTheme.headline2,
        ),
      ),
    );
  }
}
ConsumerWidgetis identical in use toStatelessWidget, with the only difference being that it has an extra parameter on its build method: therefobject.- The difference here is if any provider value changes the whole widget tree will get rebuilt.
Remember, I told you just a few minutes ago that I will explain to you what Ref is. I think now it's time to talk about the ref object.
Ref
There are mainly 3 use cases of Ref.
ref.read

- Using this, you can directly read the value of the provider without listening to its value.
- This is usually used inside functions triggered by user interactions. For example, on button press.
- Example
class HomePage extends ConsumerWidget {
  const HomePage({super.key});

  @override
  Widget build(BuildContext context, WidgetRef ref) {
    return Scaffold(
      appBar: AppBar(
        title: const Text('Riverpod'),
      ),
      body: Center(
        child: GestureDetector(
          onTap: () {
            ref.read(loginRepository.notifier).login();
          },
          child: Text(
            value.toString(),
            style: Theme.of(context).textTheme.headline2,
          ),
        ),
      ),
    );
  }
}
ref.watch
- Ref can be used to obtain other providers.
- For example, if you are creating a provider and that provider depends on the value of some other provider, then you should use this
ref.watchin order to obtain/listen to that other provider. Here is a simple example:
// first provider
final helloStringProvider = StateProvider<String>((ref) {
  return 'Hello';
});

// second provider
final worldStringProvider = StateProvider<String>((ref) {
  return 'World';
});

final helloWorldStringProvider = Provider<String>((ref) {
 final hello = ref.watch(helloStringProvider); // obtaining the helloStringProvider value inside this provider.
 final world= ref.watch(worldStringProvider); // obtaining the worldStringProvider value inside this provider.
 return '$hello$world';
});

class HomePage extends ConsumerWidget {
  const HomePage({super.key});

  @override
  Widget build(BuildContext context, WidgetRef ref) {
    final value = ref.watch(helloWorldStringProvider);
    return Scaffold(
      appBar: AppBar(
        title: const Text('Riverpod'),
      ),
      body: Center(
        child: Text(
          value,
          style: Theme.of(context).textTheme.headline2,
        ),
      ),
    );
  }
}
Now here is what will happen, Whenever anything changes in the provider that you are watching ( i.e helloStringProvider and wordStringProvider in our case ) inside your current provider ( i.e helloWorldStringProvider ), It will rebuild the widget or provider that subscribed to the value (i.e Text(value) in our case ).
FYI: I've used
StateProviderin the above example. We will look at what it actually does in the upcoming articles. For the time being, only know that we can use it to update the state.
ref.listen
- You can add a listener to your provider using
ref.listenand then perform an action such as navigating to a new page or showing a modal, showing a snack bar whenever that provider changes. - The only difference between
ref.watchandref.listenis that, rather than rebuilding the widget/provider if the listened-to provider changes, using ref.listen will instead perform some operation/ call a function. - Example:
final numberProvider = StateProvider<num>((ref) {
  return 1;
});

class HomePage extends ConsumerWidget {
  const HomePage({super.key});

  @override
  Widget build(BuildContext context, WidgetRef ref) {
    final value = ref.watch(numberProvider);

    ref.listen(helloStringProvider, (previousValue, newValue) {
      log('Number Changed: $newValue');
    });

    return Scaffold(
      appBar: AppBar(
        title: const Text('Riverpod'),
      ),
      body: Center(
        child: Text(
          value.toString(),
          style: Theme.of(context).textTheme.headline2,
        ),
      ),
    );
  }
}
When to use read, watch and listen?
ref.read:ref.readusually used in the cases like, on button press, getting the value from other provider, etc.- Using
ref.readshould be avoided as much as possible because it is not reactive. It exists for cases where usingwatchorlistenwould cause issues.
ref.watch:- Whenever possible, prefer using
ref.watchoverref.readorref.listento implement a feature. By relying onref.watch, your application becomes both reactive and declarative, which makes it more maintainable. - The
ref.watchmethod should not be called asynchronously, like inside anonPressedof an ElevatedButton. Nor should it be used insideinitStateand other State life-cycles.
- Whenever possible, prefer using
ref.listen:ref.listenis usually used in cases where you want to perform something when any state changes. For example, Open a snack bar, Navigate to another screen, etc.- The
ref.listenshould not be called asynchronously, like inside anonPressedof an ElevatedButton. Nor should it be used insideinitStateand other State life cycles.
Wrapping Up
- That's all you need to know about Providers and Refs as of now. We are going to use these a lot in further Riverpod series, so you better understand it properly before proceeding to the next one.
- I hope you enjoyed and learned something from this article. If you have any feedback/queries, leave them in the comments.
- Thank you for spending time reading this article. See you in the next article. Until then....