Code Generation In Flutter
What is Code Generation? What are its Use cases? How to use build_runner and json_serializable? What are the Disadvantages of Code Generation?

D
I'm a mobile/web developer 👨💻 who loves to build projects and share valuable tips for programmers
Follow me for Flutter, React/Next.js, and other awesome tech-related stuff 😉
What is Code Generation 🛠️?
- When developing an application/software, we want our code to be clean,readable , and reusable. The DRY principle is followed in software development. DRY stands for 'Do not repeat yourself.' It is the idea of reducing repetition in code.
- We may achieve the same result with less and more legible code if we use Code generation. The generator just has to be written once, and it may be reused as many times as you need.
- Let's now understand the use of code generation in development.

Use cases of Code Generator 🤔
- When you create a Data class in Dart, you manually have to define the
toJsonandfromJsonmethods for serializing. For example : User.dartclass User { User({ required this.name, required this.city, required this.age, }); String name; String city; int age; factory User.fromJson(Map<String, dynamic> json) => User( name: json["name"], city: json["city"], age: json["age"], ); Map<String, dynamic> toJson() => { "name": name, "city": city, "age": age, }; }- This looks good. Right? Yea, I agree. But think about it this way, In general, we have an application where it has tons of data coming from the APIs.
- Now if you're thinking to write the Data class for more than
50or100properties, then..... 
- 😅. Because it will take a long time to write all the properties in the class and then initialize it in the factory function constructor and
toJsonmethod. It will also raise the number of lines of code while also increasing the complexity. - This is one of the reasons why, when developing medium/large-scale apps, you should consider using a code generator.
- Another example could be:
- If you want to compare two objects you have to override
==andhashCodemethods. If we consider the above example, void main() { final user1 = User(name:"Abc",city: "zzz",age: 12); final user2 = User(name:"Abc",city: "zzz",age: 12); print( user1 == user2); // false }- When you compare
user1anduser2, you will getfalseas output. It's because you have to override the==andhashCodemethods. class User { User({ required this.name, required this.city, required this.age, }); String name; String city; int age; // .... @override bool operator ==(Object other) => identical(this, other) || other is User && runtimeType == other.runtimeType && name == other.name && city == other.city && age == other.age; @override int get hashCode => name.hashCode ^ city.hashCode ^ age.hashCode; }- This appears to be suitable for small-scale applications once again. However, in medium/large size applications, modifying all of these attributes will result in an increase in complexity and code readability.
- These are the two scenarios I've chosen. However, code creation may be used for a variety of purposes.
- So, how do you use a code generator in a Flutter/Dart app? Let's see next.
What is build_runner ⚙️?
build_runneris a Dart package that provides a concrete way of generating files using Dart code.- This package is essential for generating a code inside a dart file. It has a different built-in command which is used to generate code.
- We generally use the
buildandwatchcommands. - The
buildcommand builds the file only once. And after that, it exists. - Whereas, the
watchcommand continuously watches for the change in the files. If any changes occur then it build that file again. - To use this package, we have to put it under the
dev_dependenciesinside thepubspec.yamlfile. dev_dependencies: build_runner: <latest_version>- Sometimes, when you build a file, It gives an error that it found conflict in the file. To solve it, add
--delete-conflicting-outputsargument after the build command. - Now as we've added the
build_runnerwhich is responsible for generating the code. We can now use different code generation packages like,json_serializable,freezed, etc.
Serializing JSON using json_serializable
- This package automatically generates the code for converting
toJsonandfromJsonby annotating Dart classes. - We've seen above that writing
toJsonandfromJsonby self is a tedious and lengthy process. So let's use this package to generate those two functions using this package.Install Pacakge
dependencies:
    json_annotation: <latest_version>
dev_dependencies: build_runner: <latest_version> json_serializable: <latest_version>- If you see in the above code I've also added
json_annotationpackage dependencies. It is used to annotate the classes. You'll see the use of it further. Let's now go to theUser.dartfile.Importing required packages and Part the User class
- Inside
User.dartfile. class User { User({ required this.name, required this.city, required this.age, }); String name; String city; int age; }- Let's now import the
json_annotationpackage. import 'package:json_annotation/json_annotation.dart';- Now if you don't know about the
partin Dart. Basically, withpartyou can split one library into several files and private members are accessible for all code within these files. - So as our generated file have to access all the code within the
User.dartfile we have to usepartlike below. part 'User.g.dart';Annotating the Class
- After this, the use of this
json_annotationcomes into the picture. To tell the generator that this User class needs the JSON serialization logic to be generated. We need to annotate it by simply annotating the User class by@JsonSerializable(). @JsonSerializable() class User { User({ required this.name, required this.city, required this.age, }); String name; String city; int age; }Implementing
toJsonandfromJson- To generate the
fromJsonandtoJsonfor all the properties available in the class. We simply need to write the following code inside the class. @JsonSerializable() class User { User({ required this.name, required this.city, required this.age, }); String name; String city; int age; // Responsible for creating a instance from the json. factory User.fromJson(Map<String, dynamic> json) => _$UserFromJson(json); // Responsible for converting the map to json. Map<String, dynamic> toJson() => _$UserToJson(this); }- That's all you have to do in order to create
fromJsonandtoJson. You will see some error saying this class is not defined, etc. To resolve this, you have run build_runner commands in the terminal. So let's do it.Generating the Code
- As discussed earlier, we can generate the code in two ways, either generate the file once or continuously watch the file and then generate.
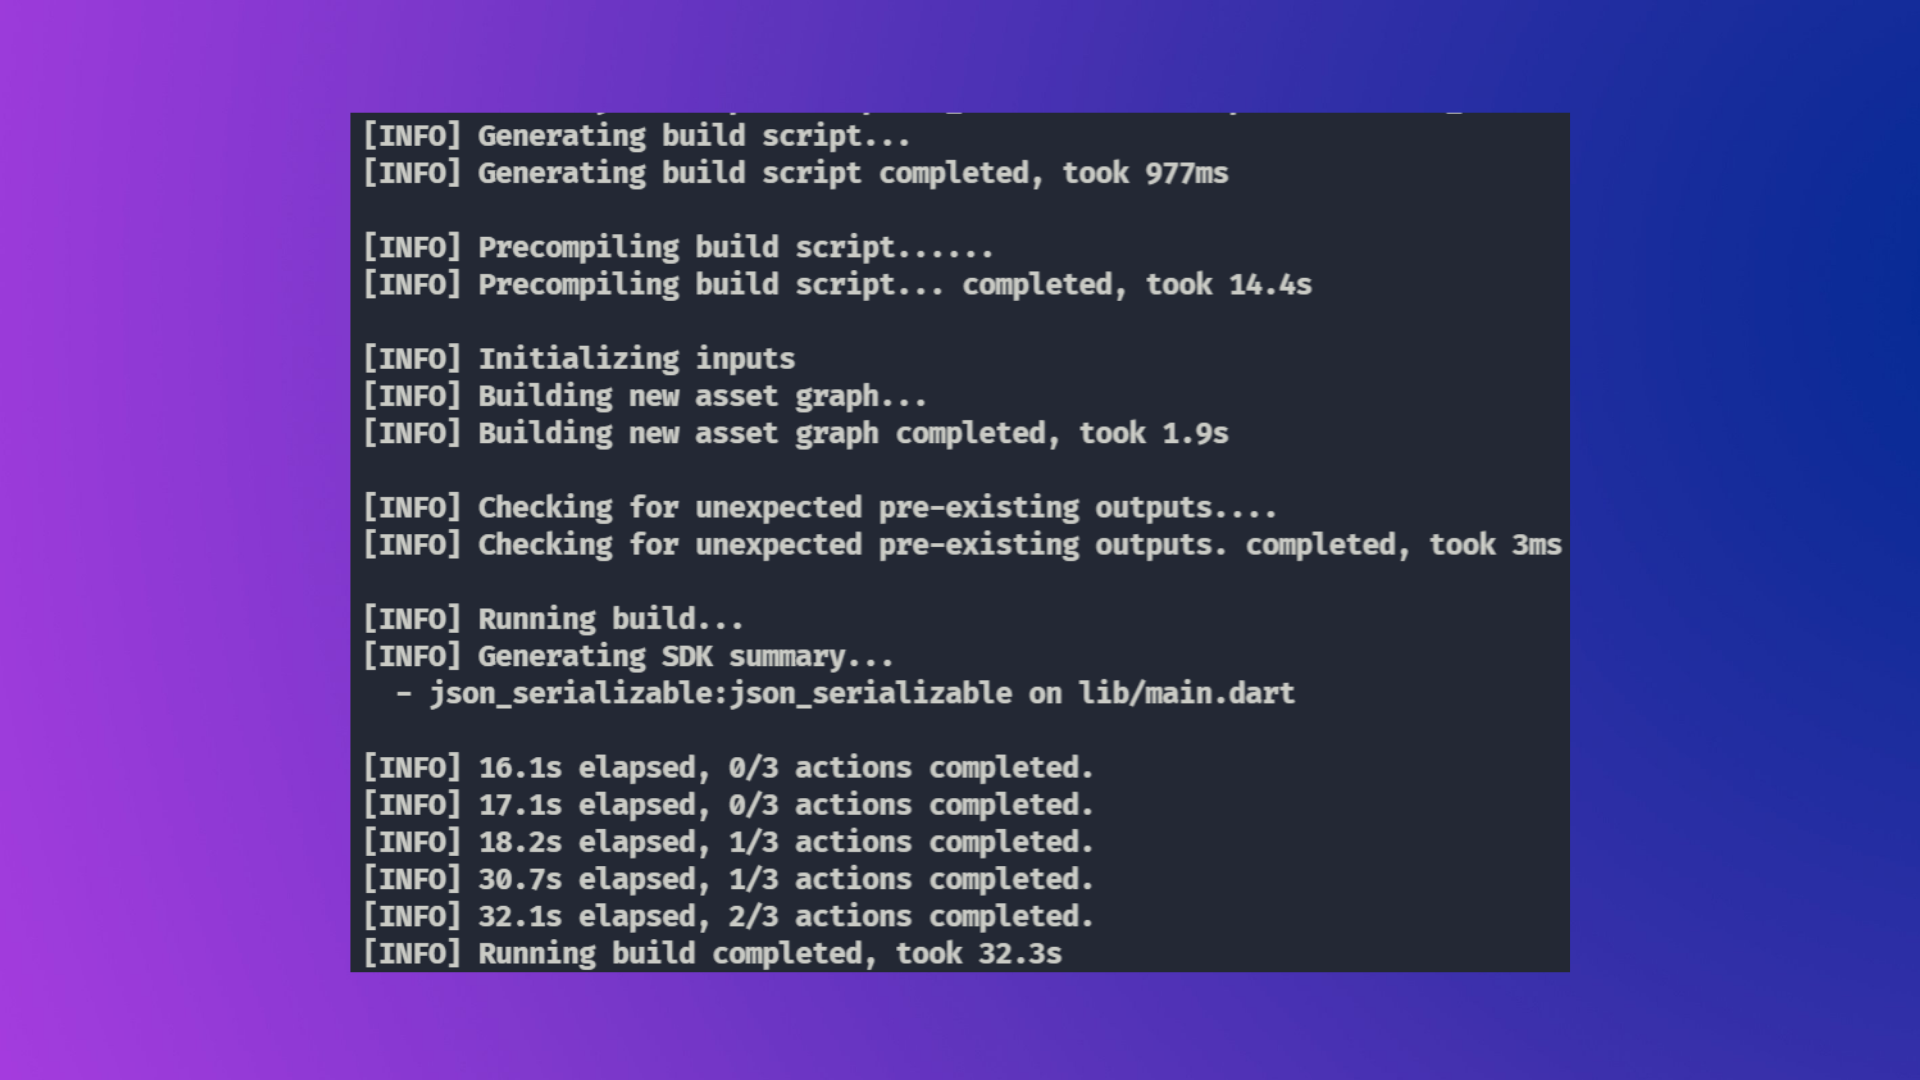
- Let's first generate it using the first option. To do that open your terminal and run the below command.
flutter pub run build_runner build- This triggers a one-time build that goes through the source files, picks the relevant ones, and generates the necessary serialization code for them.
Or flutter pub run build_runner watch- This will continuously watch for changes. It is safe to start the watcher once and leave it running in the background.
- After running it you will now see the generated file inside the folder.
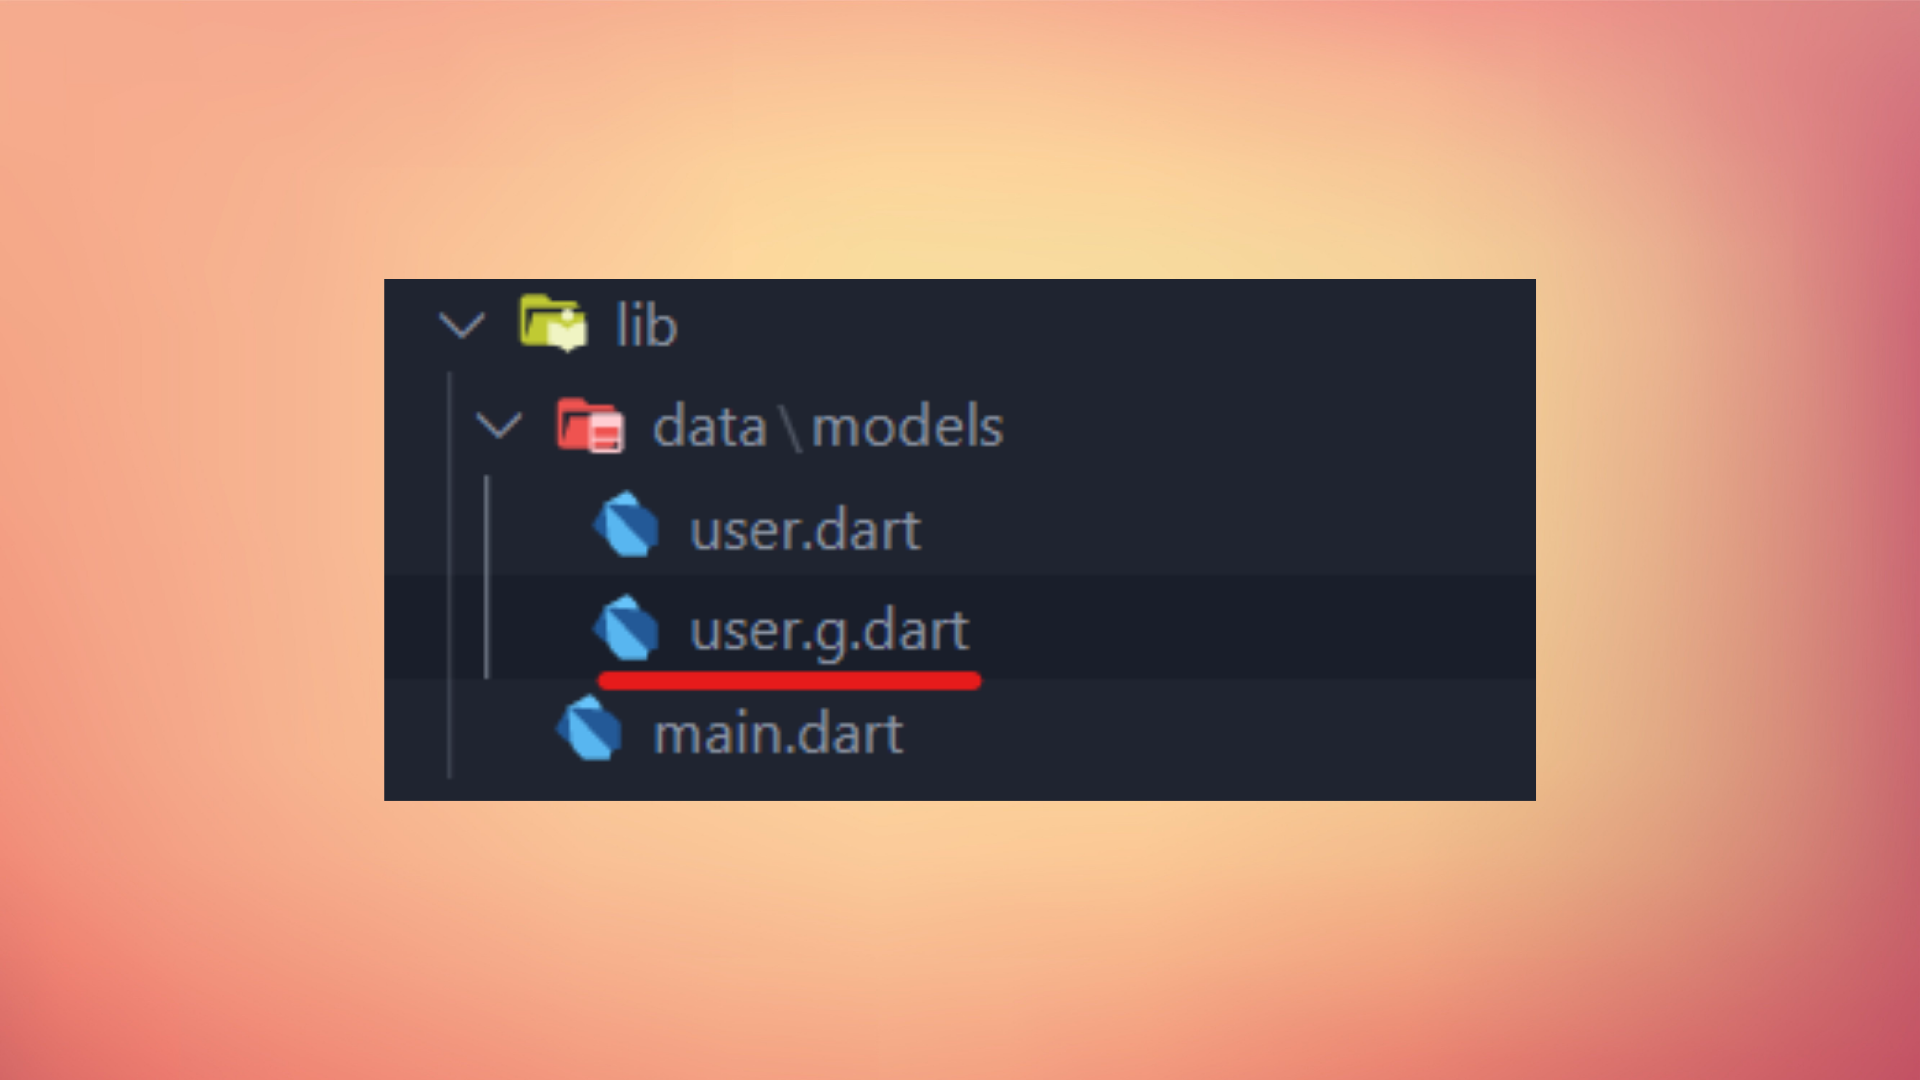
- And it will look something like below
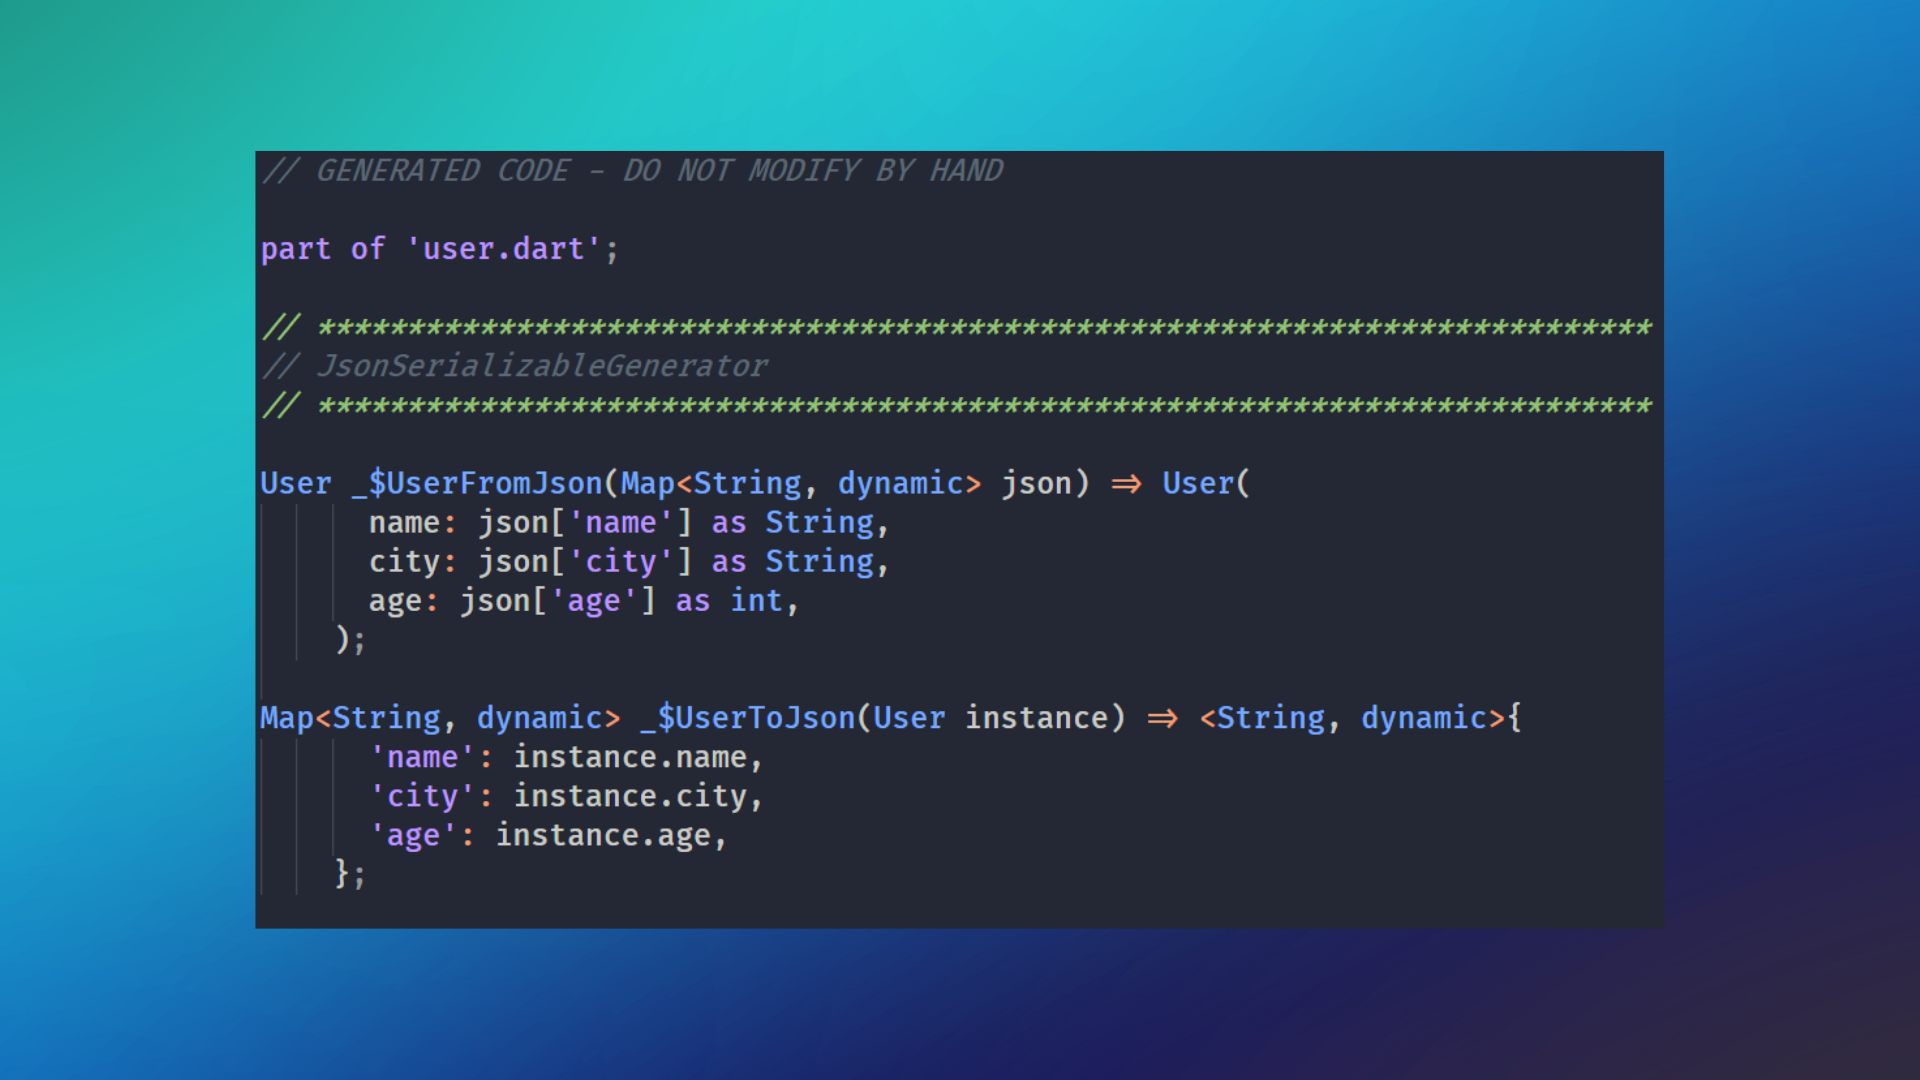
Using User model Class
- Now to use the
fromJsonandtoJson, you can simply first decode thejsonStringwith the help of thejsonDecodefunction. And then you can pass it inside thefromJsonconstructor. final userData = jsonDecode(response.body); final user = User.fromJson(userData);- If you want to know what other things
json_serializableprovides. You can goto the below link:
Disadvantages of Code Generation 😕
- When you utilize a code generator, your code becomes reliant on it. A code generation tool must be kept up to date. If you created it, you must keep upgrading it; if you are simply using an existing one, you must either hope that someone maintains it or take over yourself.
- Generated code is almost certainly less optimal than hand-written code. Sometimes the difference is minor and insignificant, but if your application requires every bit of performance, code generation may not be the best option for you.
- When you use code generation, the number of files rises and they become dependent on one another.
- If you make any changes to the main class, you must either execute the build command again or use the watch command, which is always running in the background.
Wrapping up
- That's it !! Thank you for taking the time to read this article. 🙏. If you found it useful, please share it with others.
- Also, if you have any suggestions, please leave them in the comments section✍️.
- See you in the next article. Until then....