Answering The Most Common Questions in Flutter Development #1
Are you a Flutter Dev and have been looking for a list of Flutter FAQs? Look no further, because I’ve compiled a list of frequently asked questions.
- Flutter has definitely taken the developer community by storm. With the release of Google Flutter, developers are now able to develop cross-platform, native apps using Flutter.
- I put together a list of FAQs about flutter development, so take a look and share your thoughts in the comments area!
- Let's get started...

1. How to change the launcher icon of the Flutter app?
- When you build the app, Flutter uses its own launcher icon. However, if you want to change the launcher icon, there are 2 ways: Manual and Automatic.
- First, let's see the Manual way:
- Head over to App Icon Generator.
- Paste or Drop the Icon image that you want to use on this website. You can select different OS too.
- Now click on the Generate button, and it will download the zip file containing two folders Android and Assets.xcassets.
- For changing the icon in android head over to android\app\src\main\res, and replace all the mipmap folders with the downloaded one.
- For changing the icon in iOS head over to ios\Runner and paste the Assets.xcassets content inside it.
- Now stop the application if running, and build the app again.
- Now let's see a Automatic way to change the launcher icon:
- Add flutter_launcher_icons package in pubspec.yaml.
dev_dependencies: flutter_launcher_icons: "^0.9.2"- Now paste the below code below the
dev_dependencies.flutter_icons: android: true ios: true image_path: "assets/icon/icon.png"- Now paste the below code below the
- You must specify the path to the icon you want to use for the app in
image path. Set the 'ios' property to 'true' or 'false' to use the icon for the iOS app, and the same for the Android app.- You must specify the path to the icon you want to use for the app in
- Now run
flutter pub getandflutter pub run flutter_launcher_icons:main. And then build an app.- Now run
2. How to rename the Flutter App, Bundle Id, and App Id
- Before you submit your app to the Google Play Store, you must give it a unique app id and name.
- For renaming the app, Bundle Id, and AppId we can use rename package.
- For that first of all we have to activate the command. For that paste the below command in your terminal.
pub global activate rename - After activating the command, we can now rename the app by running the below command.
pub global run rename --appname "Counter" - Instead of Counter specify your own app name. You'll get this message after running this command.

- Now to rename the
BundleIdrun the below command.pub global run rename --bundleId com.dhruvnakum.counter
- Make sure your BundleId and AppId are unique. Now If you run the app name should be changed.
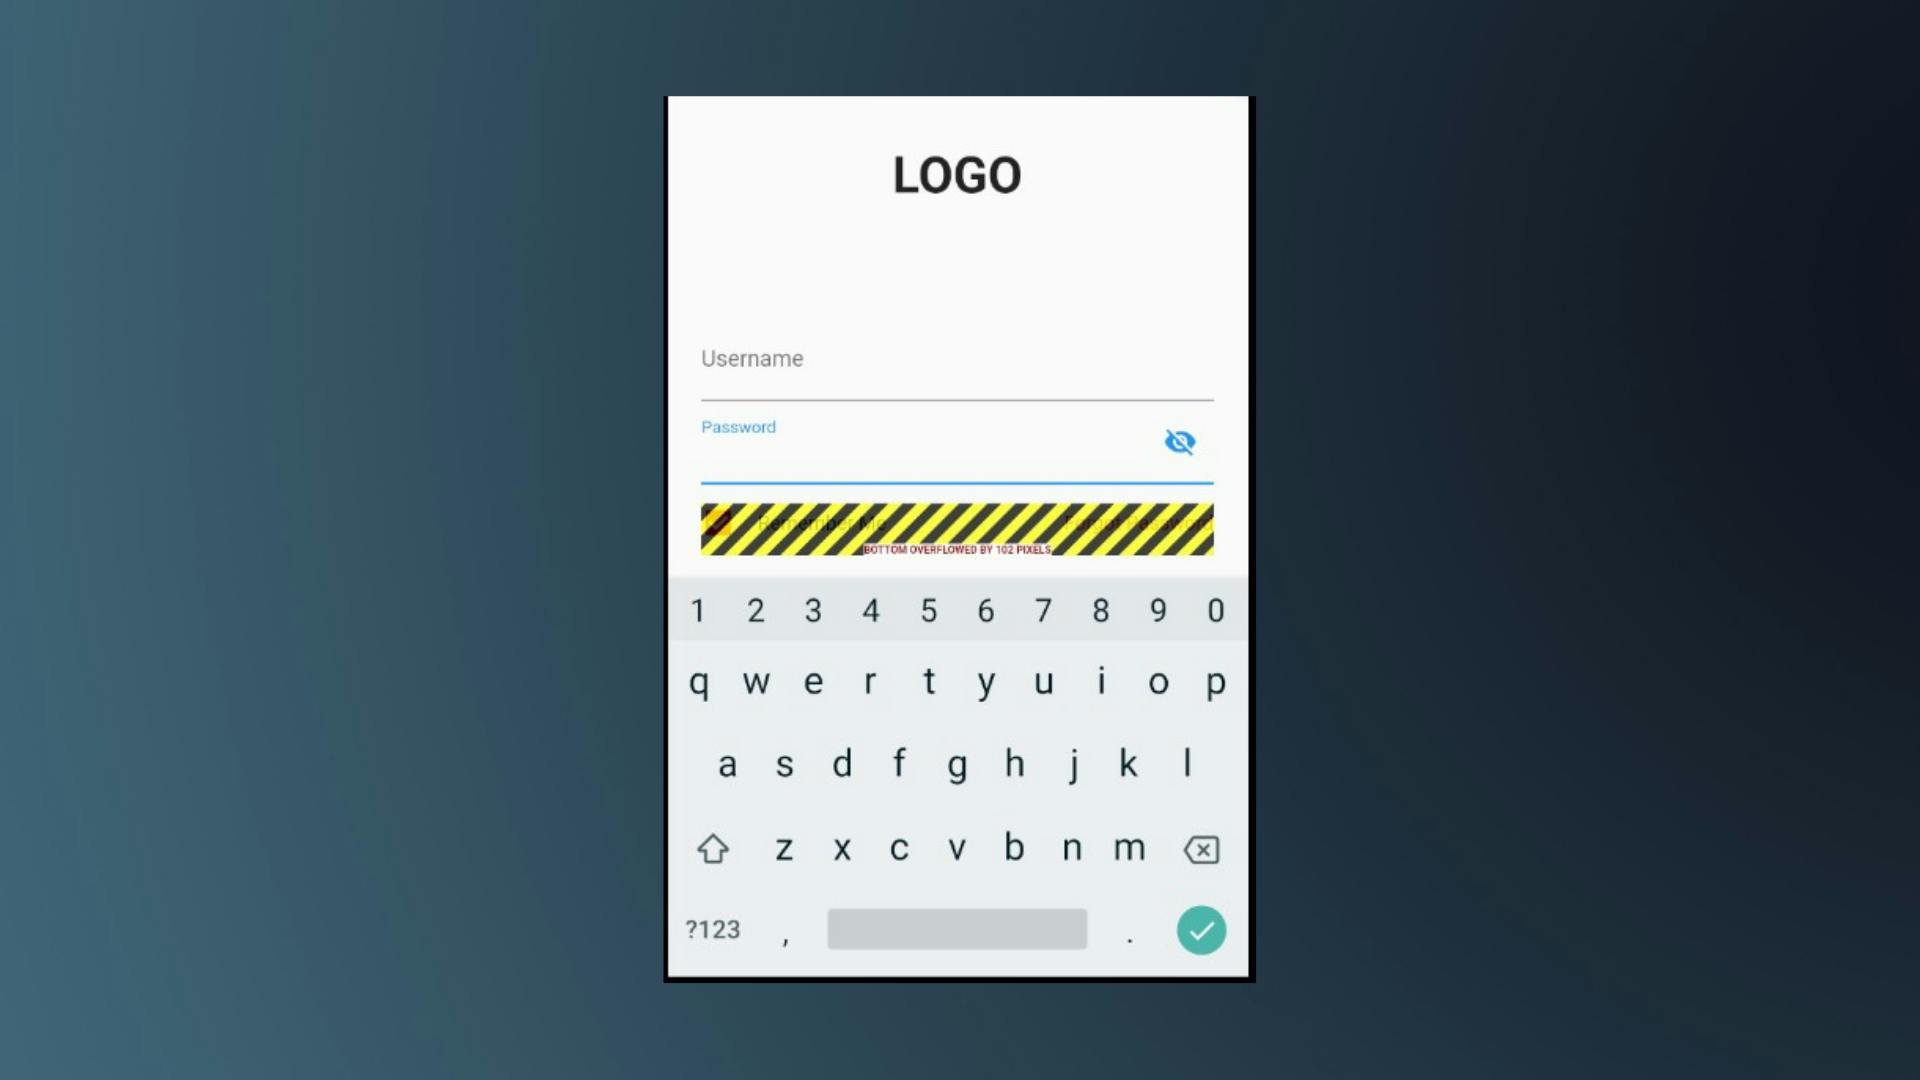
3. How to Fix Bottom Overflowed When Keyboard Shows
- This is a common issue when there are multiple TextFields on the screen.
- When you click on a Textfield, a Keyboard opens and flutter throws an overflow error.

- Now to solve this issue you can simply wrap the Column widget inside SingleChildScrollView
SingleChildScrollView( reverse: true child: Column(...) ) SingleChildScrollViewallows the column to be scrolled. Now, when you click on the Textfield, Flutter will not throw an overflow error because the Column's content has a scrollable parent. However, you will notice that the content below the selected Textfield is not visible.- To resolve this issue, set the
reverseproperty totrue. Iffalse, the content below the TextField will be hidden.
4. How to add a Splash Screen?
- When you open your app, there is a brief period of time while the native app loads. During this time, the native app displays a white splash screen by default.
- Again, there are two options for adding a splash screen: Manual and by using Package. Using the flutter native splash package, we will see an easier way.
- This package generates native code for iOS, Android, and Web for customizing the native splash screen background color and splash image.
- Let's start by adding it to our app:-
dev_dependencies: flutter_native_splash: ^1.3.1 - After
dev_dependenciesadd the following code : flutter_native_splash_screen: # This will set a background color of 'white' color: #ffffff # Set the Image in the middle of the Screen image: assets/logo.png android: true ios: true- Now run the following command to generate the splash screen for both android and ios devices.
flutter clean && flutter pub get && flutter pub run flutter_native_splash:create- When you run the app now, instead of the blank white screen, you will see your image.
- Many things can be customized, such as dark mode images, image size, and so on. You can always go to to learn more about this package.flutter_native_spalsh.
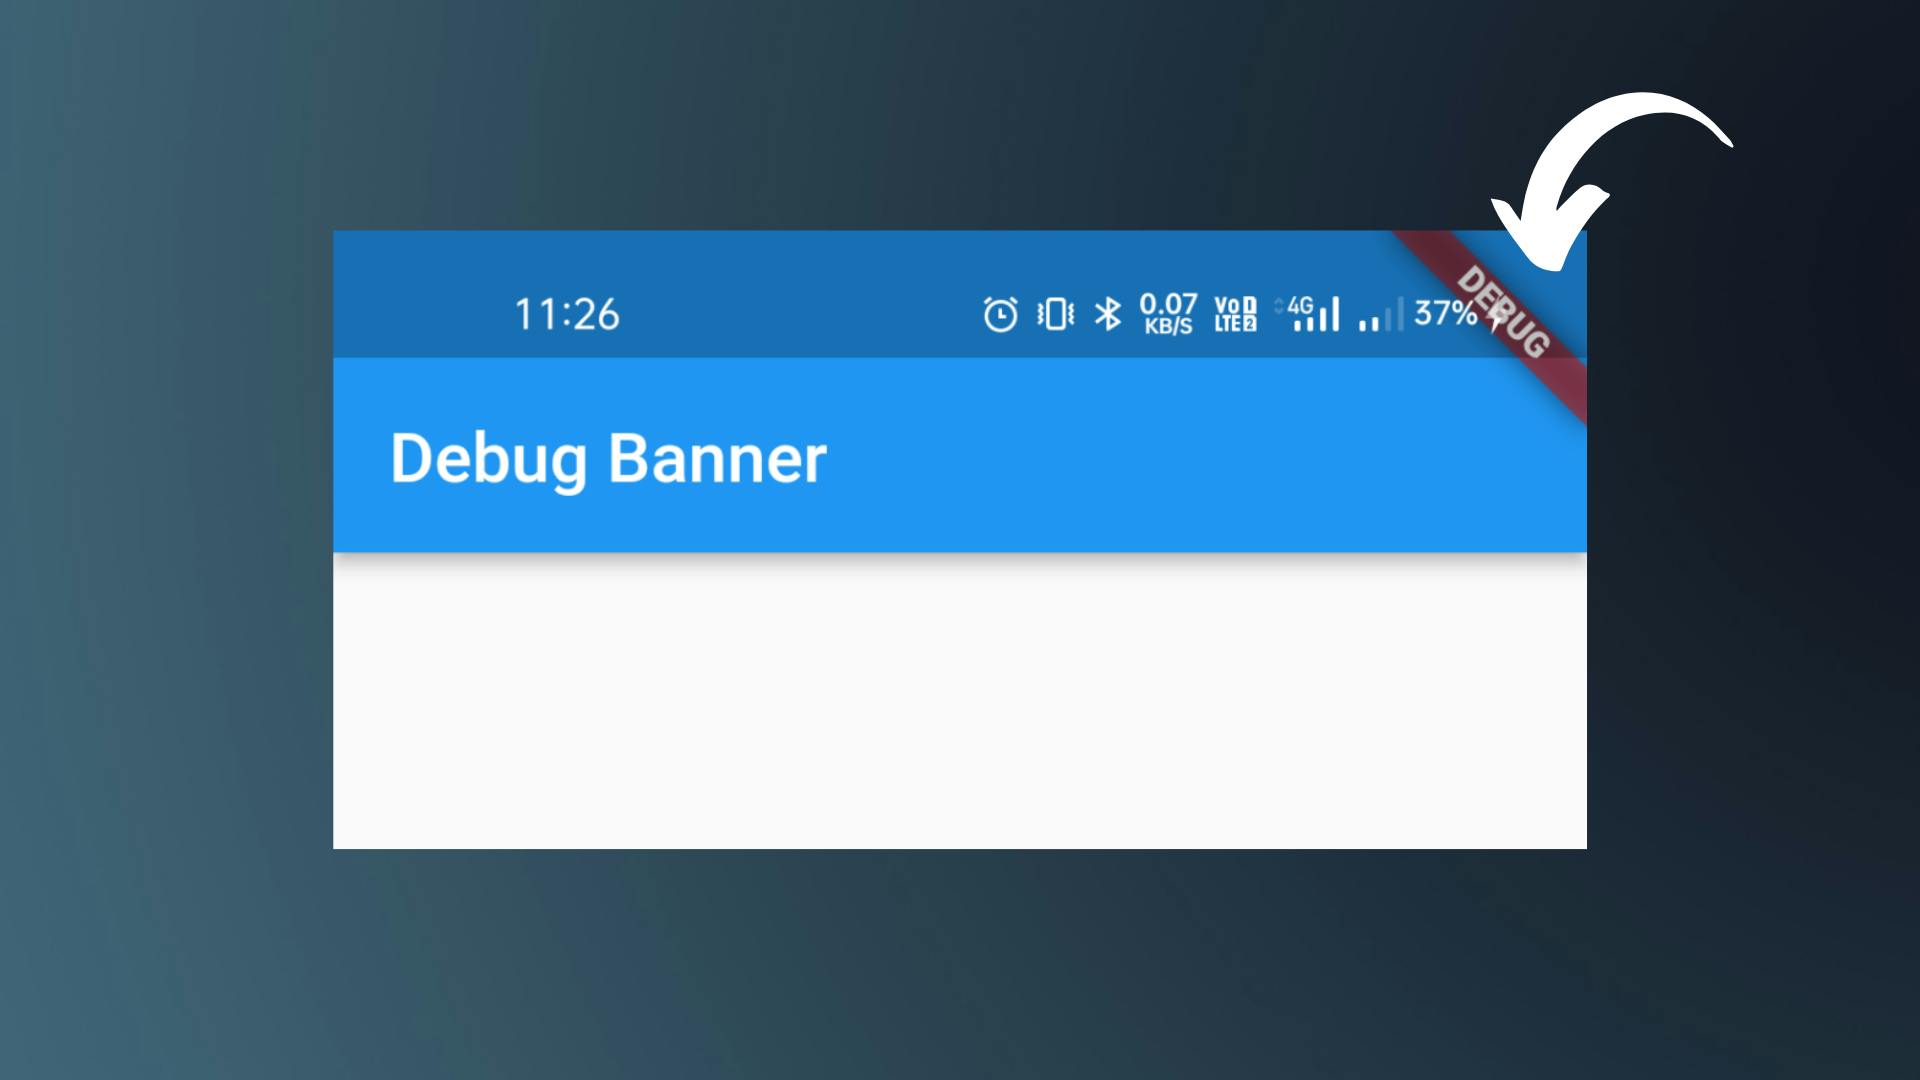
5. How to remove Debug Banner?
- If you see a red banner with the word 'Debug,' it means that the app you are currently using is in debug mode.

- I don't want to see this banner in development most of the time. And, if you're like me, you can get rid of it by simply setting the
falsevalue for MaterialApp widgets'debugShowCheckedModeBannerproperty to false. MaterialApp( debugShowCheckedModeBanner: false )- If you are using CupertinoApp instead of MaterialApp then also you need to do the same thing.
This banner will be automatically removed when you build an app for release.
Wrapping Up
- There are numerous Flutter-related questions. I'll do my best in this series to answer the most frequently asked questions. So make sure to keep up with this series.
- I hope you found this article to be beneficial. If you have any questions about Flutter, please leave them in the comments. I will answer it in the next article
- Thank you for spending time reading this article. See you in the next article. So, until then...


