# Flutter Paytm Integration
## Introduction
- **Paytm ** is a leading digital payment method in India. Millions of users rely on it to pay or recharge their mobile phones.
- In this blog, I will show you how to integrate Paytm Payment Gateway in your Flutter applications using a simple example.
- This blog has a built-in sample app that uses the library: [paytm_allinonesdk](https://pub.dev/packages/paytm_allinonesdk).
- You can find the documentation of the Paytm plugin for Flutter at :
%[https://developer.paytm.com/docs/all-in-one-sdk/hybrid-apps/flutter/]
- This article will show you how to make a simple Flutter app integrating payment gateway with Paytm in Flutter.
- You will get to know what all things are necessary and how to proceed with integration.
--------
## Create a merchant account
- Before we proceed with the integration part, we have to first create a **merchant** Paytm account.
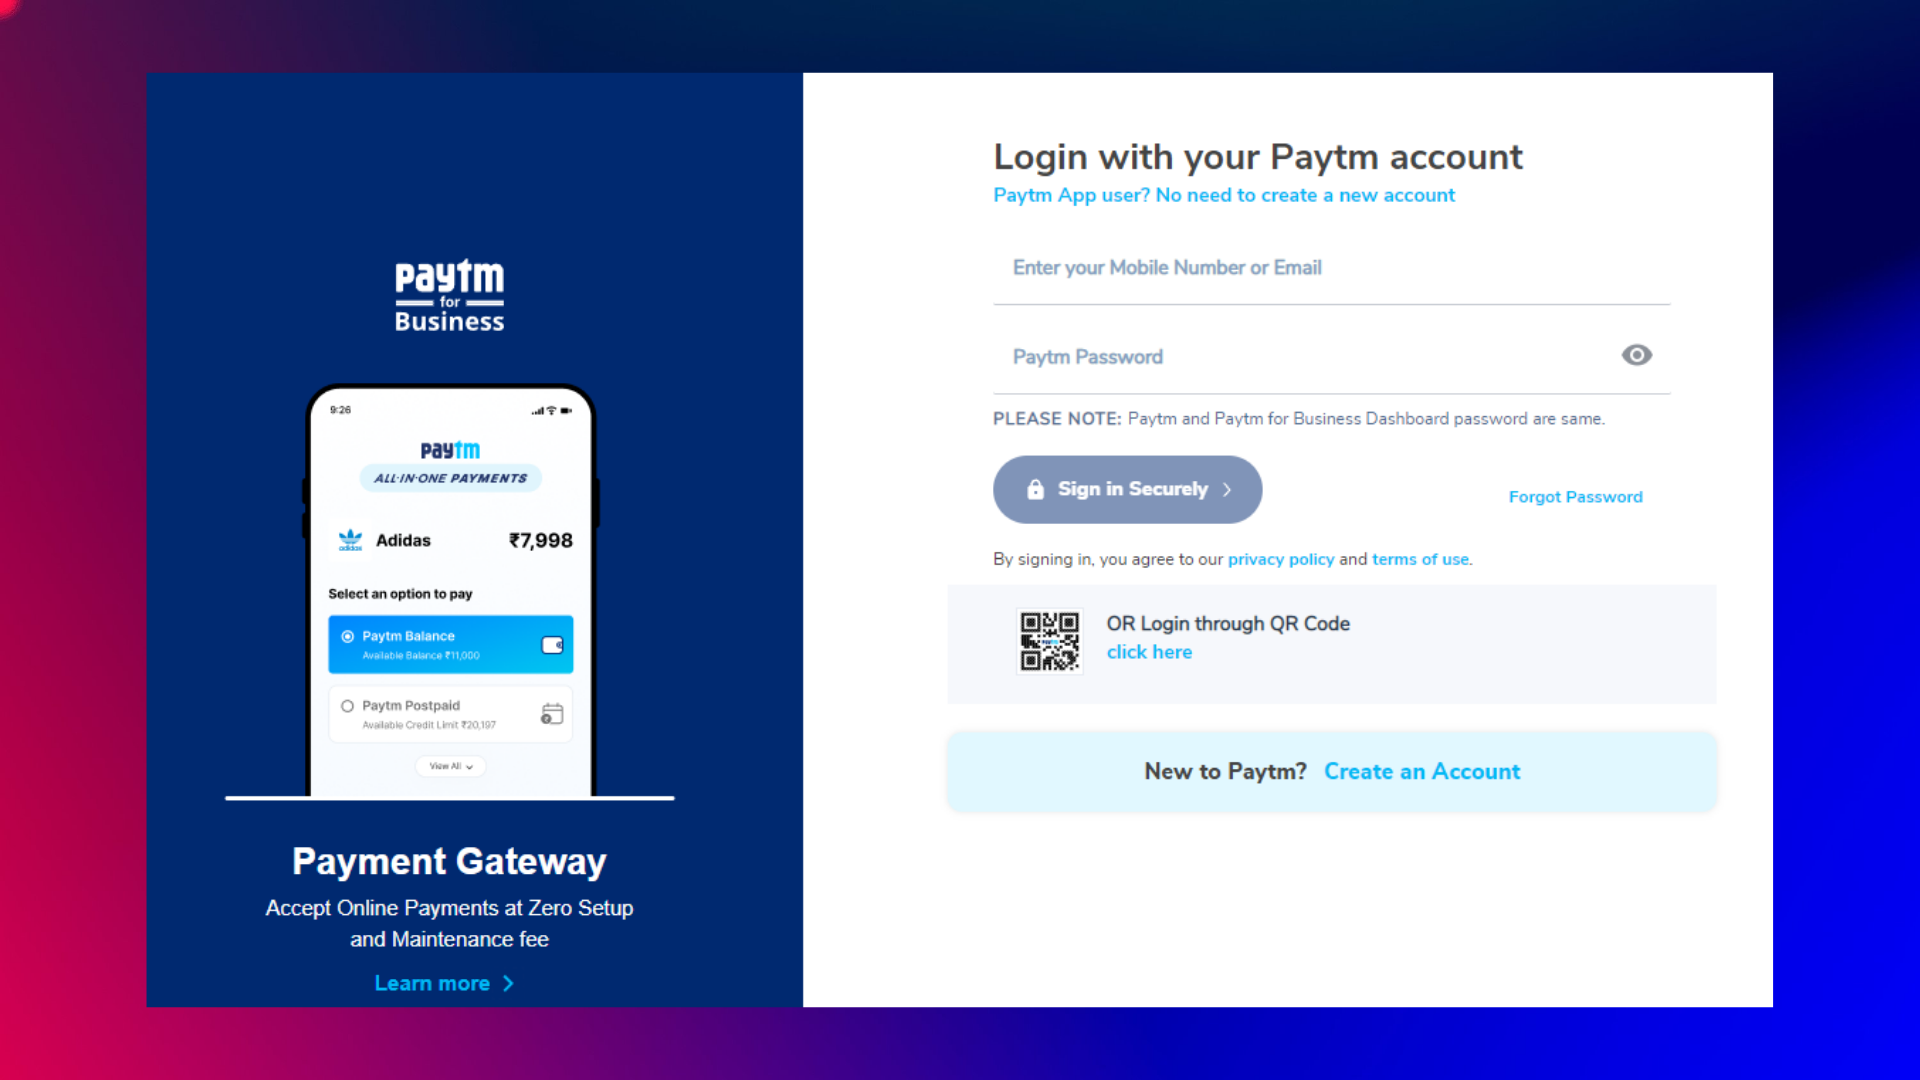
- To do that go to [Dashboard](dashboard.paytm.com) and log in with your Paytm account details.
-----------------
## Generating API Keys
- Click on **API keys** under the **Developer settings** in the left menu.
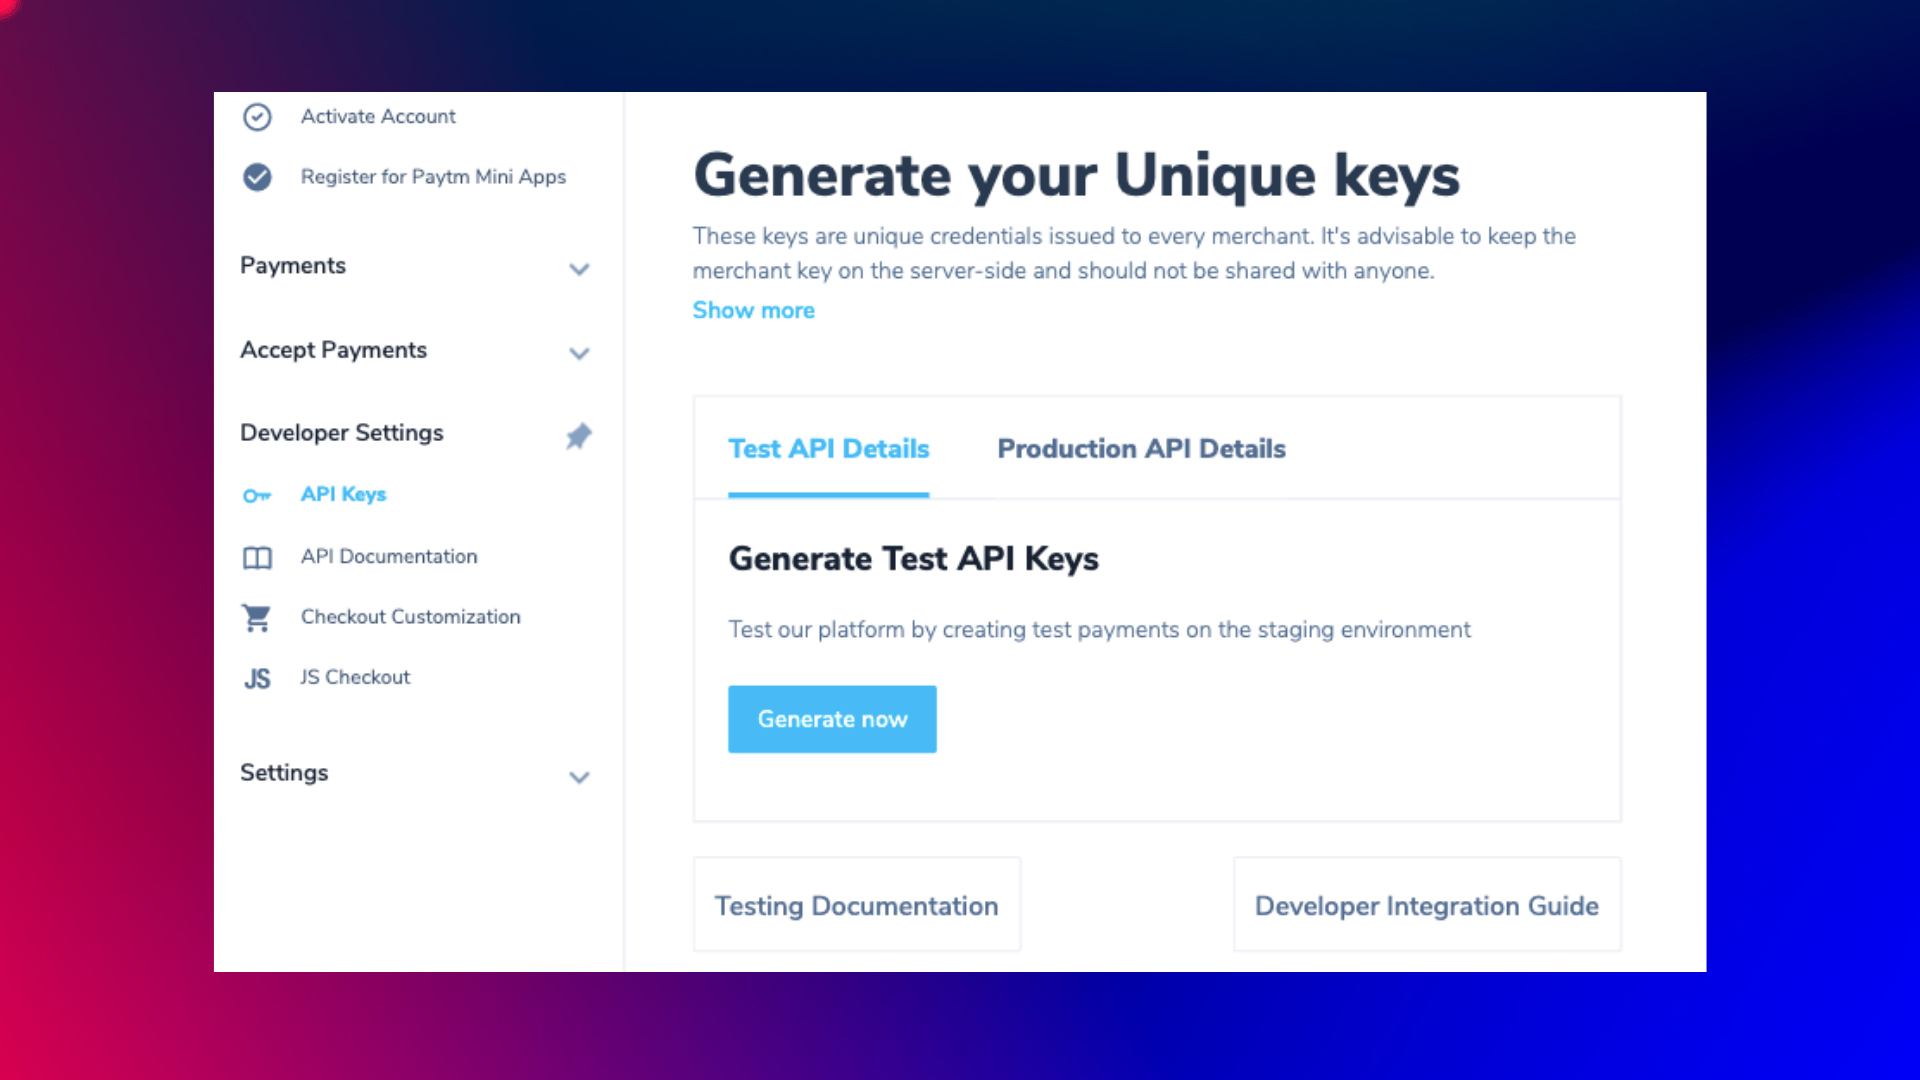
- Now, Click the Generate now button under the Test API Details.
---------------------
## Building and Deploying Backend
- Paytm requires to generate and validate the **checksum**.
### Checksum🤔 ??
- In a nutshell, Paytm uses the **checksum** signature to verify that API requests and replies transmitted between your app and Paytm over a network are not tampered with.
- Another thing is that the customer adds goods/services to the shopping/order cart and then goes to checkout on your mobile app.
- When the user proceeds to checkout, the Developer needs to call the **Initiate Transaction API** from the backend to generate a **transaction token**.
### Transaction token🤔 ??
- To start transactions in our app, as a developer we need to first call this transaction API and this API will return the **txn Token**, which is a mandatory parameter that we must give in the **AllInOneSdk** to begin transactions in our app.
-----
- So the question is how to generate the **Checksum** and **Transaction Token**?
- Here you have two options :
#### 1) Use the below URL
- I have already created the backend and also deployed it on the Heroku server.
- https://flutter-paytm-backend.herokuapp.com/generateTxnToken.
- You can simply make a POST request using `http` in Flutter and it will return you the **Txn Token**.
- However, because this URL is publicly available, I would not recommend using it if you are integrating Paytm into your production application or if you are using it in a commercial project. This URL can be used for testing purposes.
#### 2) Create and Deploy your own backend on your own Server. (Recommended)
- It's not as difficult as it appears.
- You only need to download the zip folder from the URL below, which contains all of the information needed to produce txnToken. As a result, you won't have to start from the beginning.
%[https://github.com/red-star25/flutter-paytm-backend.git]
- After downloading it. You can deploy it on the server of your own choice.
-------
- Okay, So these all are the `Pre-requisites` before we begin with the integration part.

## Integration Of Paytm `AllInOneSdk` in Flutter
---------------
### Step: 1 - Add Dependency
- Inside the pubspec.yaml, add the latest `paytm_allinonesdk` package.
```
dependencies:
paytm_allinonesdk: ^1.1.4
```
-------
### Step: 2 - Create `PaytmConfig` class
- Now to sperate the business logic, create a file named **paytm_config.dart** under **lib**.
- Create **PaytmConfig ** class and define the required variables.
```
class PaytmConfig {
final String _mid = "...";
final String _mKey = "...";
final String _website = "DEFAULT"; // or "WEBSTAGING" in Testing
final String _url =
'https://flutter-paytm-backend.herokuapp.com/generateTxnToken'; // Add your own backend URL
String get mid => _mid;
String get mKey => _mKey;
String get website => _website;
String get url => _url;
}
```
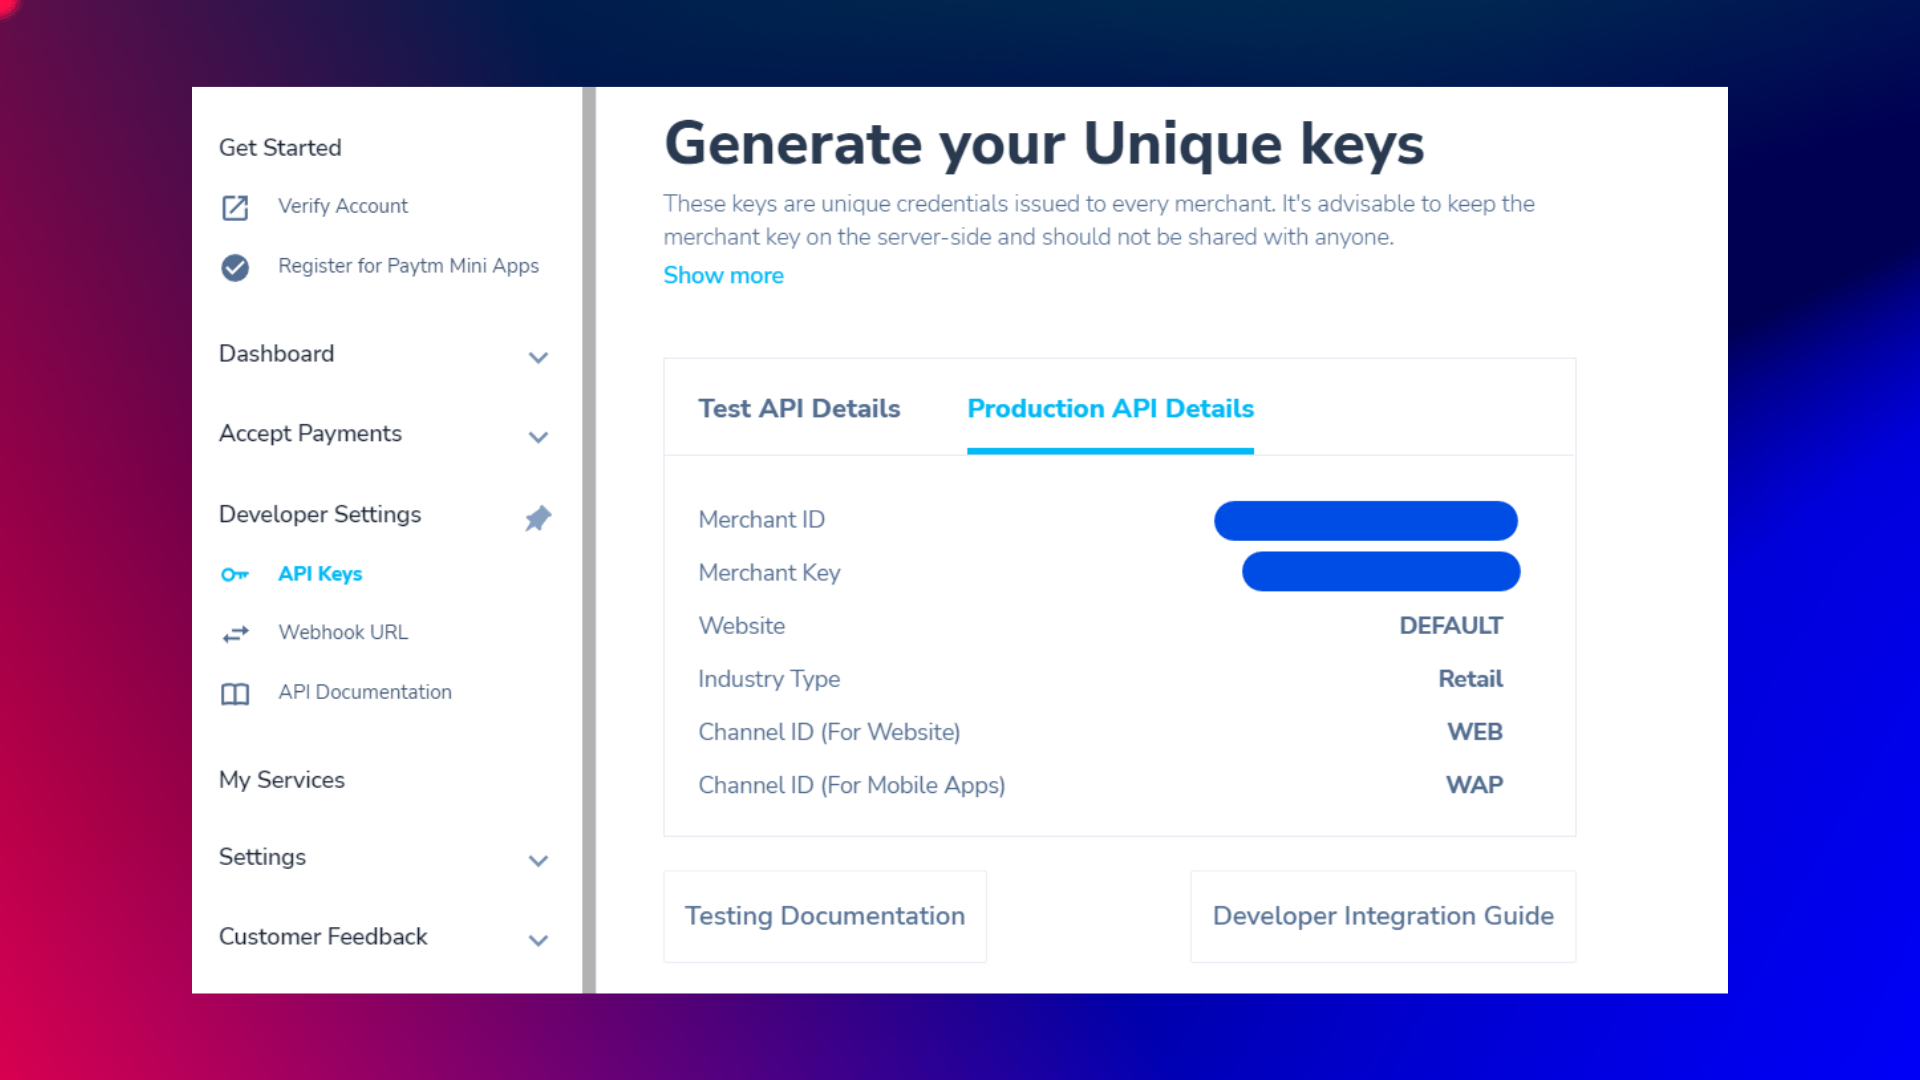
- You can get the **mid**(Merchant Id) and **mKey**(Merchant Key) from the **API Keys** section in the Paytm Dashboard
-
- Now create one method `getMap` which will return a JSON encoded string. This string contains all the information required to generate **txn Token**.
```
String getMap(double amount, String callbackUrl, String orderId) {
return json.encode({
"mid": mid,
"key_secret": mKey,
"website": website,
"orderId": orderId,
"amount": amount.toString(),
"callbackUrl": callbackUrl,
"custId": "122", // Pass users Customer ID here
});
}
```
- Now, let's create a function called **generateTxnToken** which is used to make a POST request to the backend.
```
Future generateTxnToken(double amount, String orderId) async {
final callBackUrl =
'https://securegw.paytm.in/theia/paytmCallback?ORDER_ID=$orderId';
final body = getMap(amount, callBackUrl, orderId);
try {
final response = await http.post(
Uri.parse(url),
body: body,
headers: {'Content-type': "application/json"},
);
String txnToken = response.body;
await initiateTransaction(orderId, amount, txnToken, callBackUrl);
} catch (e) {
print(e);
}
}
```
- After getting TxnToken we can now initiate the transaction. Create a function called **initiateTransaction**
```
Future initiateTransaction(String orderId, double amount,
String txnToken, String callBackUrl) async {
String result = '';
try {
var response = AllInOneSdk.startTransaction(
mid,
orderId,
amount.toString(),
txnToken,
callBackUrl,
false, // isStaging
false, // restrictAppInvoke
);
response.then((value) {
// Transaction successfull
print(value);
}).catchError((onError) {
if (onError is PlatformException) {
result = onError.message! + " \n " + onError.details.toString();
print(result);
} else {
result = onError.toString();
print(result);
}
});
} catch (err) {
// Transaction failed
result = err.toString();
print(result);
}
}
```
- ### **PaytmConfig** Full Source Code : [Here](https://gist.github.com/red-star25/65562b056a444025f058e489c336c28a)
--------
### Step:3 - Make Payment
- Now after all the configuration, we can make payment by calling the `generateTxnToken` function from our UI.
-
```
FloatingActionButton(
onPressed: () async {
await paytmConfig.generateTxnToken(amount, orderId);
},
child: const Icon(Icons.payment),
),
```
------
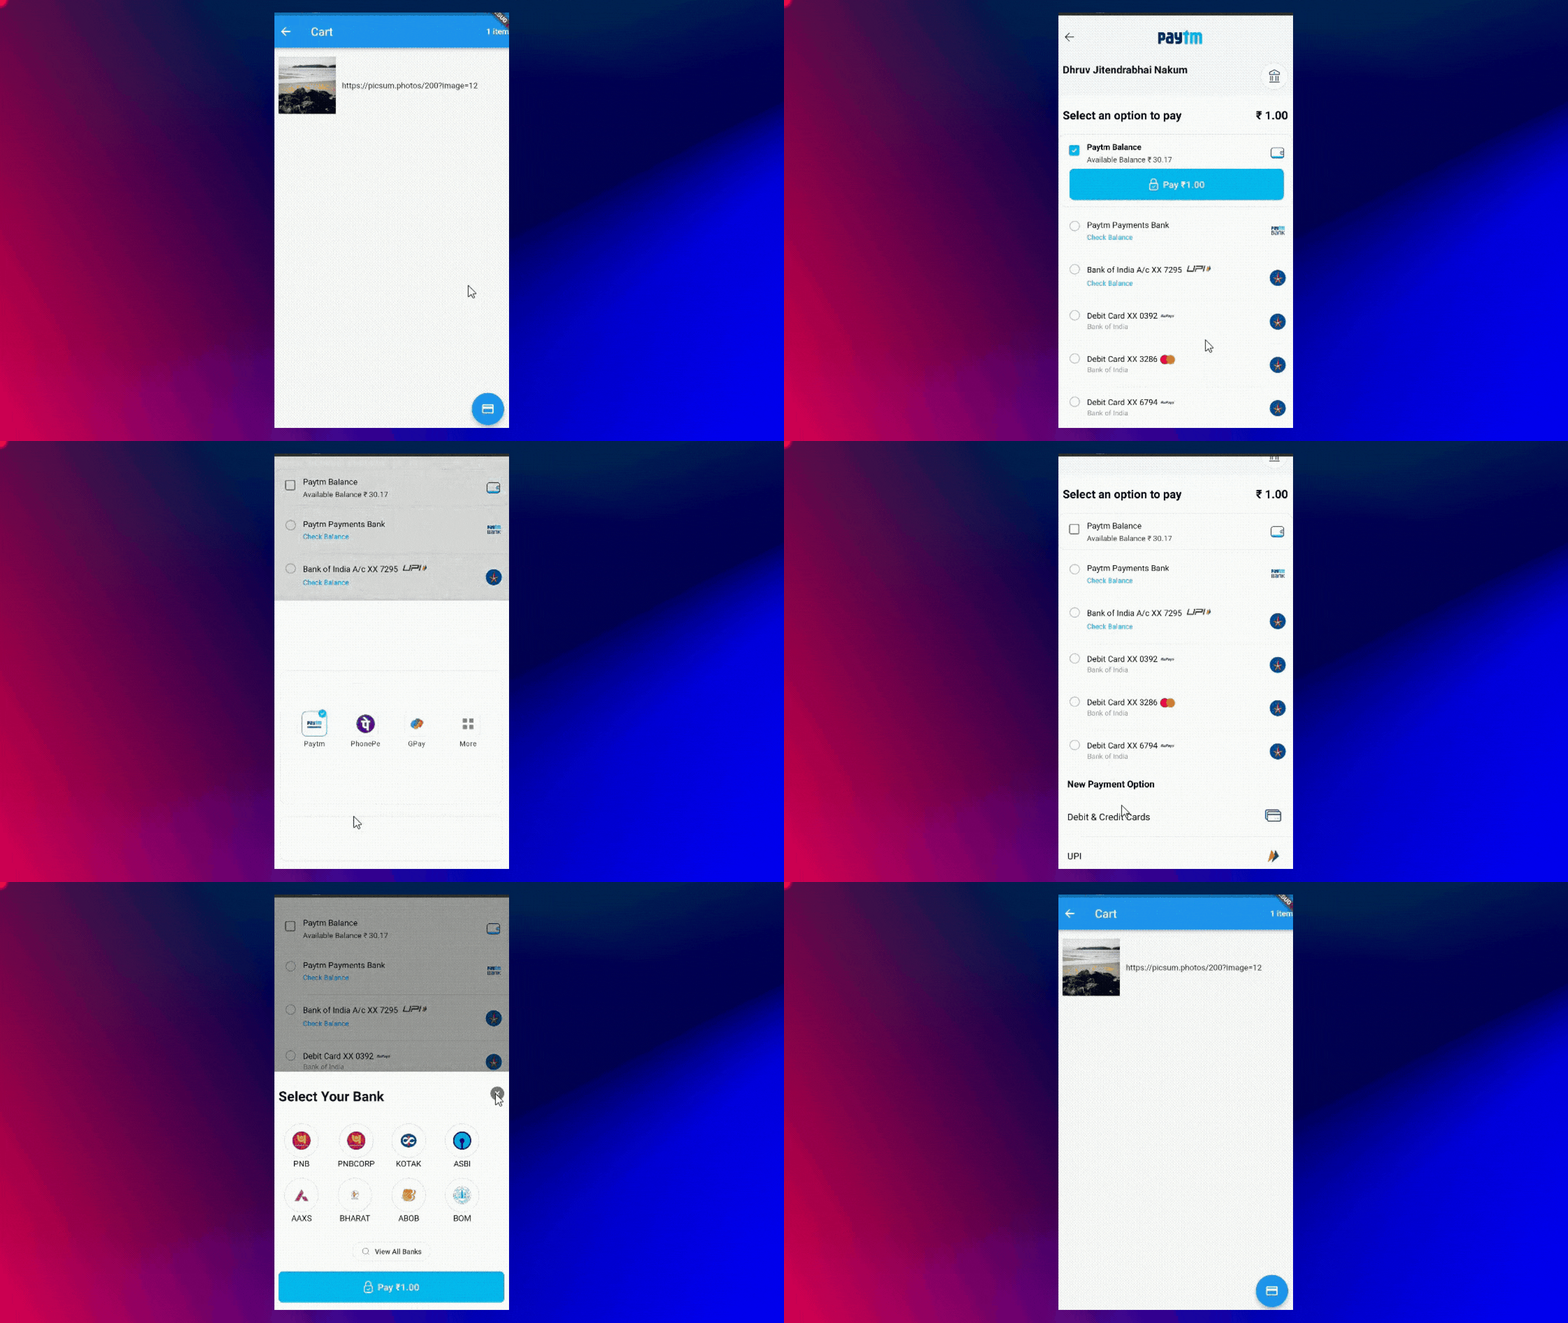
## Final Output:
---------
## Wrapping Up
- **I hope you found this article to be beneficial. If you have any feedback/queries, leave them in the comments.**
- **Thank you for spending time reading this article. See you in the next article. So, until then...**