Flutter Hive: Blazing fast Key-Value storage
Lightweight, Fast, No-SQL Database solution for your Flutter App

D
I'm a mobile/web developer 👨💻 who loves to build projects and share valuable tips for programmers
Follow me for Flutter, React/Next.js, and other awesome tech-related stuff 😉
Intro to Hive
- Data persistence is one of the most important aspects of any mobile application. A mobile application always keeps some type of state, such as user information, game scores, the user's current position, and so on.
- Data persistence involves maintaining your app's state even if the device goes offline or the application is not running.

- Hive is an open-source mobile database written in Dart which allows you to store and sync application data offline.
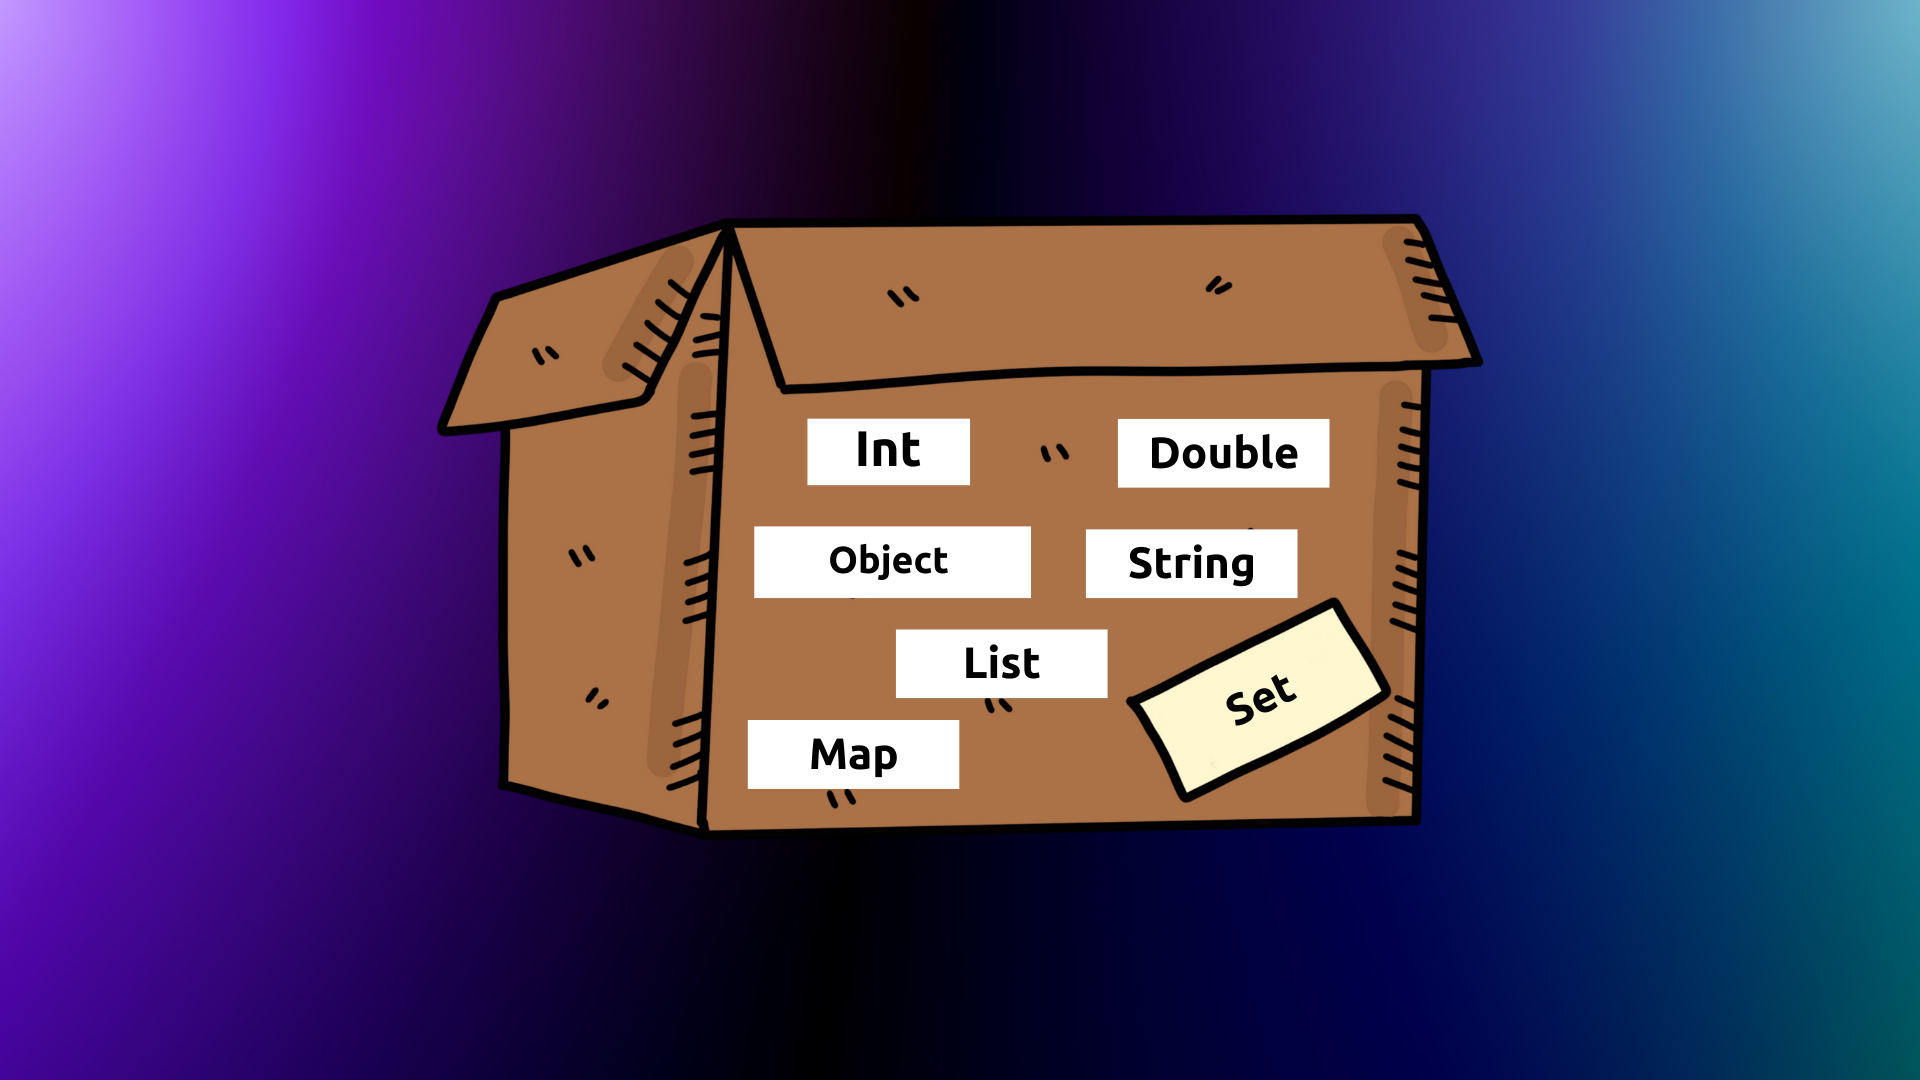
- Hive is a key-value data store written in Dart that allows your application to store any kind of primitive and complex data structures while providing the highest level of performance. It is also encrypted using AES-256.
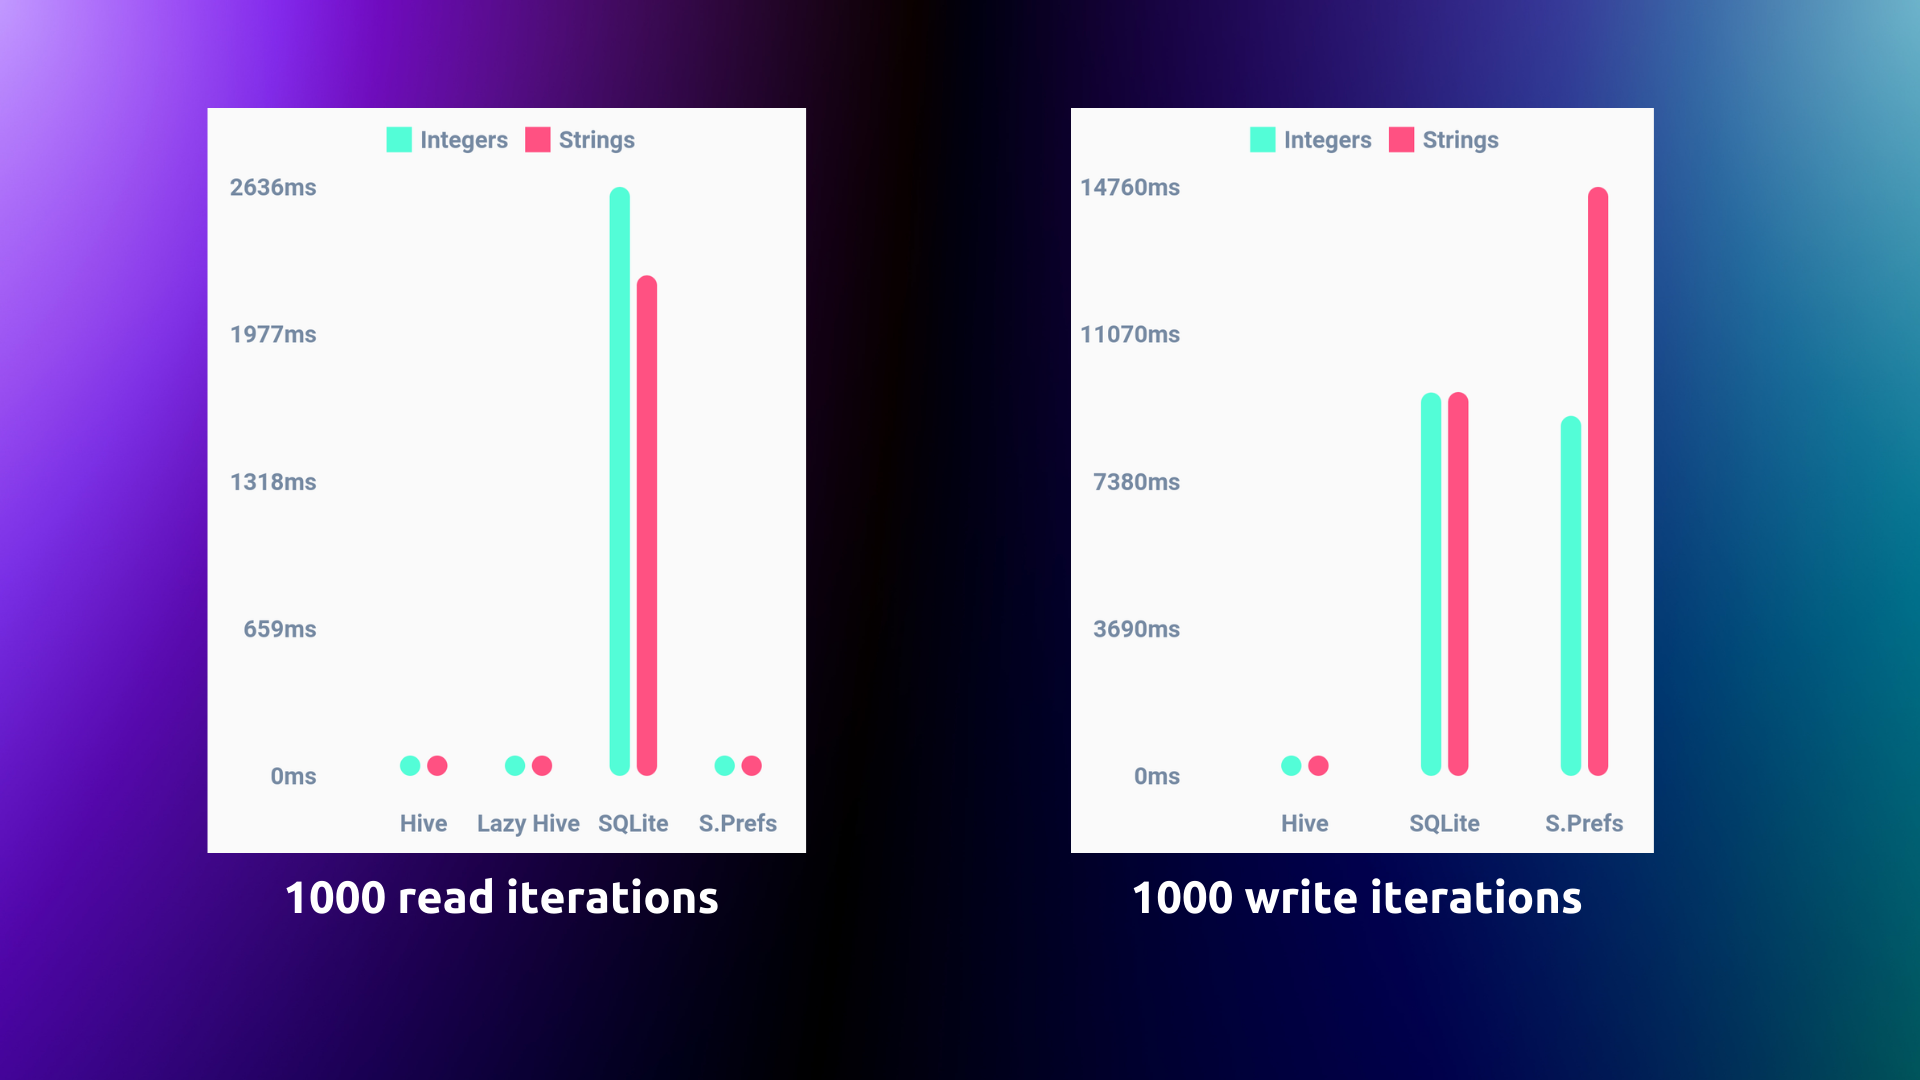
- In its readme page the creator has shown a comparison. You can take a look if you want to compare the existing databases with this one in terms of reading/writing duration.
The App
- We'll make a simple app with only one page that displays a list of users.
- We will create logic for adding new users, removing users, retrieving users, and updating chosen users.
- In this example, I've utilized Bloc to handle the state. If you are unfamiliar with the Bloc, don't worry because the functionalities are the same in any state management.

Dependency Installation
- In order to utilise Hive, we must first install two dependencies.
hiveandflutter_hive
- And for automatically generating TypeAdapters to store any class we are going to use
hive_generatordependency.
- Since I'm using
flutter_blocas state management I've also installed it. AlsoUUIDfor generating a unique id for different users.
dependencies:
  flutter:
    sdk: flutter
  flutter_bloc:
  equatable:
  hive:
  hive_flutter:
  cupertino_icons: ^1.0.2
  uuid: ^3.0.6

dev_dependencies:
  flutter_test:
    sdk: flutter
  hive_generator:
  build_runner:
Hive Initialization
- To use Hive in the flutter app, we must first initialise it before using the
runAppfunction.void main() async { WidgetsFlutterBinding.ensureInitialized(); await Hive.initFlutter(); runApp(const MyApp()); } - As you can see, Hive offers us with the
initFlutter()function. It basically initializes Hive using the path returned bygetApplicationDocumentsDirectory. You may optionally provide asubDirin which the boxes shall be kept.
Box in Hive?
- Hive organises all of its data into boxes. In that box, we may store any form of data. Hive, as I said in the introduction, encrypts the data. Encrypted boxes can also be used to hold sensitive data.
- We can't keep anything in Box unless we open it, right? Similarly, we must first open the box in futter with its name. - Create a
init()function in the repository class and paste the code below.
Future<void> init() async {
    _userBox = await Hive.openBox<User>('users');
  }
Model Generation
- In our example, we have several users with information such as name, email, and phone number.
- To store objects/models in Hive, we must first register a
TypeAdapterthat translates the object from and to binary form. - We don't have to construct TypeAdapter manually because we're using the
hive generatorpackage. Thehive_generatorpackage builds TypeAdapters for almost any class automatically.
import 'package:hive/hive.dart';

part 'user_model.g.dart';

@HiveType(typeId: 0)
class User extends HiveObject {
  @HiveField(0)
  final String name;
  @HiveField(1)
  final String email;
  @HiveField(2)
  final String phoneNumber;
  @HiveField(3)
  final String id;

  User({
    required this.name,
    required this.email,
    required this.phoneNumber,
    required this.id,
  });
}
- As you can see, the User class has been annotated with
@HiveType(typeId: 0). To construct a TypeAdapter for a class, we must annotate it with@HiveTypeand supply a typeId. - The value of
typeIdshould be between0and223. - The class's fields must be annotated with
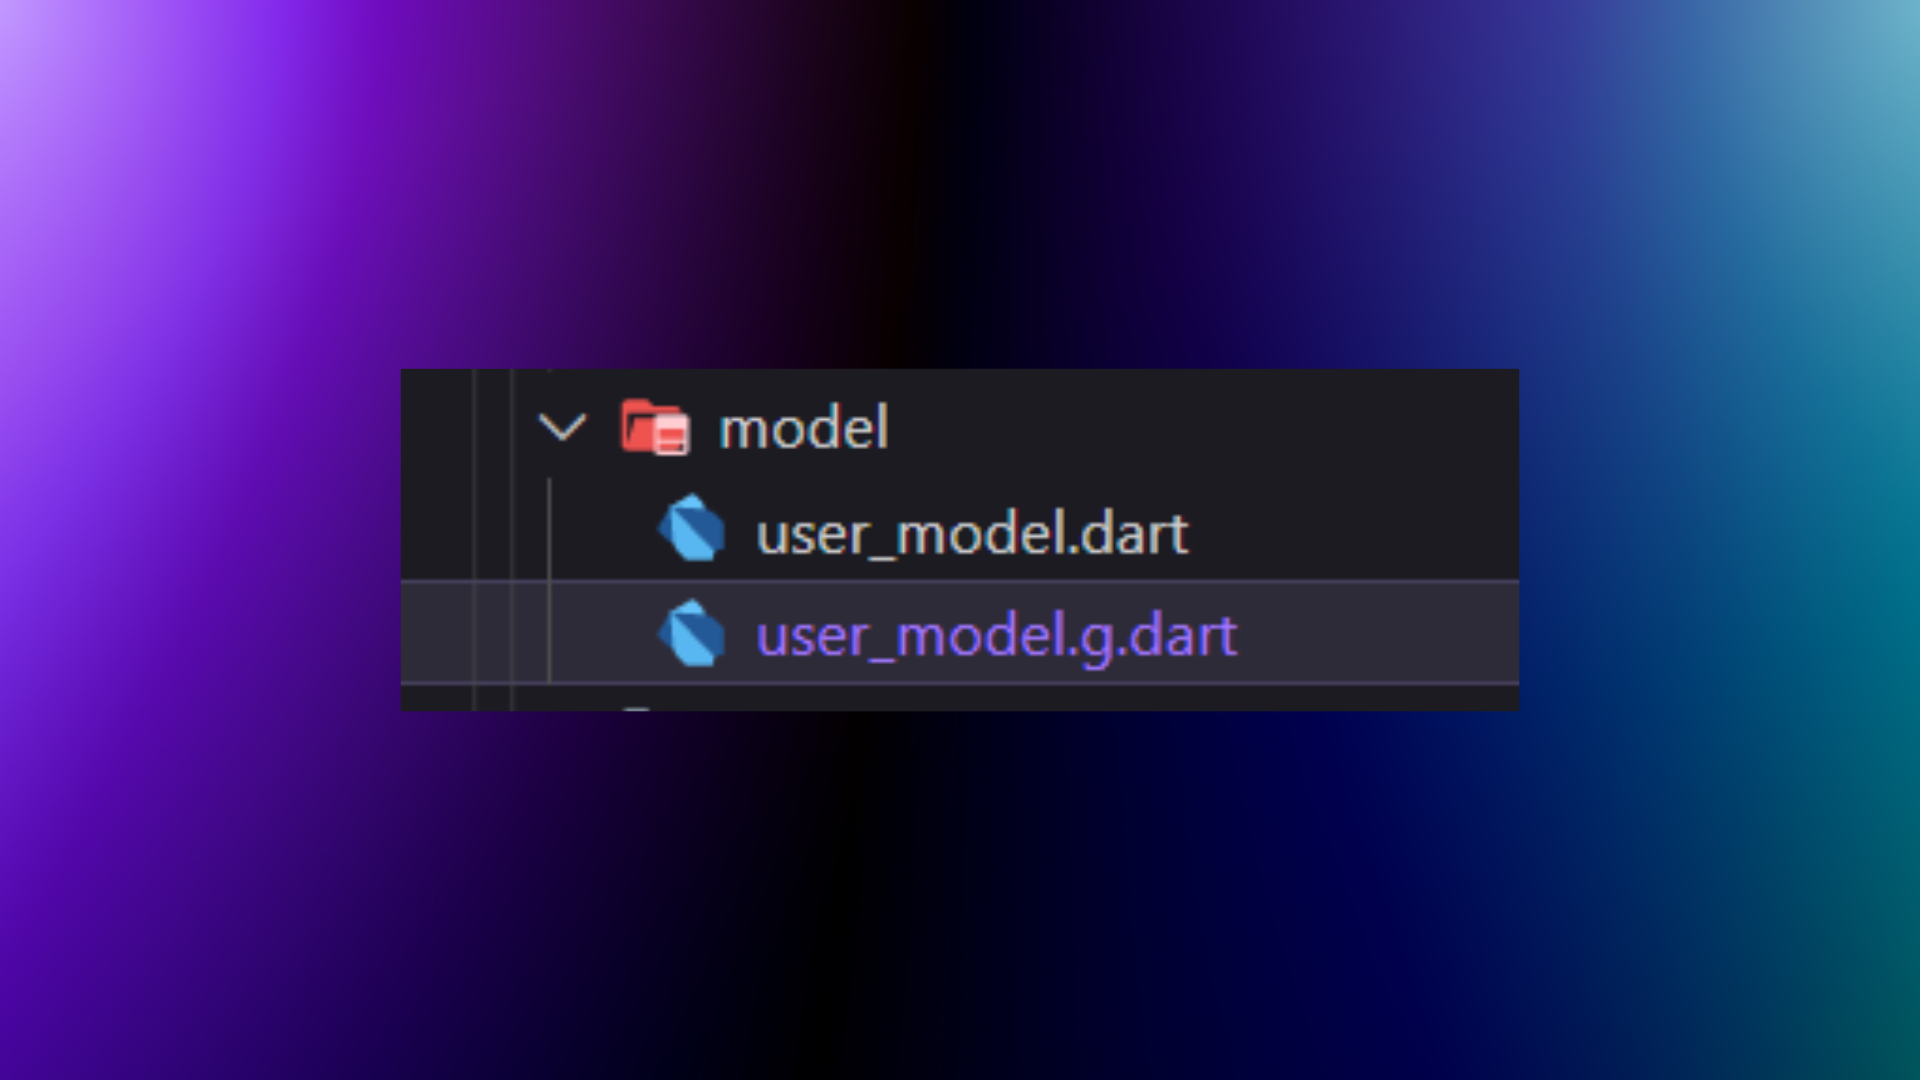
@HiveField()and their corresponding index. - Finally, in order to construct a TypeAdapter class, we must run the following command.
flutter packages pub run build_runner build - The above code creates a UserAdapter adapter class. The optional
adapterNameargument of@HiveTypeallows you to customise that name.
- Also, as you can see, we've extended the UserModel class with
HiveObject. Why is this the case? - It's because HiveObject makes it simple to handle our objects by supplying the object's
keyand handy helper functions likesave()andremove(). You will see the use of it when we write the CRUD logic. - We need to register UserAdapter now that it has been successfully produced. To accomplish this, navigate to UserRepository and paste the following code into the
init()method:
Future<void> init() async {
    Hive.registerAdapter(UserAdapter()); // Registering UserAdapter
    _userBox = await Hive.openBox<User>('users');
}
Hive CRUD
Fetch (Read) Users
- We can retrieve all of the users from the box named
usersby simply accessing the box'svaluesproperty as shown below:
List<User> getUsers() {
    final userList = _userBox.values.toList();
    return userList as List<User>;
}
Add (Create) New User
- To add a new key-value pair to a Hive Box, use the
add()function. Because our box will have a new object after adding a new user, we simply use thegetUsers()function to provide the updated list to the UI. - You can also listen to what's going on within the box by utilising the Flutter Hive's
listenable()stream.Future<List<User>> addUser(User newUser) async { await _userBox.add(newUser); return getUsers(); }
Remove (Delete) User
- To remove/delete a user, we must first locate that individual in the box. We may do this by invoking the
firstWhere()function of userBox's values property. - After obtaining the user to be deleted, we must invoke the
delete()function on that user.
Future<List<User>> removeUser(String id) async {
    final userToDelete =
        await _userBox.values.firstWhere((element) => element.id == id);
    await userToDelete.delete();
    return getUsers();
}
Update User
- Yet again, in order to update a user, we must first locate it in the box. However, we additionally require a
keyfor that user object in this case. - Remember that in the UserModel class, we extended
HiveObject. Its use is seen here since it provides us with a key to the object. - After that, we must use the
put()function withkeyand the changeduserobject.
Future<List<User>> updateUserInfo(User user) async {
    final userToUpdate = await _userBox.values.firstWhere((element) {
      return element.id == user.id;
    });
    final index = userToUpdate.key;
    await _userBox.put(index, user);

    return getUsers();
}
Displaying Data to UI
- Before retrieving data from the box, be sure to use the UserRepository's
init()function first. Otherwise, you will receive an error message. - In my scenario, I triggered the Bloc's
InitUserBox()event. Which accomplishes the same thing. - After initializing, I triggered the
FetchAllUserEvent, which returns the list of users to the UI.
// main.dart
class MyApp extends StatelessWidget {
  const MyApp({Key? key}) : super(key: key);

  @override
  Widget build(BuildContext context) {
    return RepositoryProvider(
      create: (context) => UserRepository(),
      child: BlocProvider(
        create: (context) => DashboardBloc(
          userRepository: RepositoryProvider.of<UserRepository>(context),
        )..add(InitUserBox()),
        child: const MaterialApp(
          home: DashboardPage(),
        ),
      ),
    );
  }
}
// dashboard_bloc.dart
class DashboardBloc extends Bloc<DashboardEvent, DashboardState> {
   on<InitUserBox>(_initUserBox);

  // .....

  FutureOr<void> _initUserBox(
      InitUserBox event, Emitter<DashboardState> emit) async {
    await userRepository.init();
    add(FetchAllUserEvent());
  }
  // ....
}
- Now that we have everything in place, we can utilize the list of users provided by the bloc to show it on the user interface.
// dashboard_page.dart
ListView.separated(
                separatorBuilder: (context, index) => const Divider(
                  color: Colors.grey,
                  thickness: 1,
                  endIndent: 20,
                  indent: 20,
                ),
                itemCount: state.userList.length,
                itemBuilder: (BuildContext context, int index) {
                  return UserTile(
                    user: state.userList[index],
                    index: index,
                    showUserUpdateDialog: () {
                      showUserUpdateDialog(
                        context,
                        state.userList[index],
                      );
                    },
                  );
                },
              );
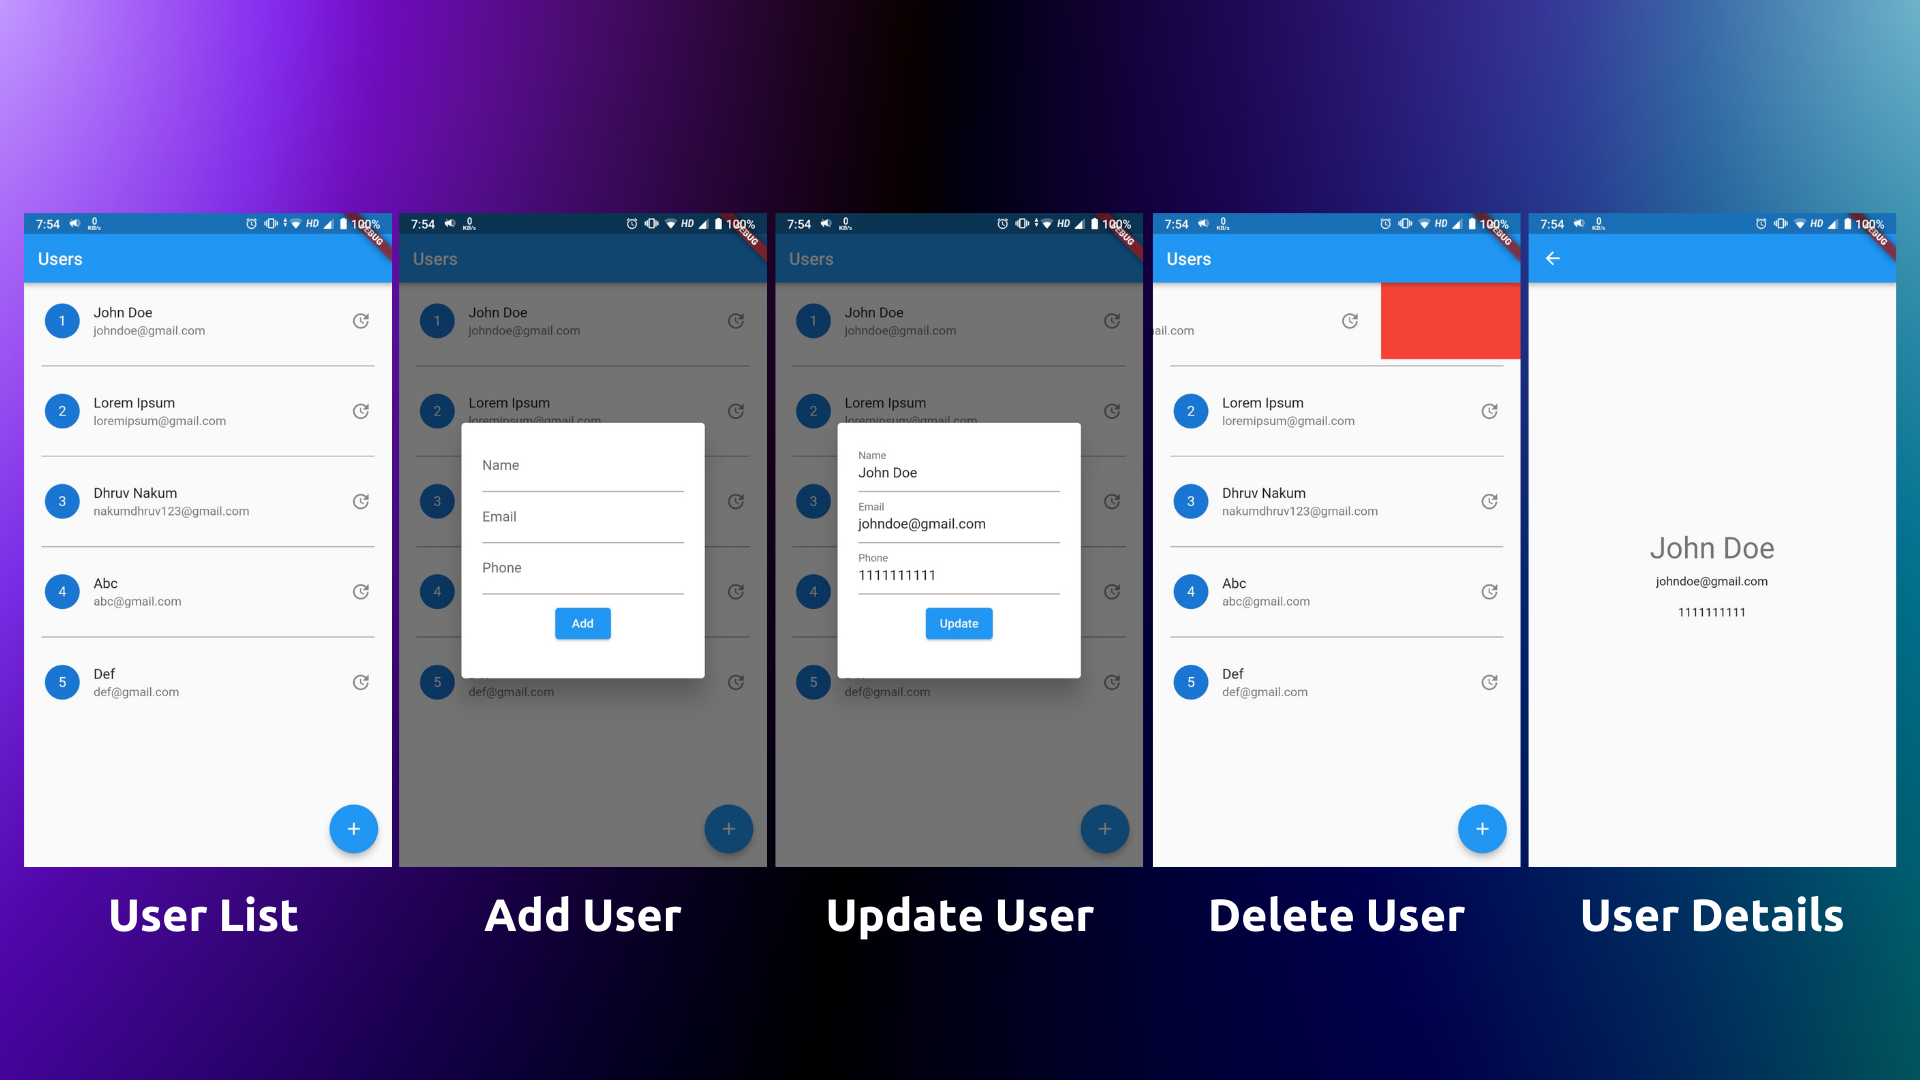
- The user interface is straightforward; there is a single floating action button that launches a dialogue for adding a new user.
- To update user information, all UserTiles have an update icon on the right-hand side, which also opens a dialogue.
- To remove the user, we must swipe the UserTile.
- You just need to use the corresponding buttons to call all of the methods that we've developed in the User Repository.
Output
Lazy Box
- By default, when a box is opened, its complete contents are saved in memory. This behaviour is ideal for tiny and medium-sized boxes since it allows you to access their contents without the need for async calls.
- Loading data lazily may be advantageous for bigger boxes or applications that use a lot of memory. When you open a lazy box, all of its keys are read and saved in memory. When you access a value, Hive determines its exact location on the disc and retrieves the item.
var lazyBox = await Hive.openLazyBox('myLazyBox');

var value = await lazyBox.get('lazyVal');
Hive Snippets for VSCode
- There is one extension for Hive for building model classes. Click Here to get it.
Final Project Repo
Wrapping Up
- I hope you enjoyed and learned something from this article. If you have any feedback/queries, leave them in the comments.
- Thank you for spending time reading this article. See you in the next article. Until then...